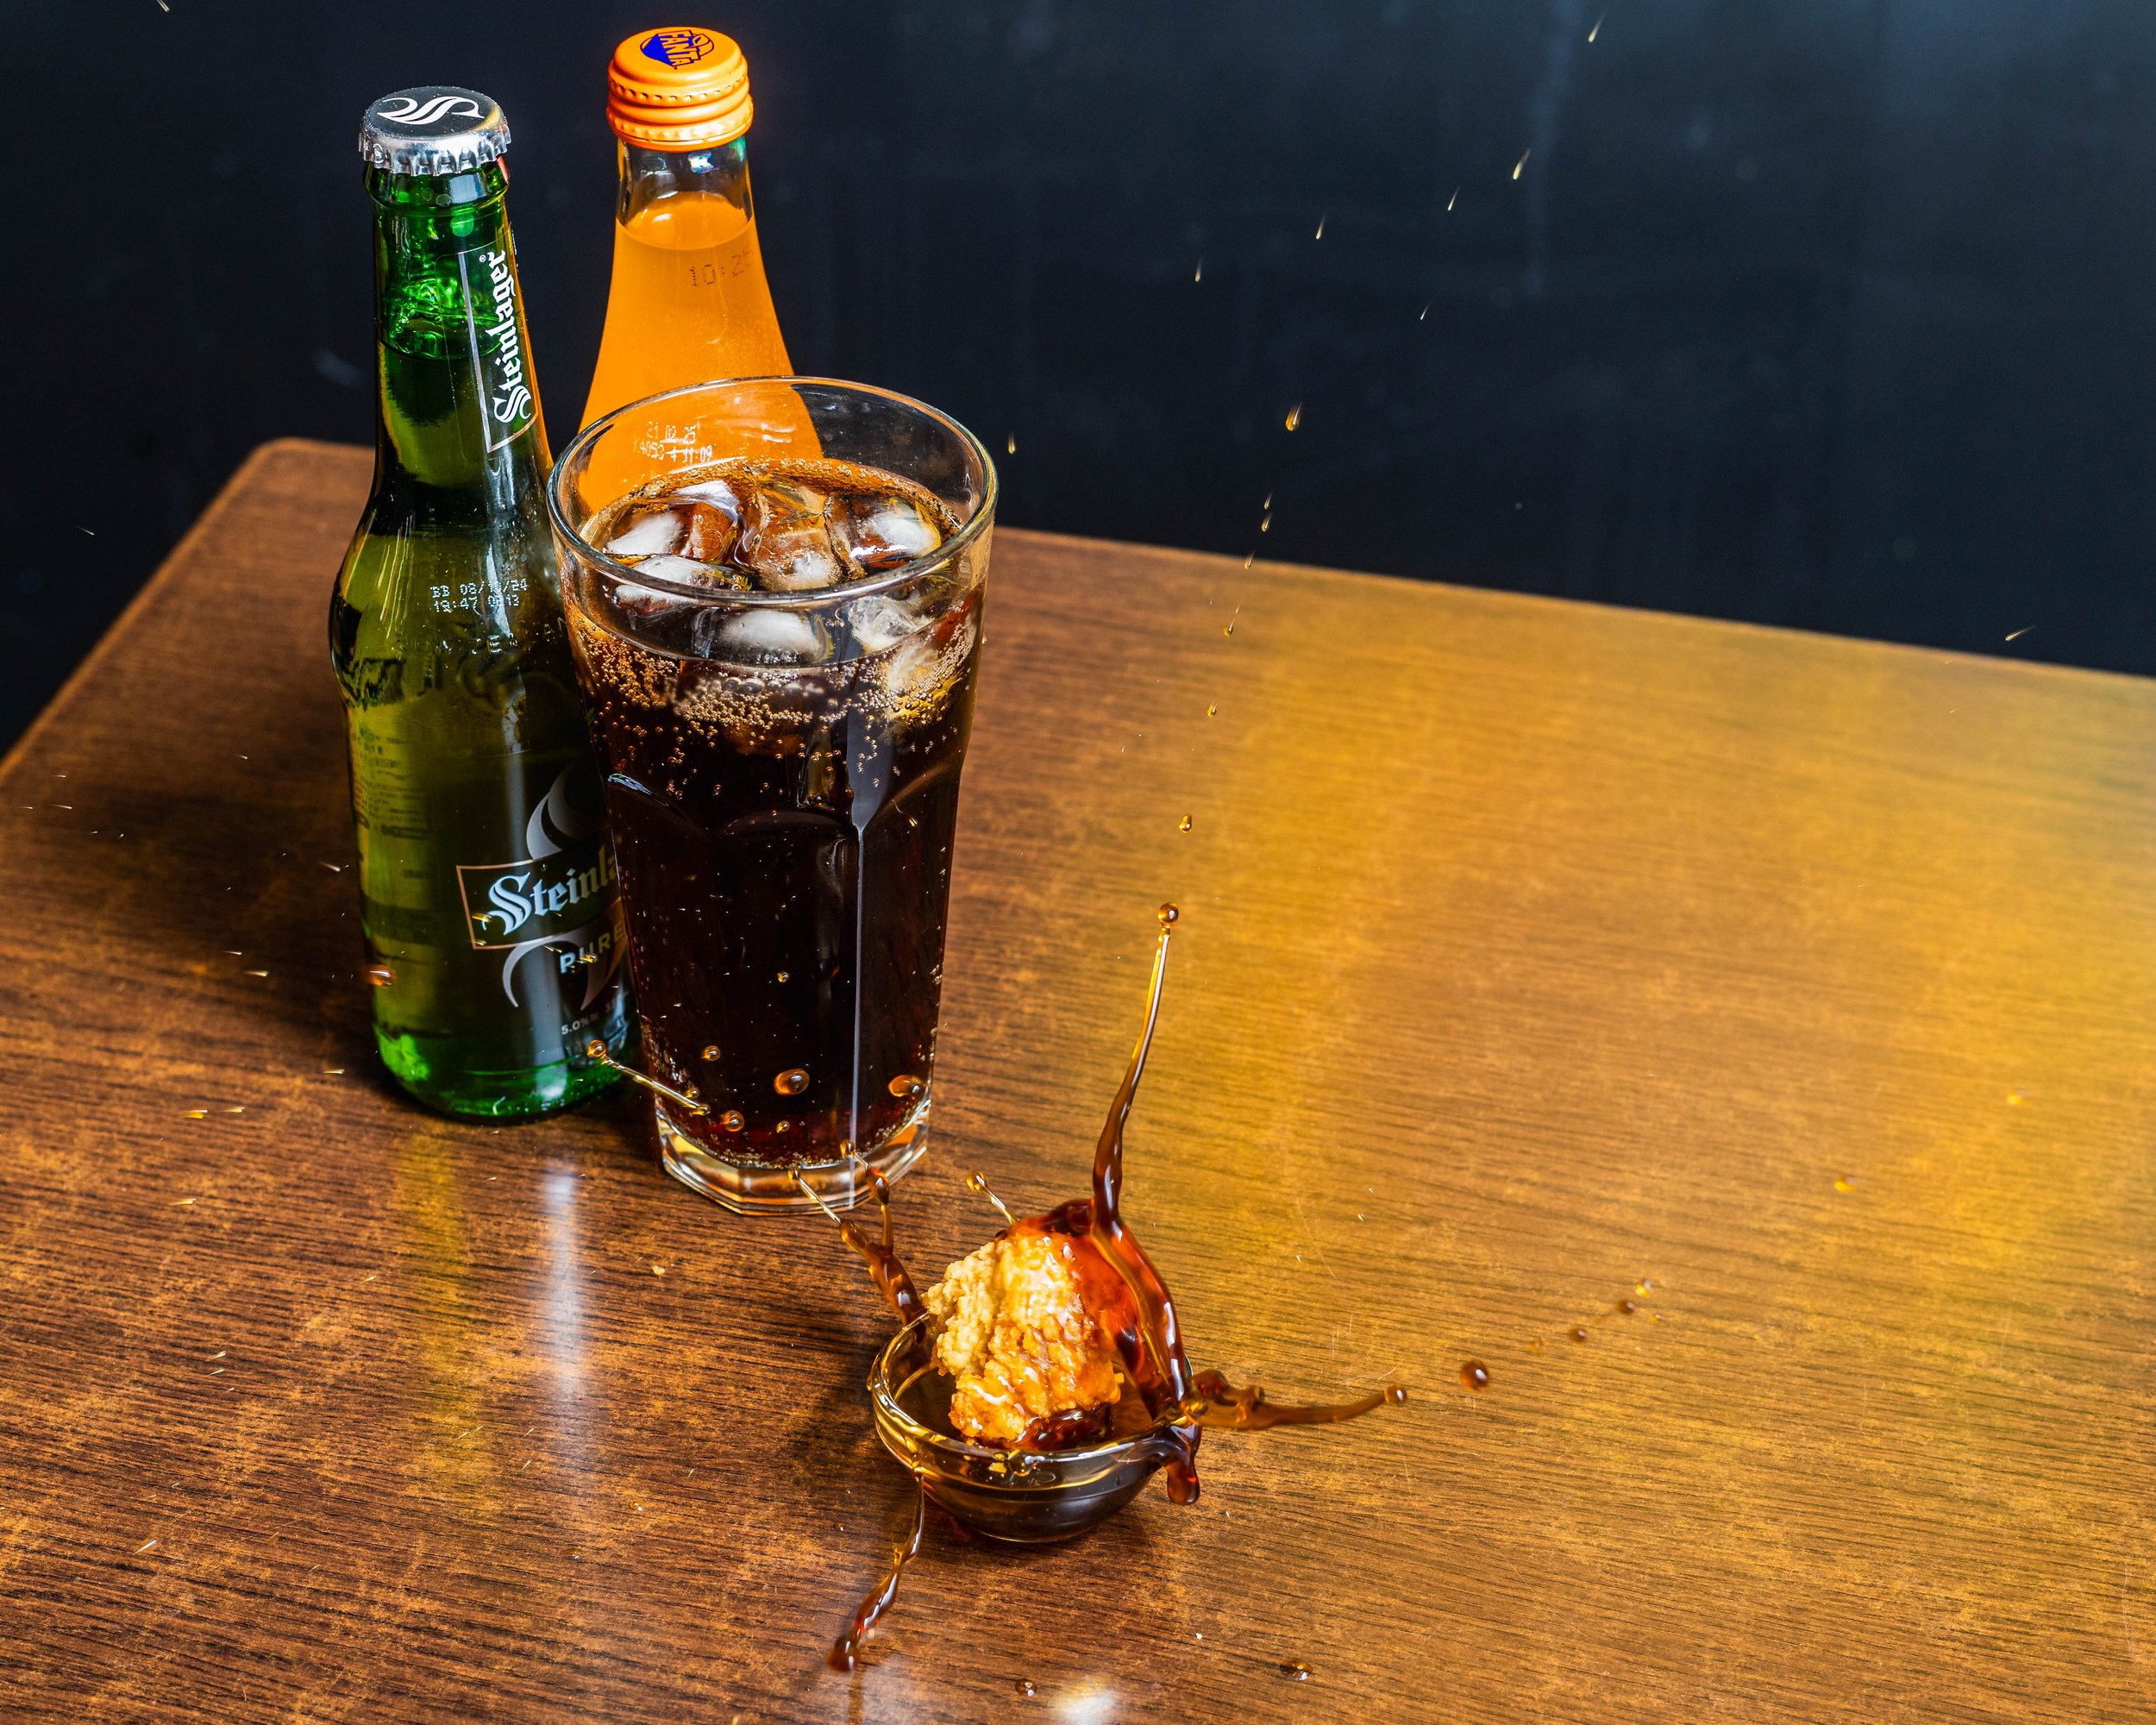
How to Take Good Photos of Drinks

>>> Book the best Drink Photographer in Auckland.

How to Take Good Photos of Drinks

As a professional drink photographer, I've had my fair share of struggles when it comes to capturing the perfect shot of a drink. But over the years, I've learned a thing or two about what makes a great drink photo, and I'm excited to share my knowledge with you.


Understanding the Basics of Drink Photography

When it comes to drink photography, there are a few key things to keep in mind. First and foremost, you need to understand the basics of photography. This includes things like aperture, shutter speed, and ISO. But don't worry, I'm not going to get too technical here. Instead, let's focus on the practical aspects of drink photography.

>>> Book the best Drink Photographer in Auckland.

Camera Settings for Drink Photography

So, what are the best camera settings for drink photography? Well, it all depends on the type of drink you're photographing. For example, if you're photographing a clear drink like a cocktail, you'll want to use a higher aperture setting to ensure that the drink is in focus. On the other hand, if you're photographing a cloudy drink like a beer, you may want to use a lower aperture setting to capture the texture of the drink.

Here are some general guidelines to keep in mind:

  • Aperture: Use a high aperture setting (f/2.8 or higher) to ensure that the drink is in focus.

  • Shutter speed: Use a fast shutter speed (1/100th of a second or faster) to freeze the motion of the drink.

  • ISO: Use a low ISO setting (100 or lower) to minimize noise and ensure that the image is sharp.

Lighting Techniques for Drink Photography

Lighting is another crucial aspect of drink photography. You want to create a warm and inviting atmosphere that makes the drink look appealing. Here are some lighting techniques to try:

  • Natural light: Use natural light to create a warm and inviting atmosphere. This is especially effective for photographing drinks in a natural setting, like a outdoor cafe or a park.

  • Artificial light: Use artificial light to create a more dramatic and moody atmosphere. This is especially effective for photographing drinks in a studio setting or a dark bar.

  • Softbox lighting: Use softbox lighting to create a soft and even light that minimizes shadows and highlights.

Styling Drinks for Photography

Styling drinks for photography is all about creating a visually appealing image that makes the drink look appealing. Here are some tips to try:

  • Garnishes: Use garnishes like lemons, limes, or olives to add a pop of color and texture to the image.

  • Glassware: Use glassware that complements the color and style of the drink.

  • Props: Use props like ice cubes, straws, or umbrellas to add a fun and playful touch to the image.

Tips and Tricks for Taking Good Photos of Drinks

>>> Book the best Drink Photographer in Auckland.

Here are some additional tips and tricks to help you take good photos of drinks:

  • Use a tripod: A tripod will help you stabilize the camera and ensure that the image is sharp.

  • Experiment with angles: Don't be afraid to experiment with different angles and perspectives to add some visual interest to the image.

  • Pay attention to composition: Pay attention to the composition of the image and make sure that the drink is the main focus.

How to Take Good Photos of Drinks

By following these tips and tricks, you'll be well on your way to taking good photos of drinks. Remember to experiment with different camera settings, lighting techniques, and styling ideas to find what works best for you. And don't be afraid to try new things and take risks – it's all part of the creative process.


How to Take Good Photos of Drinks

Part 2: Advanced Techniques for Drink Photography

In Part 1, we covered the basics of drink photography, including camera settings, lighting techniques, and styling ideas. But if you're looking to take your drink photography to the next level, you'll want to learn some advanced techniques.

Advanced Camera Settings for Drink Photography

When it comes to advanced camera settings, there are a few things to keep in mind. First, you'll want to experiment with different aperture settings to create a shallow depth of field. This will help to blur the background and make the drink stand out.

Here are some advanced camera settings to try:

  • Aperture: Use a low aperture setting (f/1.4 or lower) to create a shallow depth of field.

  • Shutter speed: Use a slow shutter speed (1/30th of a second or slower) to create a sense of motion.

  • ISO: Use a high ISO setting (6400 or higher) to capture images in low light.

Advanced Lighting Techniques for Drink Photography

Lighting is another area where you can experiment with advanced techniques. Here are a few ideas to try:

  • Diffused lighting: Use a diffuser to soften the light and create a more subtle effect.

  • Backlighting: Use backlighting to create a sense of depth and dimension.

  • Sidelighting: Use sidelighting to create a sense of texture and interest.

Advanced Styling Ideas for Drink Photography

Styling is all about creating a visually appealing image that makes the drink look appealing. Here are some advanced styling ideas to try:

  • Garnishes: Use garnishes like edible flowers, herbs, or spices to add a pop of color and texture.

  • Glassware: Use glassware that complements the color and style of the drink.

  • Props: Use props like ice cubes, straws, or umbrellas to add a fun and playful touch.

Tips and Tricks for Advanced Drink Photography

>>> Book the best Drink Photographer in Auckland.

Here are some additional tips and tricks to help you take advanced drink photography:

  • Experiment with angles: Don't be afraid to experiment with different angles and perspectives to add some visual interest to the image.

  • Pay attention to composition: Pay attention to the composition of the image and make sure that the drink is the main focus.

  • Use a reflector: Use a reflector to bounce light onto the drink and create a more even effect.

How to Take Good Photos of Drinks

By following these advanced techniques, you'll be able to take your drink photography to the next level. Remember to experiment with different camera settings, lighting techniques, and styling ideas to find what works best for you. And don't be afraid to try new things and take risks – it's all part of the creative process.


Common Questions About Drink Photography

  • What is the best camera for drink photography?

  • What is the best lighting for drink photography?

  • How do I style a drink for photography?

Getting Started with Advanced Drink Photography

>>> Book the best Drink Photographer in Auckland.

If you're interested in trying advanced drink photography, the first step is to practice and experiment with different techniques. Here are a few tips to get you started:

  • Practice, practice, practice: The more you practice, the better you'll become at drink photography.

  • Experiment with different techniques: Don't be afraid to try new things and experiment with different techniques.

  • Take risks: Don't be afraid to take risks and try new things – it's all part of the creative process.

Auckland Restaurant Photos: The Secret to Making Your Food Look Irresistible

>>> Contact the best Food Photographer in Auckland

Auckland Restaurant Photos: The Secret to Making Your Food Look Irresistible

As a foodie, you know that a great meal is not just about the taste, but also about the presentation. And when it comes to capturing the perfect shot of your restaurant's dishes, you need a photographer who knows the city like the back of their hand. That's where I come in – Paka's Le Photographe, the best food photographer in Auckland.

Getting Started with Auckland Restaurant Photos

Let's face it, taking great photos of food can be intimidating, especially if you're not a professional photographer. But don't worry, I'm here to guide you through the process. First, you need to understand that the key to capturing stunning Auckland restaurant photos is to focus on the details.

When I'm shooting for a restaurant in Auckland, I always make sure to capture the textures, colors, and presentation of the dish. I want to make sure that the photo looks appetizing and inviting, so that when people see it, they'll want to come and try it out.

>>> Contact the best Food Photographer in Auckland

The Importance of Lighting in Auckland Restaurant Photos

Lighting is one of the most critical elements of food photography. It can make or break the photo, and it's essential to get it right. When shooting in Auckland, I always look for natural light, whether it's through a window or outside. But if that's not possible, I use artificial light to create a warm and inviting atmosphere.

Tips for Taking Great Auckland Restaurant Photos

Here are some tips to help you take great Auckland restaurant photos:

  • Use a tripod: A tripod will help you stabilize the camera and prevent blurry photos.

  • Experiment with angles: Don't be afraid to get creative with your angles. Shoot from above, below, or at an angle to add some visual interest to the photo.

  • Pay attention to background: Make sure the background is clean and clutter-free. You can use a plain colored background or a natural setting like a park or a beach.

  • Use a shallow depth of field: A shallow depth of field will help blur the background and make the subject stand out.

  • Shoot in RAW: Shooting in RAW will give you more flexibility when editing the photo.

Auckland Restaurant Photos: The Best of the Best

When it comes to Auckland restaurant photos, I've seen it all. From the best restaurants in Auckland CBD to the hidden gems in the suburbs, I've captured it all. And let me tell you, it's not just about taking a pretty picture. It's about telling a story and making the viewer hungry.

Auckland Restaurant Photos: The Secret to Making Your Food Look Irresistible

As a foodie, you know that a great meal is not just about the taste, but also about the presentation. And when it comes to capturing the perfect shot of your restaurant's dishes, you need a photographer who knows the city like the back of their hand. That's where I come in – Paka's Le Photographe, the best food photographer in Auckland.

>>> Contact the best Food Photographer in Auckland

Auckland Restaurant Photos: The Secret to Making Your Food Look Irresistible

Capturing the Perfect Shot: Tips and Tricks for Auckland Restaurant Photos

Now that we've covered the basics of Auckland restaurant photos, let's dive deeper into some advanced tips and tricks to help you capture the perfect shot.

Understanding the Power of Composition in Auckland Restaurant Photos

Composition is key to creating visually appealing Auckland restaurant photos. It's not just about pointing the camera at the food and clicking the shutter. You need to think about the composition of the shot, including the placement of the food, the background, and the lighting.

Here are some composition tips to keep in mind:

  • Rule of thirds: Divide the image into thirds both horizontally and vertically. Place the food or main subject along one of these lines or at their intersections.

  • Leading lines: Look for leading lines in the scene, such as a plate or a tablecloth, to lead the viewer's eye to the food.

  • Symmetry: Use symmetry to create a sense of order and balance in the image.

  • Negative space: Don't be afraid to use negative space to create a clean and minimalist look.

The Art of Styling in Auckland Restaurant Photos

Styling is a crucial aspect of Auckland restaurant photos. It's not just about presenting the food in a visually appealing way, but also about creating a story and atmosphere around the dish.

Here are some styling tips to keep in mind:

  • Use props: Add props such as linens, cutlery, and glassware to create a warm and inviting atmosphere.

  • Play with textures: Mix different textures such as smooth, rough, and soft to add depth and interest to the image.

  • Experiment with colors: Use colors to create a mood and atmosphere around the dish. For example, a bright and bold color can create a fun and playful atmosphere.

  • Don't over-accessorize: Remember, the food is the star of the show. Don't over-accessorize the plate or the background, as it can distract from the main subject.

Auckland Restaurant Photos: The Best of the Best

When it comes to Auckland restaurant photos, I've seen it all. From the best restaurants in Auckland CBD to the hidden gems in the suburbs, I've captured it all. And let me tell you, it's not just about taking a pretty picture. It's about telling a story and making the viewer hungry.

>>> Contact the best Food Photographer in Auckland

Common Mistakes to Avoid in Auckland Restaurant Photos

As a food photographer, I've seen many common mistakes that can make or break a photo. Here are some mistakes to avoid:

  • Poor lighting: Lighting is one of the most critical elements of food photography. Avoid using harsh or unflattering light, and opt for natural light or softbox lights instead.

  • Blurry photos: Make sure to use a tripod and a fast shutter speed to avoid blurry photos.

  • Over-processing: Don't over-process the image, as it can make it look unnatural and unappetizing.

  • Ignoring the background: Make sure to pay attention to the background and remove any distractions or clutter.

Auckland Restaurant Photos: The Secret to Making Your Food Look Irresistible

As a foodie, you know that a great meal is not just about the taste, but also about the presentation. And when it comes to capturing the perfect shot of your restaurant's dishes, you need a photographer who knows the city like the back of their hand. That's where I come in – Paka's Le Photographe, the best food photographer in Auckland.

>>> Contact the best Food Photographer in Auckland

Auckland Cafe Photographer for Cafes in Mt Eden

>>> Book the best Food Photographer in Auckland.

Auckland Cafe Photographer for Cafes in Mt Eden

As a cafe owner in Mt Eden, you know how important it is to have high-quality food photography to showcase your menu items and attract customers. But with so many cafes in the area, how do you stand out from the crowd? That's where a professional Auckland cafe photographer comes in.

Benefits of Cafe Photography

Cafe photography is not just about taking pretty pictures of your food. It's about creating a visual identity for your brand that will make customers want to come back for more. With a professional cafe photographer, you can expect to see an increase in sales and customer engagement. Here are just a few benefits of cafe photography:

  • Increased sales: High-quality food photography can increase sales by up to 20%.

  • Improved brand identity: A consistent visual identity can help to establish your brand and make it more recognizable.

  • Increased customer engagement: Food photography can help to create a sense of excitement and anticipation around your menu items.

Why Hire a Professional Cafe Photographer?

As a cafe owner, you know how important it is to have high-quality food photography to showcase your menu items and attract customers. But why hire a professional cafe photographer? Here are just a few reasons:

  • Expertise: A professional cafe photographer has the expertise and experience to take high-quality photos that will make your menu items look appetizing and appealing.

  • Equipment: A professional cafe photographer has the latest and greatest equipment to ensure that your photos are of the highest quality.

  • Attention to detail: A professional cafe photographer will pay close attention to detail to ensure that your photos are perfect.

What to Expect from a Cafe Photographer

>>> Book the best Food Photographer in Auckland.

When you hire a professional cafe photographer, you can expect to see a high-quality final product that showcases your menu items in the best possible light. Here are a few things to expect from a cafe photographer:

  • Professional equipment: A professional cafe photographer will have the latest and greatest equipment to ensure that your photos are of the highest quality.

  • Attention to detail: A professional cafe photographer will pay close attention to detail to ensure that your photos are perfect.

  • Communication: A professional cafe photographer will communicate with you throughout the process to ensure that you are happy with the final product.

Tips for Working with a Cafe Photographer

Working with a cafe photographer can be a fun and rewarding experience. Here are a few tips to make the most of your experience:

  • Be prepared: Make sure you have all of the necessary ingredients and props ready to go before the shoot.

  • Communicate clearly: Make sure you communicate clearly with the photographer about what you want to achieve with the photos.

  • Be flexible: Be flexible and open to new ideas and suggestions from the photographer.

Getting the Most Out of Your Cafe Photography

To get the most out of your cafe photography, make sure you are using high-quality images on your website and social media channels. Here are a few tips to get you started:

  • Use high-quality images: Use high-quality images that are clear and well-lit.

  • Use consistent branding: Use consistent branding across all of your marketing materials to create a strong visual identity.

  • Use social media: Use social media to showcase your menu items and attract new customers.

Auckland Cafe Photographer for Cafes in Mt Eden

As a cafe owner in Mt Eden, you know how important it is to have high-quality food photography to showcase your menu items and attract customers. By hiring a professional Auckland cafe photographer, you can expect to see an increase in sales and customer engagement. So why wait? Contact a professional cafe photographer today to get started on creating a visual identity for your brand that will make customers want to come back for more.

>>> Book the best Food Photographer in Auckland.


Part 2: Tips for Working with a Cafe Photographer

As a cafe owner in Mt Eden, you know how important it is to have high-quality food photography to showcase your menu items and attract customers. But working with a cafe photographer can be a daunting task, especially if you're not sure what to expect. In this article, we'll provide you with some tips for working with a cafe photographer to ensure that you get the best possible results.

Tip 1: Communicate Clearly

Communication is key when working with a cafe photographer. Make sure you communicate clearly with the photographer about what you want to achieve with the photos. This includes discussing the style, tone, and overall aesthetic of the photos.

  • Be specific: Be specific about what you want to achieve with the photos. For example, do you want to showcase your menu items in a bright and colorful way, or do you want to create a more moody and atmospheric feel?

  • Ask questions: Ask the photographer questions about their process and what they can do to help you achieve your goals.

  • Provide feedback: Provide feedback to the photographer throughout the process to ensure that you're getting the results you want.

Tip 2: Be Prepared

Being prepared is essential when working with a cafe photographer. Make sure you have all of the necessary ingredients and props ready to go before the shoot.

  • Plan ahead: Plan ahead and make sure you have all of the necessary ingredients and props ready to go before the shoot.

  • Have a clear vision: Have a clear vision of what you want to achieve with the photos and communicate it to the photographer.

  • Be flexible: Be flexible and open to new ideas and suggestions from the photographer.

Tip 3: Use High-Quality Images

Using high-quality images is essential for showcasing your menu items and attracting customers. Make sure you use high-quality images on your website and social media channels.

  • Use high-resolution images: Use high-resolution images that are clear and well-lit.

  • Use consistent branding: Use consistent branding across all of your marketing materials to create a strong visual identity.

  • Use social media: Use social media to showcase your menu items and attract new customers.

Tip 4: Get the Most Out of Your Cafe Photography

>>> Book the best Food Photographer in Auckland.

To get the most out of your cafe photography, make sure you're using it consistently across all of your marketing materials.

  • Use it on your website: Use your cafe photography on your website to showcase your menu items and attract customers.

  • Use it on social media: Use your cafe photography on social media to showcase your menu items and attract new customers.

  • Use it in marketing materials: Use your cafe photography in marketing materials such as brochures, flyers, and business cards.

Tip 5: Work with a Professional

Working with a professional cafe photographer is essential for getting high-quality photos that will showcase your menu items and attract customers.

  • Research local photographers: Research local photographers and find one that has experience working with cafes and restaurants.

  • Check their portfolio: Check their portfolio to see if they have experience working with cafes and restaurants.

  • Ask for referrals: Ask for referrals from other cafe owners or restaurants in the area.

Auckland Cafe Photographer for Cafes in Mt Eden

>>> Book the best Food Photographer in Auckland.

As a cafe owner in Mt Eden, you know how important it is to have high-quality food photography to showcase your menu items and attract customers. By following these tips and working with a professional cafe photographer, you can get the best possible results and attract new customers to your cafe. Auckland cafe photographer for cafes in Mt Eden

Cafe Food Photography in Auckland: Tips and Tricks from the Best

>>> Contact the best Food Photographer in Auckland here

Cafe Food Photography in Auckland: Tips and Tricks from the Best

As a foodie and a photographer, I'm often asked about the best way to capture the perfect shot of cafe food in Auckland. With so many amazing cafes and restaurants to choose from, it can be overwhelming to know where to start. But don't worry, I've got you covered.

What is Cafe Food Photography?

Cafe food photography is all about capturing the beauty of food in a cafe setting. It's not just about taking a picture of a plate of food, but about telling a story and evoking emotions through the image. Whether you're a food blogger, a cafe owner, or just a food enthusiast, cafe food photography can help you showcase your passion for food and connect with others.

>>> Contact the best Food Photographer in Auckland here

Why is Cafe Food Photography Important?

In today's digital age, food photography is more important than ever. With the rise of social media, people are more likely to share and engage with food images than ever before. By having high-quality food photography, cafes and restaurants can increase their online presence, attract more customers, and ultimately drive sales.

What are the Best Cameras for Cafe Food Photography?

When it comes to cafe food photography, you don't need the most expensive or high-end camera equipment. A good quality smartphone camera or a compact camera can produce amazing results. However, if you're looking to invest in a dedicated camera, consider a DSLR or mirrorless camera with a good macro lens.

>>> Contact the best Food Photographer in Auckland here

Tips for Taking Great Photos of Cafe Food

Here are some tips to help you take great photos of cafe food:

  • Use natural light: Natural light is always the best option for food photography. Try to take your photos near a window or outside during the golden hour (the hour just before sunset).

  • Experiment with angles: Don't be afraid to get creative with your angles. Try shooting from above, below, or at an angle to add some visual interest to your photos.

  • Pay attention to composition: Consider the rule of thirds, leading lines, and framing when composing your shot.

  • Use a tripod: A tripod will help you stabilize your camera and avoid camera shake, especially when shooting in low light.

  • Style your food: Add some props, garnishes, or styling elements to make your food look more appealing.

How to Style Cafe Food for Photography

Styling your food is all about creating a visually appealing image. Here are some tips to help you style your cafe food:

  • Add props: Use props like vintage plates, wooden boards, or linen napkins to add some texture and interest to your image.

  • Garnish with herbs: Fresh herbs like basil, rosemary, or thyme can add a pop of color and fragrance to your image.

  • Use a backdrop: A simple white or gray backdrop can help your food stand out and create a clean and minimalist look.

  • Play with textures: Mix and match different textures like smooth, rough, and soft to add depth and interest to your image.

Best Food Photographers in Auckland

If you're looking for a professional food photographer in Auckland, consider reaching out to Paka from Le Photographe. With years of experience and a keen eye for detail, Paka can help you capture the perfect shot of your cafe food.

>>> Contact the best Food Photographer in Auckland here

Lighting and Editing

In the previous part, we discussed the importance of cafe food photography, the best cameras for the job, and some tips for taking great photos of cafe food. In this part, we'll dive deeper into the world of lighting and editing, two crucial elements that can make or break your food photography.

Lighting for Cafe Food Photography

Lighting is one of the most critical elements of food photography. It can make your food look appetizing, or it can make it look dull and unappetizing. Here are some tips for lighting your cafe food:

  • Natural Light: As we mentioned earlier, natural light is always the best option for food photography. Try to take your photos near a window or outside during the golden hour (the hour just before sunset).

  • Artificial Light: If you're shooting indoors, consider using artificial light sources like softboxes, umbrellas, or LED lights. These can help create a soft, even light that's perfect for food photography.

  • Avoid Harsh Light: Harsh light can create unflattering shadows and highlights on your food. Try to avoid shooting in direct sunlight or using harsh artificial light sources.

Editing for Cafe Food Photography

Editing is an essential step in food photography. It can help enhance the colors, contrast, and overall look of your image. Here are some tips for editing your cafe food photos:

  • Use a Photo Editing Software: There are many photo editing software options available, including Lightroom, Photoshop, and Skylum Luminar. Choose one that you're comfortable with and that suits your needs.

  • Adjust the White Balance: White balance is critical in food photography. It can help ensure that your food looks natural and appetizing. Try to adjust the white balance to match the lighting conditions of your shot.

  • Enhance the Colors: Food photography is all about making your food look appealing. Try to enhance the colors of your image by adjusting the saturation, contrast, and exposure.

  • Add a Pop of Color: A pop of color can add visual interest to your image. Try to add a pop of color by adjusting the saturation or adding a color overlay.

Food Photography Editing Tips

Here are some additional editing tips to help you enhance your food photography:

  • Use a Clarity Filter: A clarity filter can help enhance the details of your image and make your food look more appetizing.

  • Add a Grain Effect: A grain effect can add texture and depth to your image. Try to add a grain effect to give your image a more organic look.

  • Use a Curves Tool: A curves tool can help you adjust the contrast and exposure of your image. Try to use a curves tool to create a more balanced image.

Best Food Photography Editing Software

If you're looking for a photo editing software that's specifically designed for food photography, consider using Skylum Luminar. With its intuitive interface and powerful editing tools, Luminar can help you enhance your food photography and create stunning images.

>>> Contact the best Food Photographer in Auckland here

Cafe Food Photography in Auckland: Tips and Tricks from the Best

By following these tips and tricks, you'll be well on your way to capturing the perfect shot of cafe food in Auckland. Remember to experiment with different lighting setups, editing software, and techniques to create a visually appealing image. And if you're looking for a professional food photographer, consider reaching out to Paka from Le Photographe.

Food Photography for Restaurants: A Guide to Taking Great Photos

What's the Deal with Food Photography for Restaurants?

As a food photographer in Auckland, I've seen countless restaurants struggle with taking great photos of their dishes. It's like they're trying to capture a moment in time, but it's just not happening. But what's the deal with food photography for restaurants, anyway? Is it just a matter of pointing a camera at a plate of food and calling it a day? Food photography for restaurants is an art that requires skill, creativity, and attention to detail.

The Importance of Food Photography for Restaurants

Let's face it, food photography is a crucial part of any restaurant's marketing strategy. It's what sets your restaurant apart from the competition and makes people want to come and try your food. But what makes a great food photo? Gordon Ramsay, the celebrity chef and restaurateur, says it's all about the lighting, composition, and styling. Jamie Oliver, another celebrity chef and restaurateur, agrees, saying that a great food photo should make you want to reach out and touch the food.

Tips for Taking Great Food Photos for Restaurants

So, how do you take great food photos for restaurants? Here are some tips to get you started:

  • Use natural light: Natural light is always the best, so try to shoot near a window or outside.

  • Keep it simple: Don't overcomplicate the shot with too many props or distractions.

  • Focus on the food: Make sure the food is the star of the show and not the background or props.

  • Experiment with angles: Don't be afraid to get creative with your angles and try something new.

Food Photography Equipment for Restaurants

So, what kind of equipment do you need to take great food photos for restaurants? Here are some essentials to get you started:

  • Camera: A DSLR camera is always a good idea, but a smartphone camera can also work well.

  • Lens: A good lens can make all the difference in the quality of your photos.

  • Lighting: Natural light is always the best, but if you're shooting indoors, invest in a good lighting kit.

  • Props: Keep it simple with a few props like utensils, plates, and garnishes.

Food Photography Software for Restaurants

So, what kind of software do you need to edit your food photos for restaurants? Here are some essentials to get you started:

  • Adobe Lightroom: A great tool for editing and organizing your photos.

  • Adobe Photoshop: A powerful tool for editing and manipulating your photos.

  • Skylum Luminar: A great tool for editing and enhancing your photos.

So, you've got your camera and lighting equipment, now it's time to start taking photos. But what are some tips to keep in mind when taking food photos for restaurants? Here are a few to get you started:

  • Focus on the food: Make sure the food is the star of the show and not the background or props.

  • Use a shallow depth of field: This will help blur the background and make the food stand out.

  • Experiment with angles: Don't be afraid to get creative with your angles and try something new.

  • Pay attention to composition: Make sure the food is arranged in a way that's visually appealing.

  • Use a tripod: This will help you take steady shots and avoid camera shake.

Food Photography Editing for Restaurants

So, you've taken your photos, now it's time to edit them. But what are some tips to keep in mind when editing food photos for restaurants? Here are a few to get you started:

  • Adjust the brightness and contrast: This will help make the food stand out and look more appetizing.

  • Use a color correction tool: This will help adjust the colors of the food to make it look more natural.

  • Add a vignette: This will help draw attention to the food and create a sense of depth.

  • Use a texture overlay: This will help add texture and interest to the photo.

  • Save for web: Make sure to save your edited photos in a format that's suitable for web use.

Food Photography for Social Media

So, you've taken and edited your photos, now it's time to share them on social media. But what are some tips to keep in mind when sharing food photos on social media? Here are a few to get you started:

  • Use a consistent aesthetic: Make sure your photos have a consistent look and feel to them.

  • Use relevant hashtags: This will help your photos reach a wider audience and attract more followers.

  • Engage with your followers: Respond to comments and messages and engage with your followers to build a community around your brand.

  • Post regularly: Make sure to post new content regularly to keep your followers engaged and interested.

  • Use Instagram Stories: This will help you share behind-the-scenes content and give your followers a glimpse into your creative process.
Food Photography for Restaurants: A Guide to Taking Great Photos

By following these tips and using the right equipment and software, you can take great food photos for your restaurant and attract more customers. Food photography for restaurants is an art that requires skill, creativity, and attention to detail, but with practice and patience, you can become a master food photographer.

Food Photography Auckland: Unlocking the Power of Your Food Photos

What's Holding You Back?

Are you struggling to take great food photos in Auckland? Do you find yourself stuck in a rut, unsure of how to capture the perfect shot? You're not alone. As a food photographer in Auckland, I've seen countless people struggle with the same issues. But don't worry, I'm here to help.

Benefits of Food Photography

So, why is food photography so important? Well, for starters, it's a great way to showcase your food in a visually appealing way. Whether you're a food blogger, a restaurateur, or a food enthusiast, food photography can help you stand out from the crowd. But that's not all. Food photography can also help you increase brand awareness, improve customer engagement, and even boost sales.

How to Take Great Food Photos

So, how do you take great food photos? Well, it's not as hard as you might think. Here are a few tips to get you started:

  • Use good lighting: Natural light is always the best, so try to shoot near a window or outside.

  • Experiment with angles: Don't be afraid to get creative with your angles. Try shooting from above, or at an angle.

  • Pay attention to composition: Make sure your food is the star of the show. Use props and styling to create a visually appealing scene.

  • Use a tripod: A tripod will help you keep your camera steady, which is especially important when shooting in low light.

So, what's the food photography scene like in Auckland? Well, it's thriving. With a growing number of food bloggers and influencers, there's never been a better time to get into food photography. And with the right equipment and software, you can create stunning food photos that will make your audience drool.

Tips and Tricks for Taking Great Food Photos

Tip 1: Use Good Lighting

Lighting is one of the most important factors when it comes to taking great food photos. Natural light is always the best, so try to shoot near a window or outside. If you're shooting indoors, use a light box or a softbox to create a soft, even light.

Tip 2: Experiment with Angles

Don't be afraid to get creative with your angles. Try shooting from above, or at an angle. This will add depth and interest to your photos.

Tip 3: Pay Attention to Composition

Make sure your food is the star of the show. Use props and styling to create a visually appealing scene. Consider using a clean and simple background, and add some garnishes or decorations to make your dish stand out.

Tip 4: Use a Tripod

A tripod will help you keep your camera steady, which is especially important when shooting in low light. This will also allow you to take your time and experiment with different angles and compositions.

Tip 5: Edit Your Photos

Editing is an important step in the food photography process. Use software like Adobe Lightroom or Photoshop to enhance the colors, contrast, and brightness of your photos. You can also use filters and presets to give your photos a consistent look.
Tip 6: Practice, Practice, Practice

The more you practice, the better you'll become at taking great food photos. Experiment with different techniques, and don't be afraid to try new things. You can also practice by shooting different types of food, such as fruits, vegetables, and meats.

Tip 7: Use a Camera with Good Image Quality

A camera with good image quality is essential for taking great food photos. Look for a camera with a high megapixel count, and a lens with a wide aperture (like f/1.4 or f/2.8). This will allow you to capture sharp, detailed images with a shallow depth of field.

Tip 8: Use a Remote Shutter Release

A remote shutter release can help you avoid camera shake and blur when taking photos. This is especially important when shooting in low light or using a tripod.

Tip 9: Shoot in RAW

Shooting in RAW format gives you more flexibility when editing your photos. You can adjust the exposure, contrast, and brightness of your photos without losing any image quality.

Tip 10: Have Fun

Food photography is all about having fun and experimenting with different techniques. Don't be afraid to try new things and make mistakes. With practice and patience, you'll become a master food photographer in no time.

Paka Le Photographe: The Best Food Photographer in Auckland

As a food photographer in Auckland, I've seen it all. From the best restaurants to the most beautiful markets, I've captured it all. And with my expertise, you can too. Whether you're a food blogger, a restaurateur, or a food enthusiast, I can help you take your food photos to the next level.

Get Started with Food Photography Today

So, what are you waiting for? Get started with food photography today. With the right equipment, software, and expertise, you can create stunning food photos that will make your audience drool. And with my guidance, you'll be well on your way to becoming a master food photographer.

Featured as one of the top Auckland photographers!

In the vibrant landscape of Auckland's photography scene, one name stands out: Paka. Renowned for his versatility and storytelling prowess, Paka has recently been recognized as one of the city's best photographers, earning a coveted spot on Snappr's prestigious platform.


Capturing the Essence of Auckland: Paka's journey in photography transcends mere images; it's about encapsulating the soul of Auckland. From the bustling city streets to the serene beauty of its landscapes, Paka's lens has immortalized countless moments, each telling a unique story of this diverse city.

Versatility Personified: What sets Paka apart is his versatility. Whether it's fashion, corporate events, or the culinary arts, Paka's keen eye and technical expertise ensure that every shot is a masterpiece. His ability to adapt to different styles and industries has made him a sought-after talent in Auckland's dynamic photography scene.

A Passion for Food Photography: Among his myriad talents, food photography holds a special place in Paka's heart. Through his lens, he transforms ingredients into works of art, capturing the essence of flavor and texture with every shot. Paka's food photography not only tantalizes taste buds but also tells the story of Auckland's vibrant culinary culture.


Snappr Recognition: Paka's dedication to his craft has not gone unnoticed. Being featured on Snappr, a platform renowned for showcasing top-tier talent, is a testament to his skill and artistry. It's a well-deserved acknowledgment of Paka's commitment to excellence and his contribution to Auckland's photography community.

Looking Ahead: As Paka continues to elevate his craft and push the boundaries of visual storytelling, his future in Auckland's photography scene shines ever brighter. With Snappr's recognition serving as a milestone in his journey, there's no doubt that Paka's lens will continue to capture the essence of Auckland for years to come.

In conclusion, Paka's feature on Snappr is not just a recognition of his talent but also a celebration of Auckland's rich tapestry, beautifully woven through his photographs. As he continues to inspire and enchant audiences with his work, Paka remains a true luminary in the world of photography.

Capturing Culinary Delights: A Food Photography Journey in Auckland's Cafes

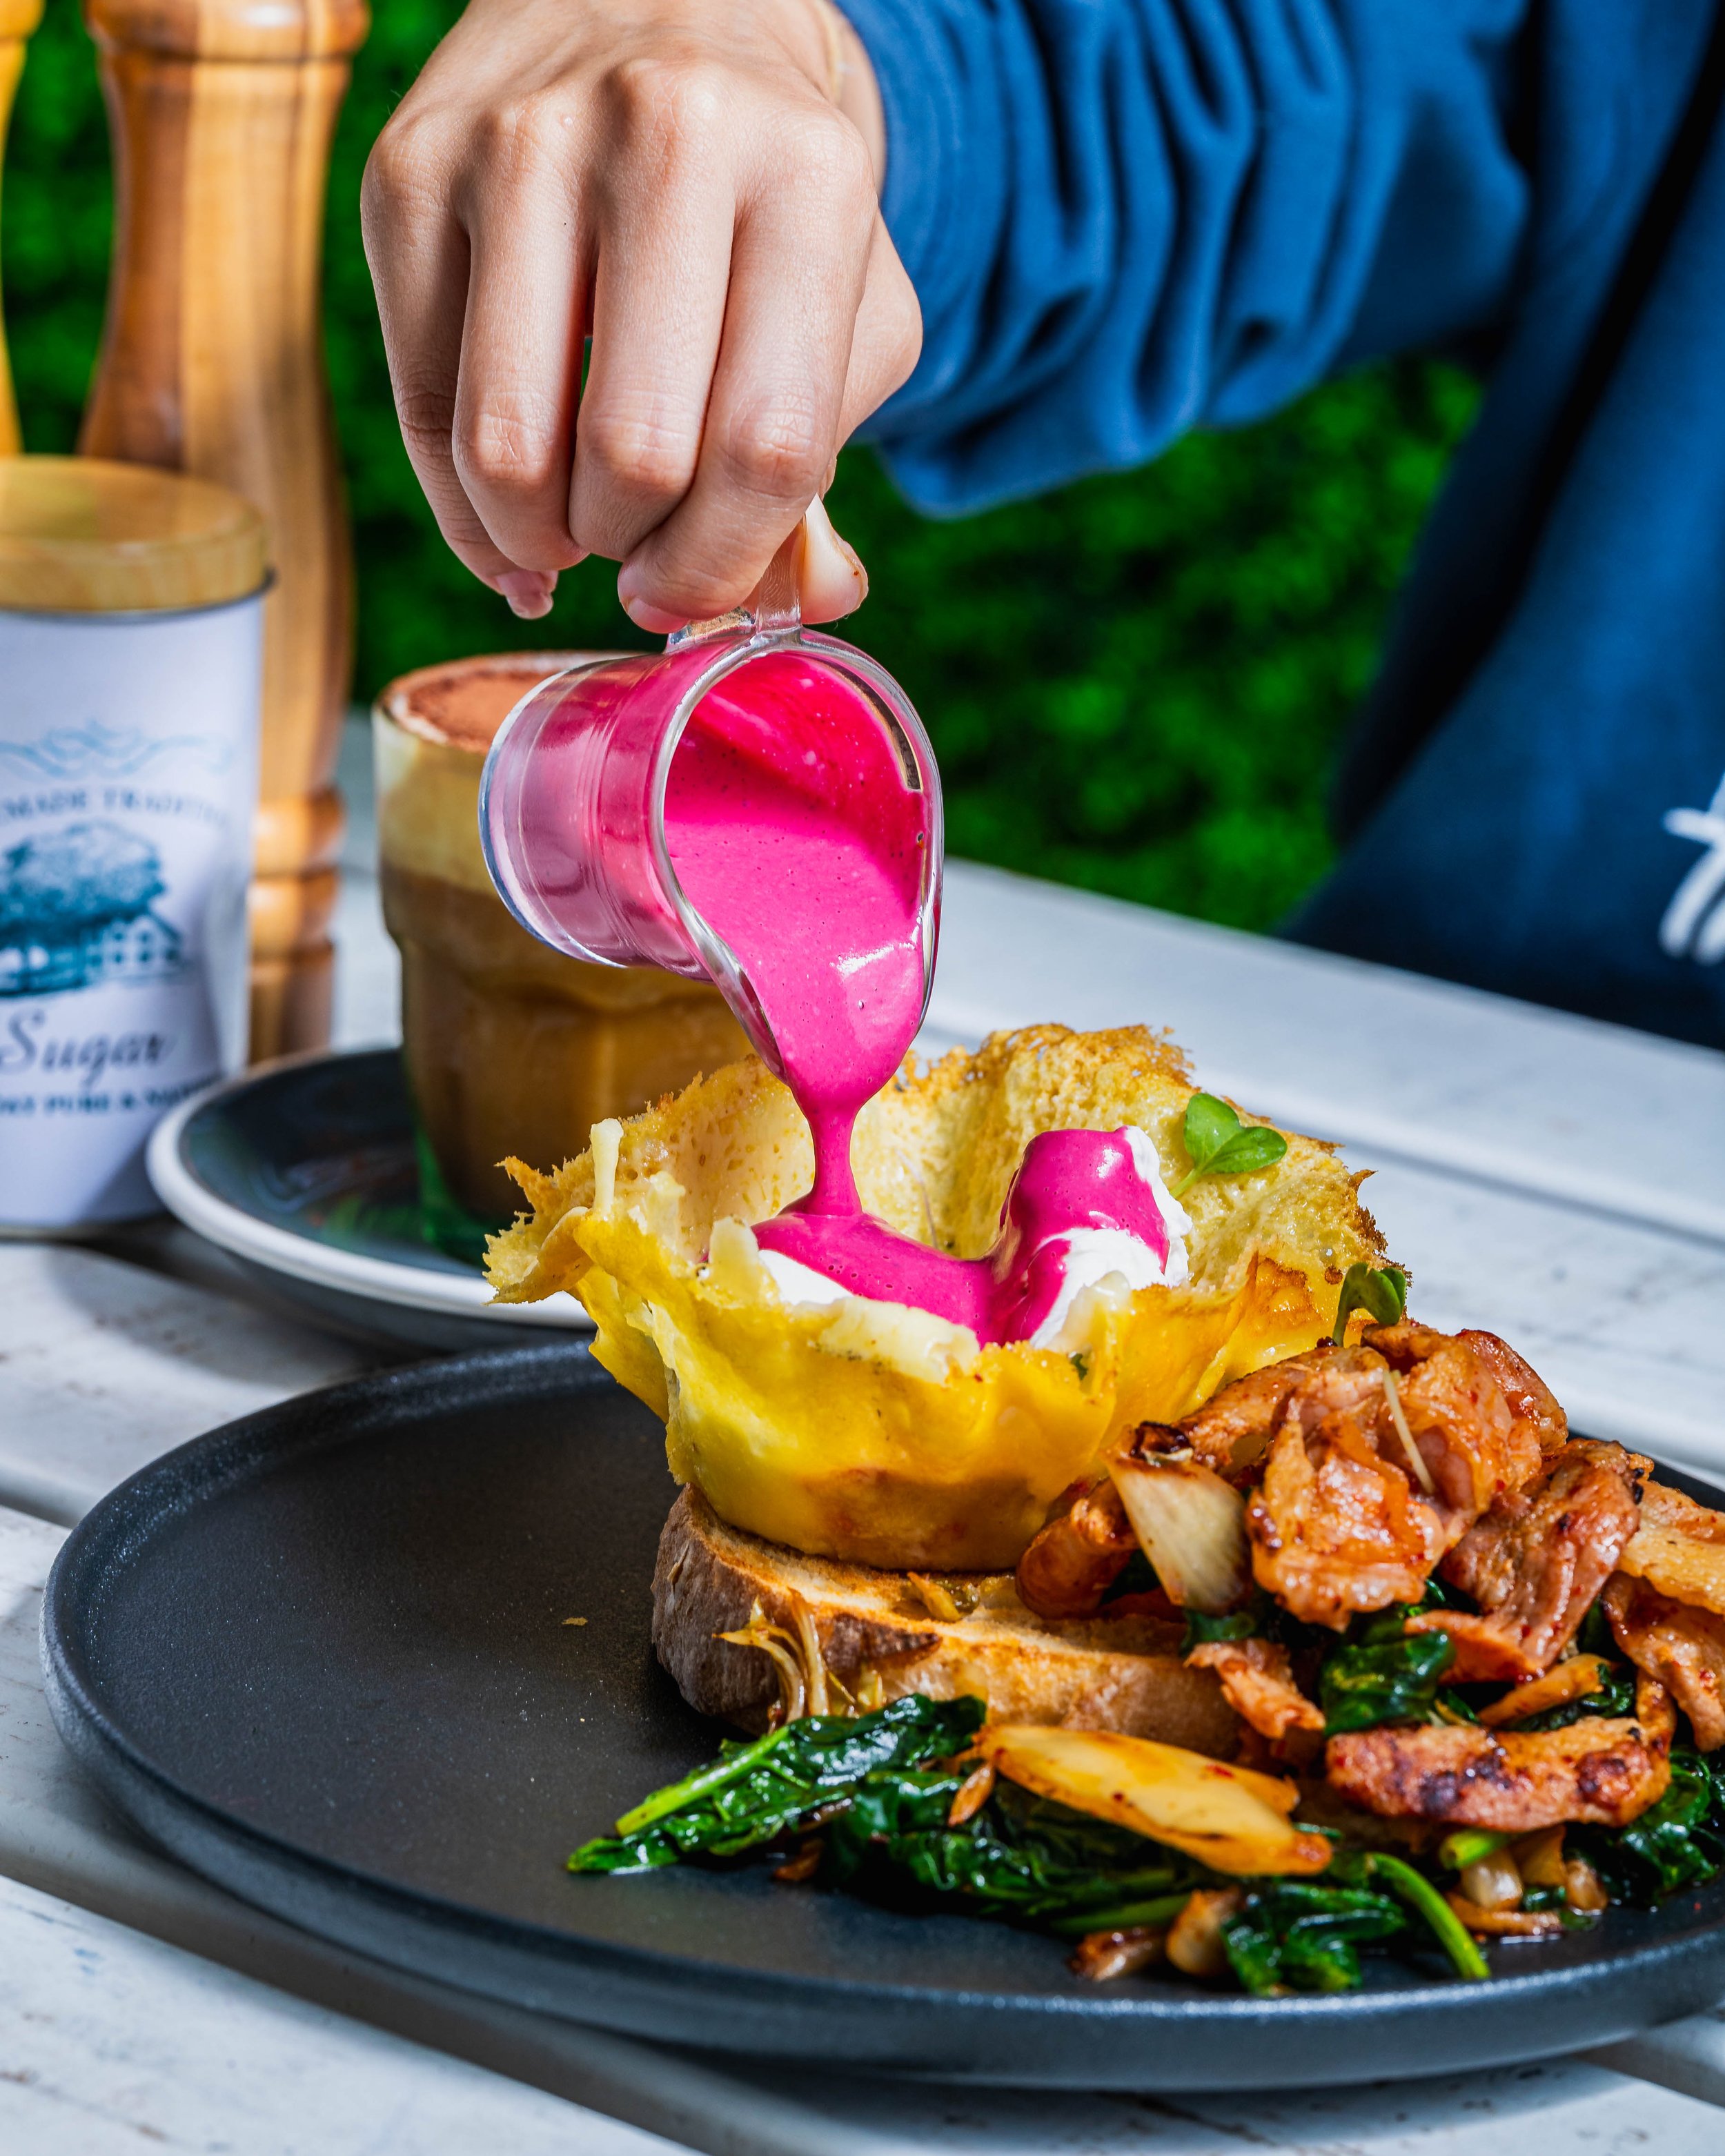
As a food photographer based in Auckland, every assignment brings with it a delightful array of flavors, textures, and aromas waiting to be captured through my lens. Recently, I had the pleasure of embarking on a tantalizing journey with a local café, immersing myself in the art of visually narrating their culinary creations: from the comforting aroma of freshly brewed coffee to the indulgent allure of eggs benedict and maple syrup-infused French toast.

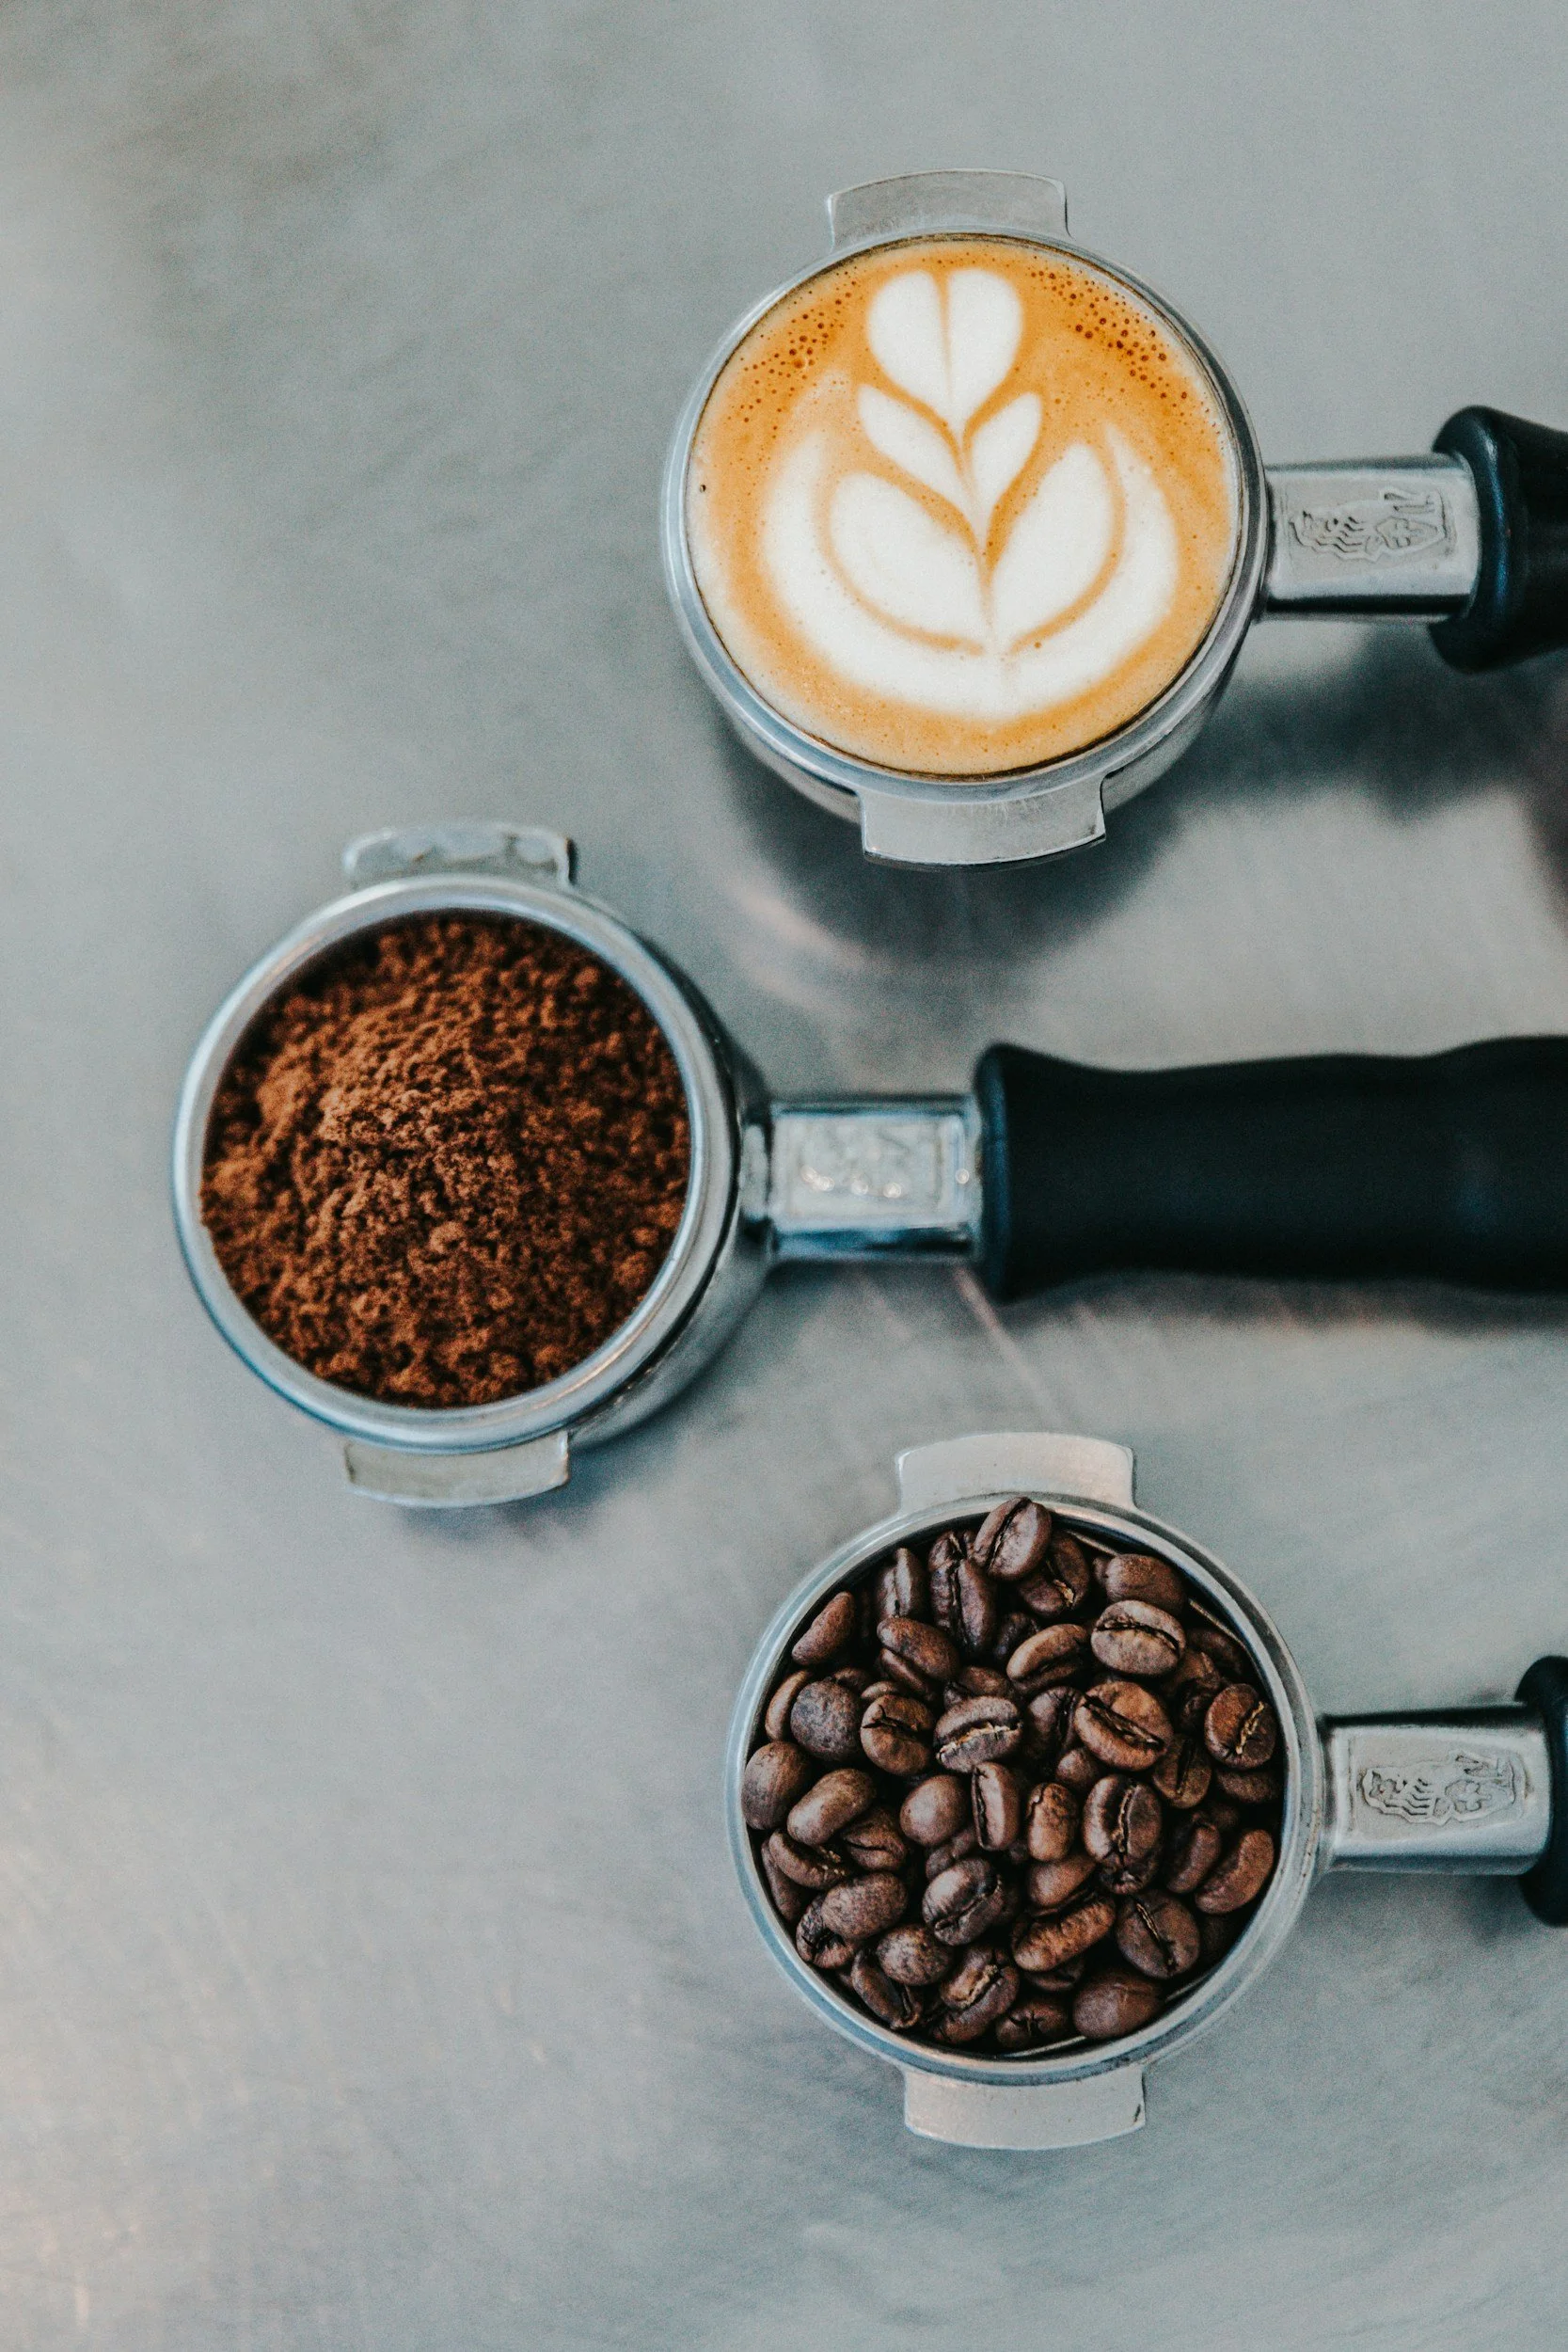
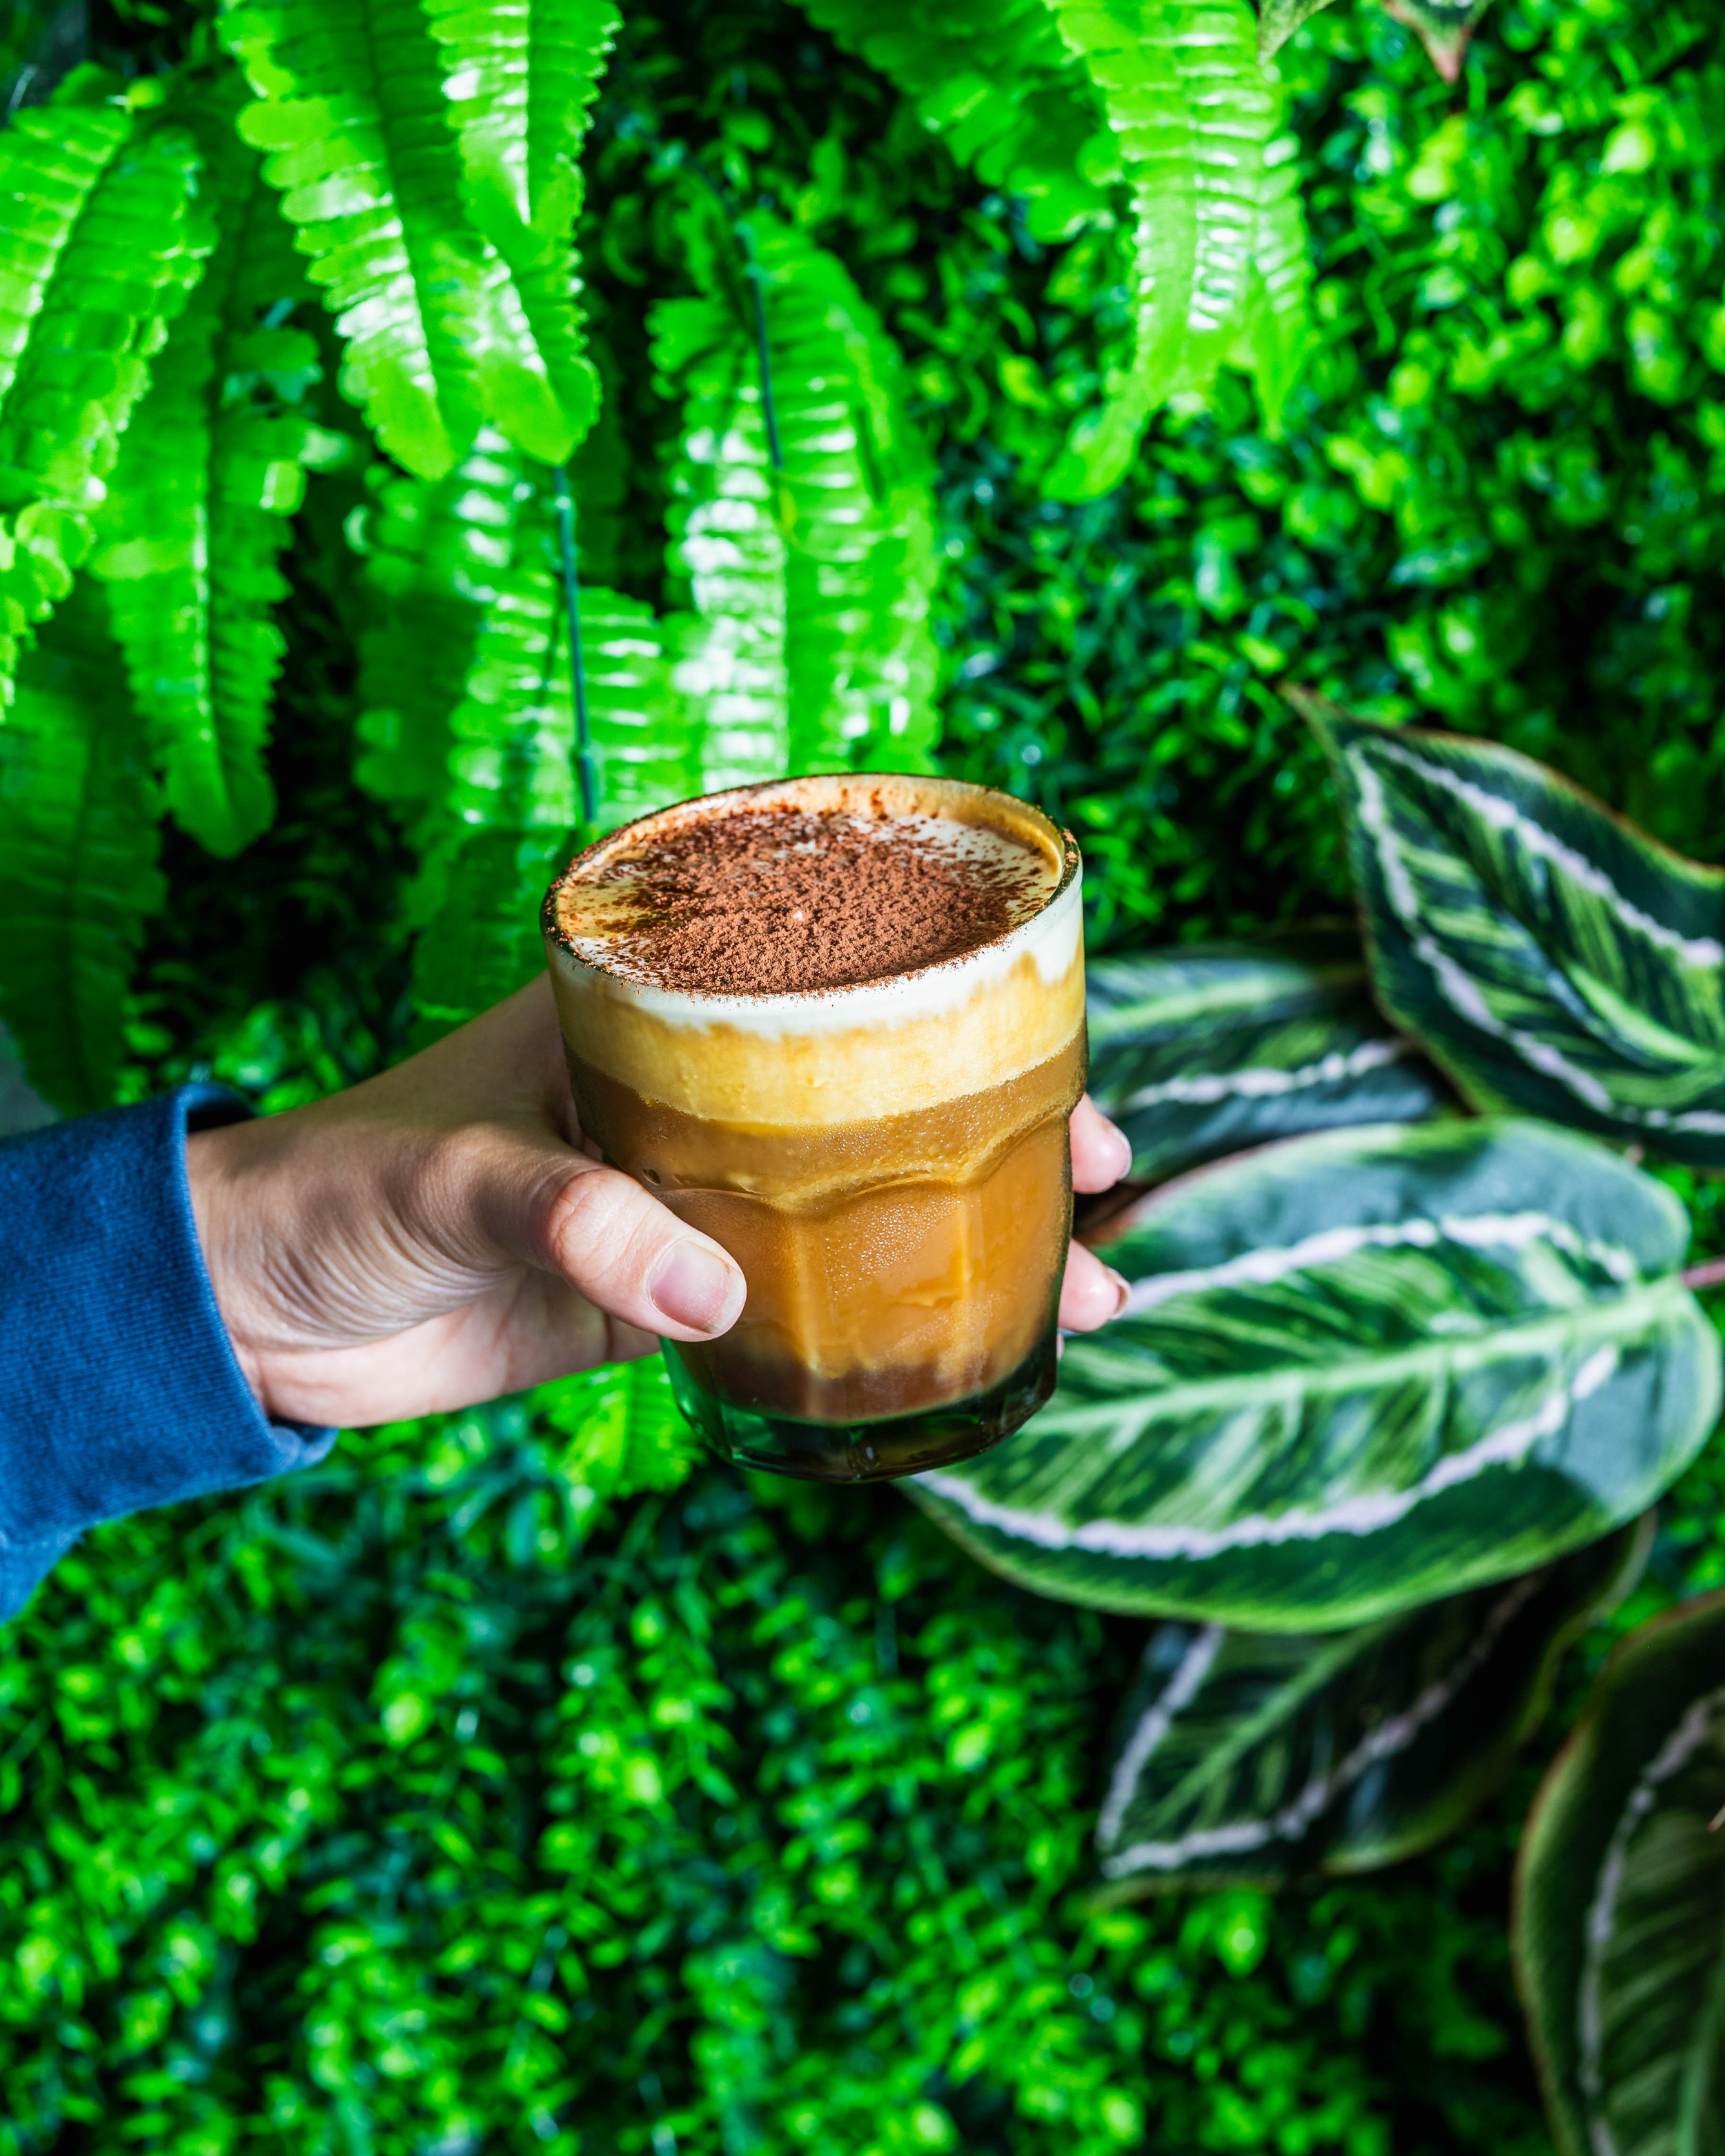
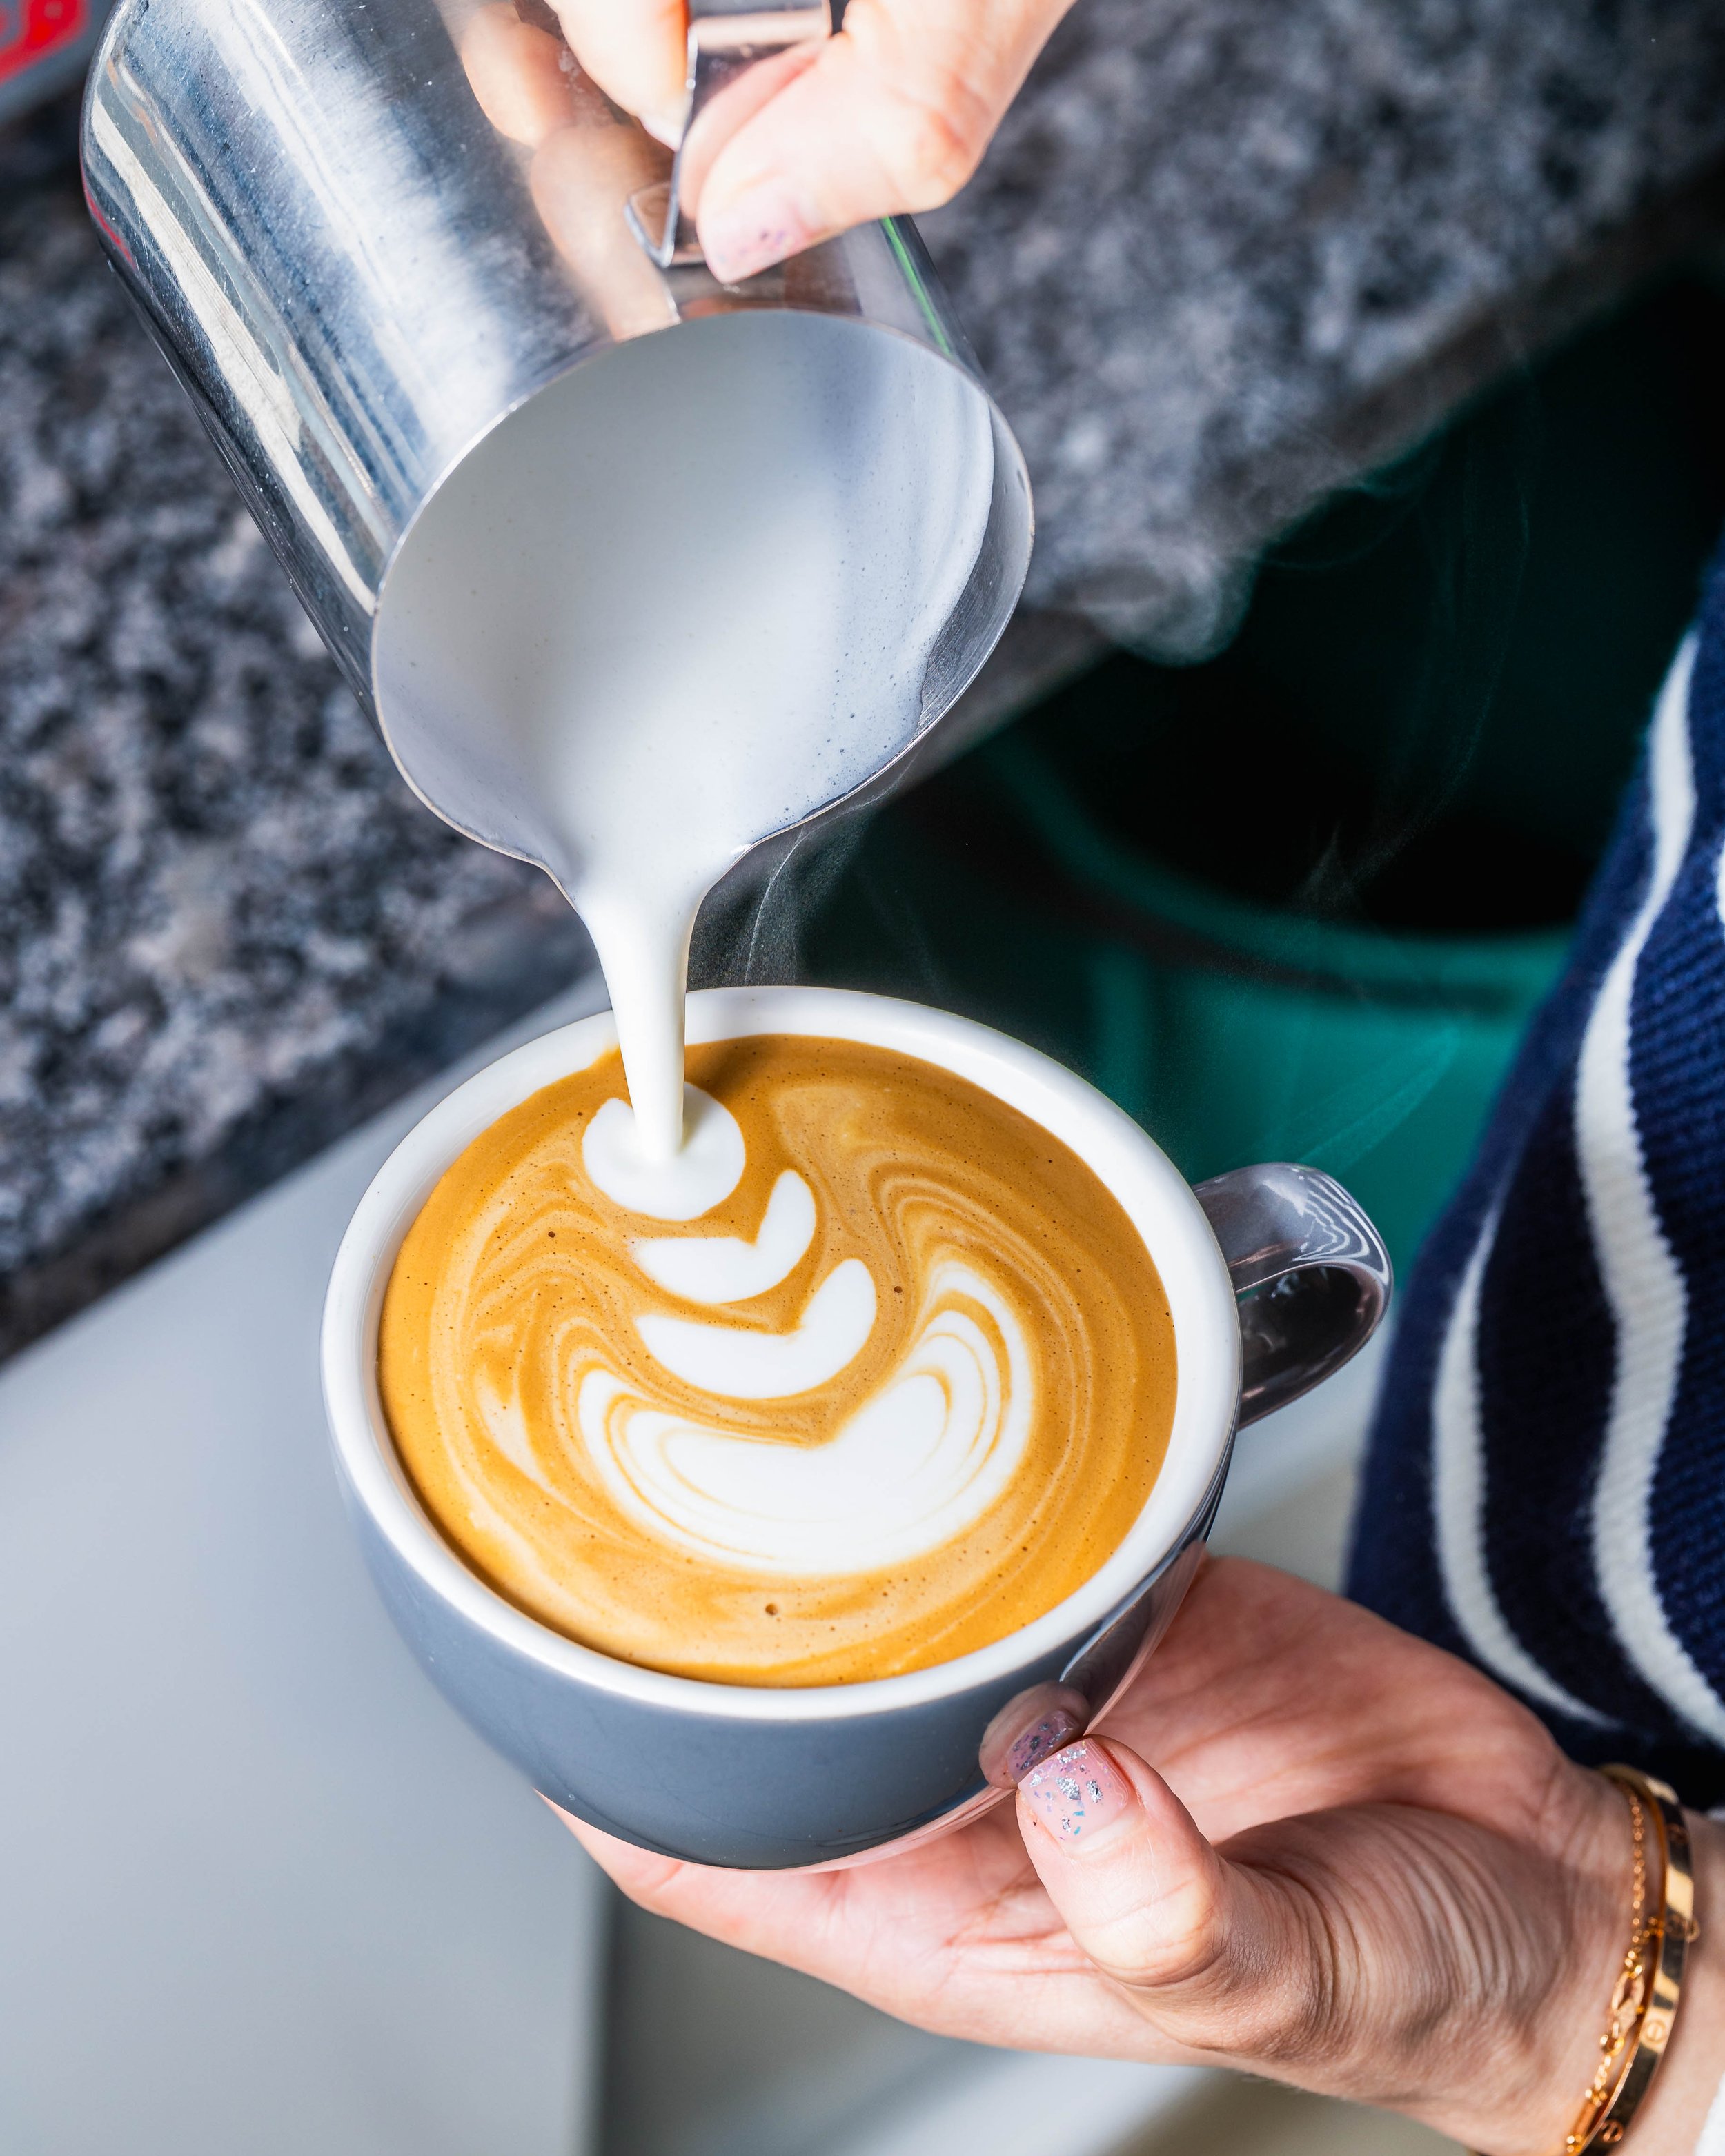
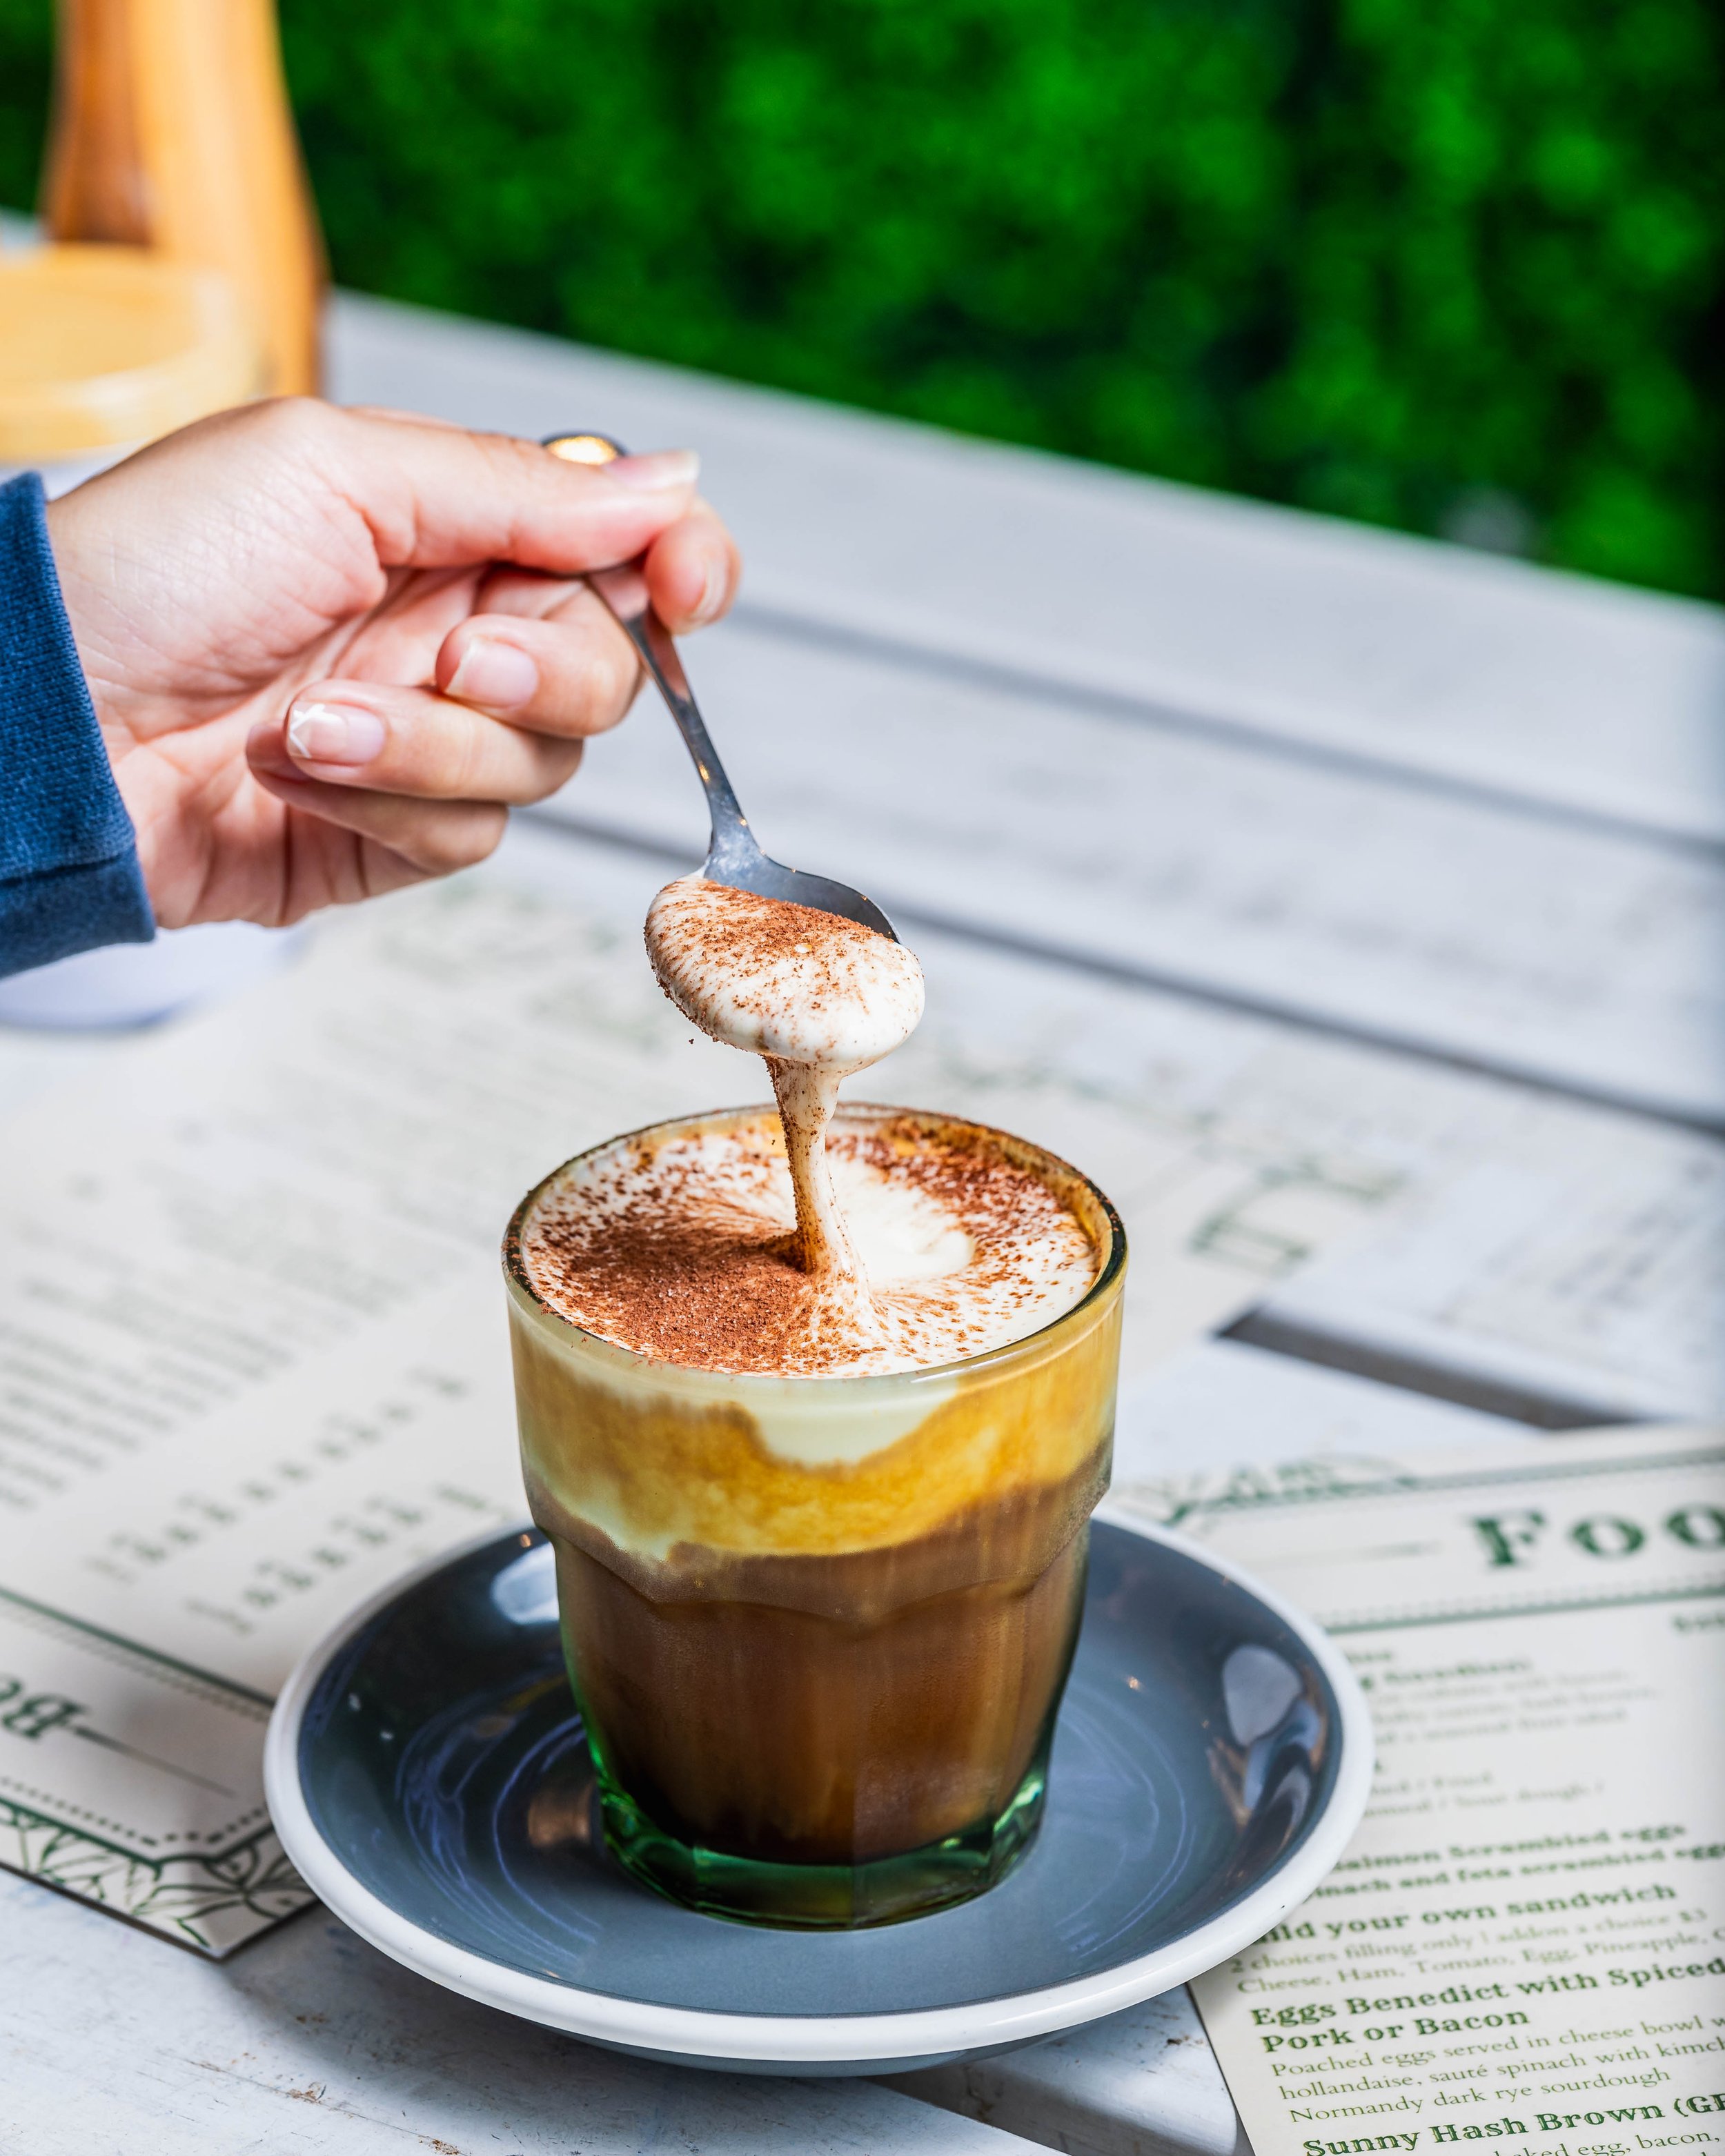
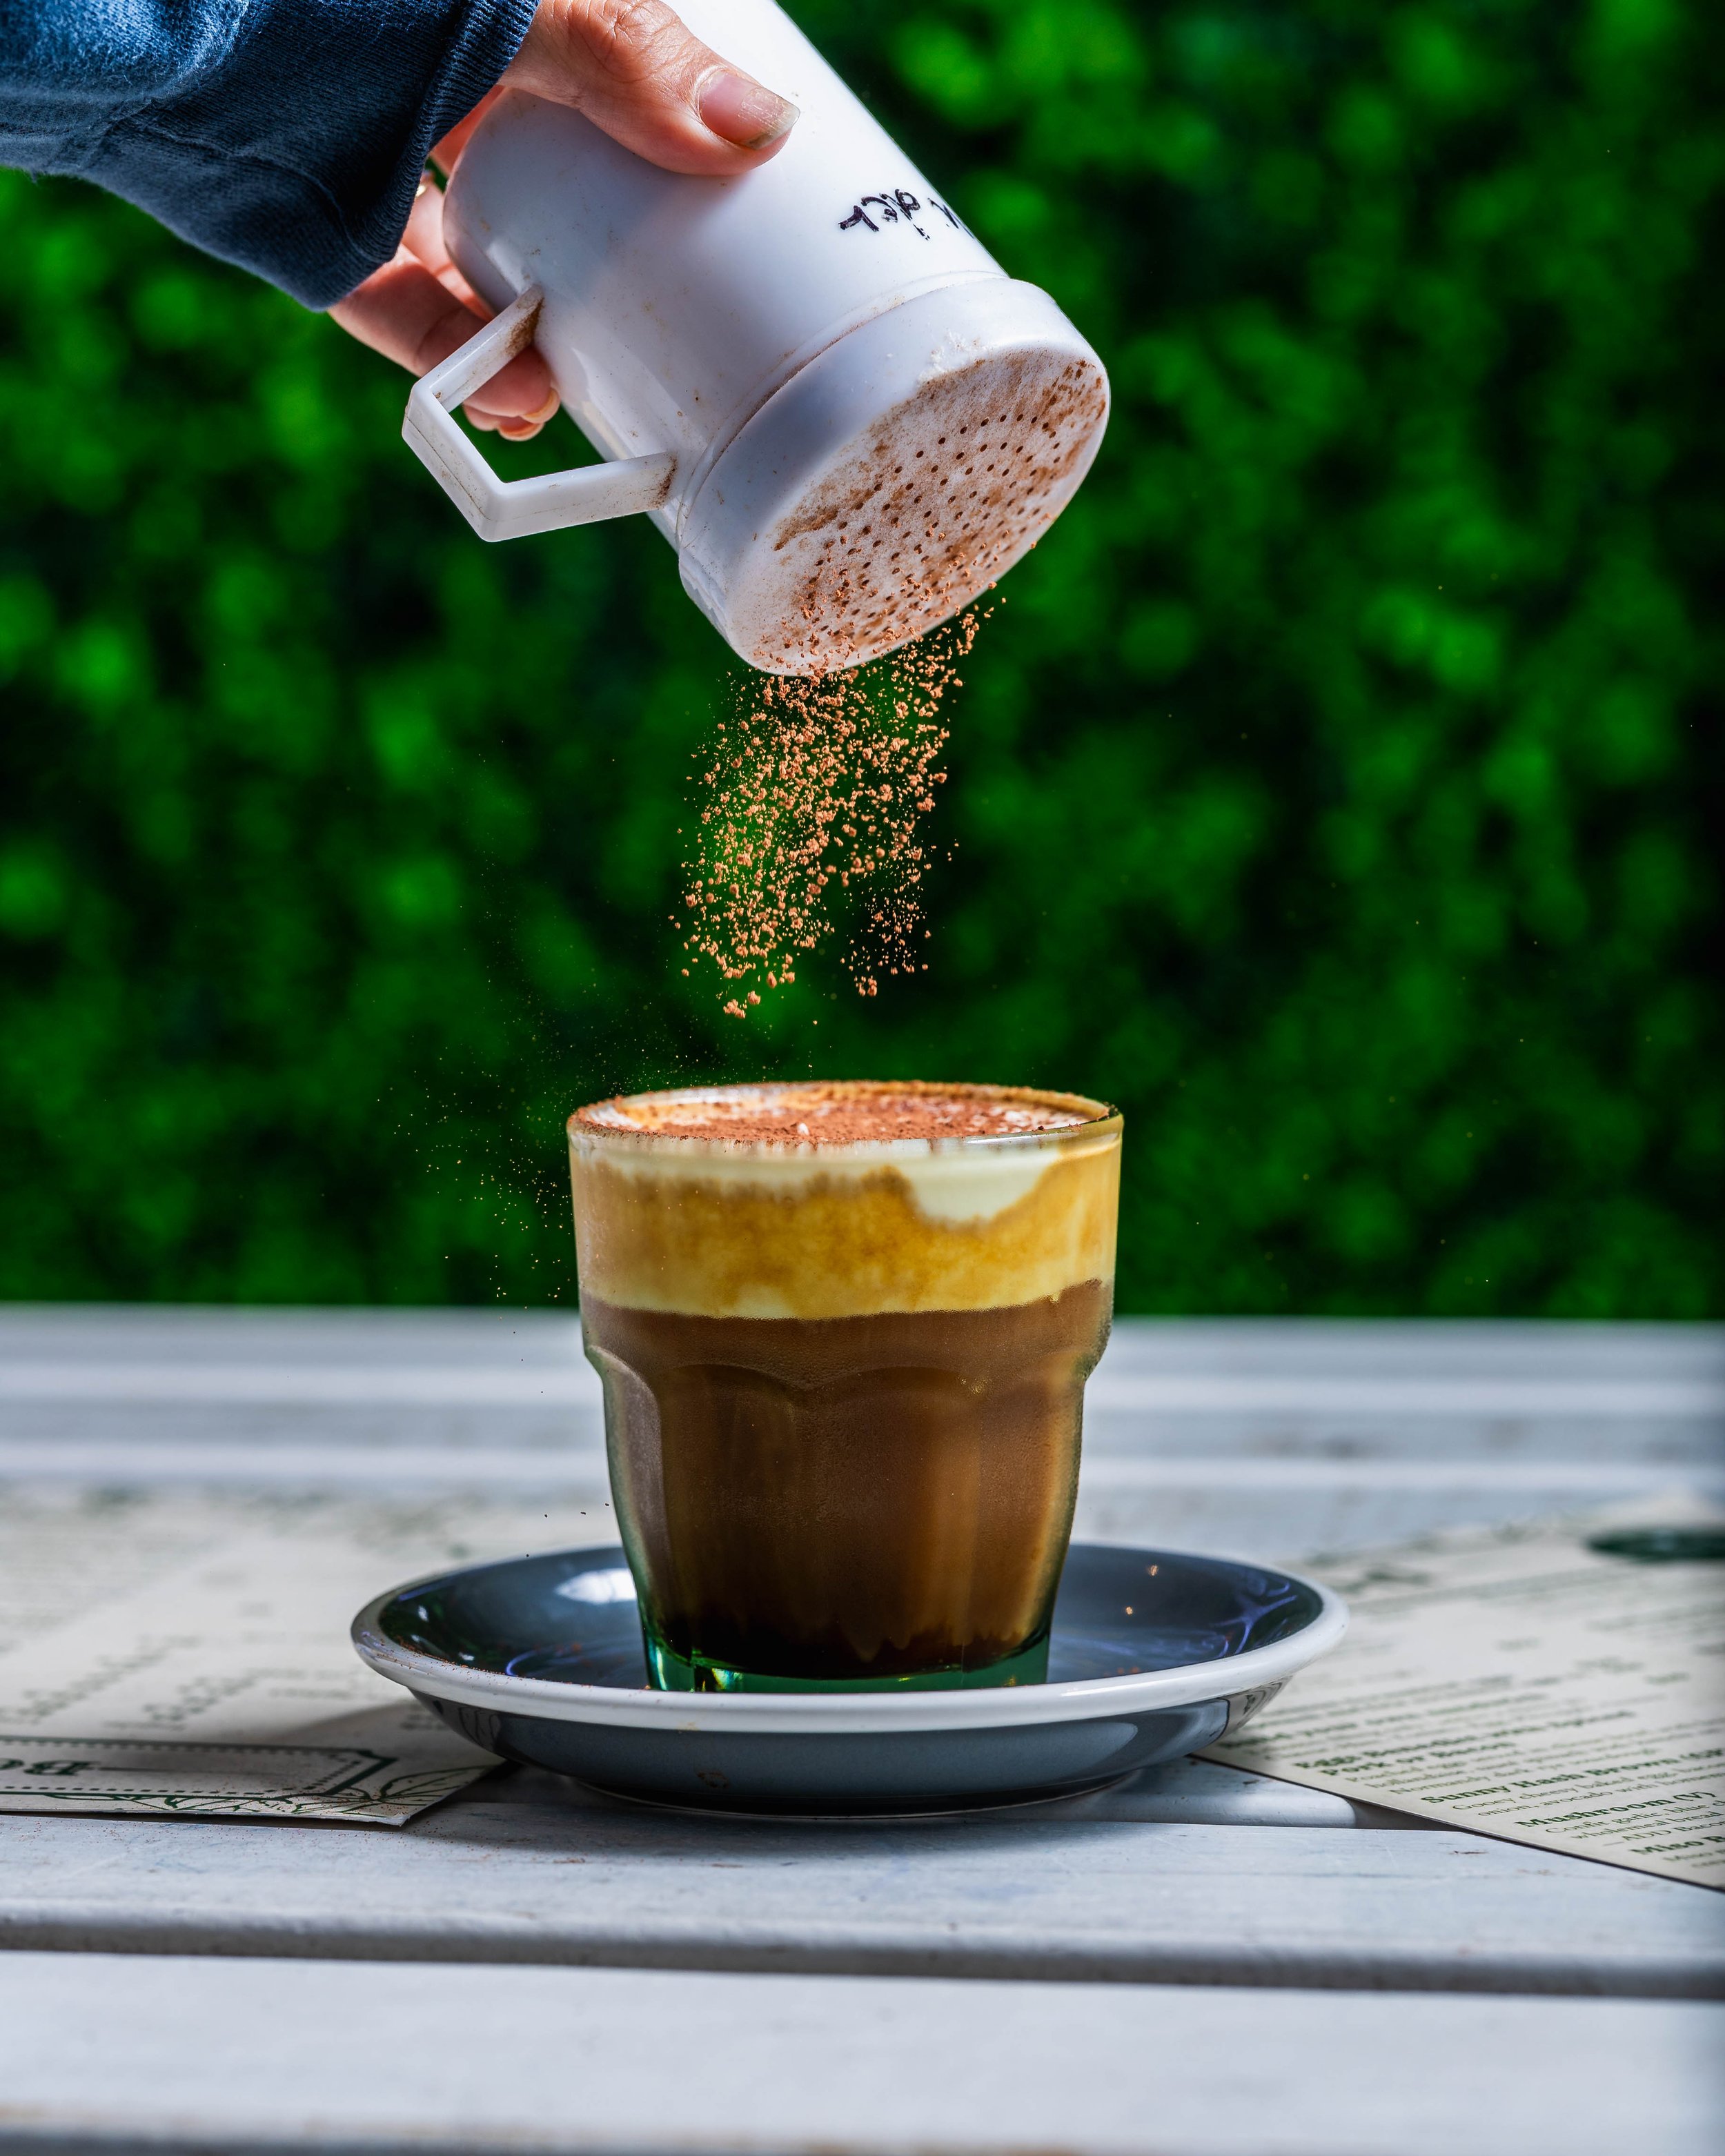
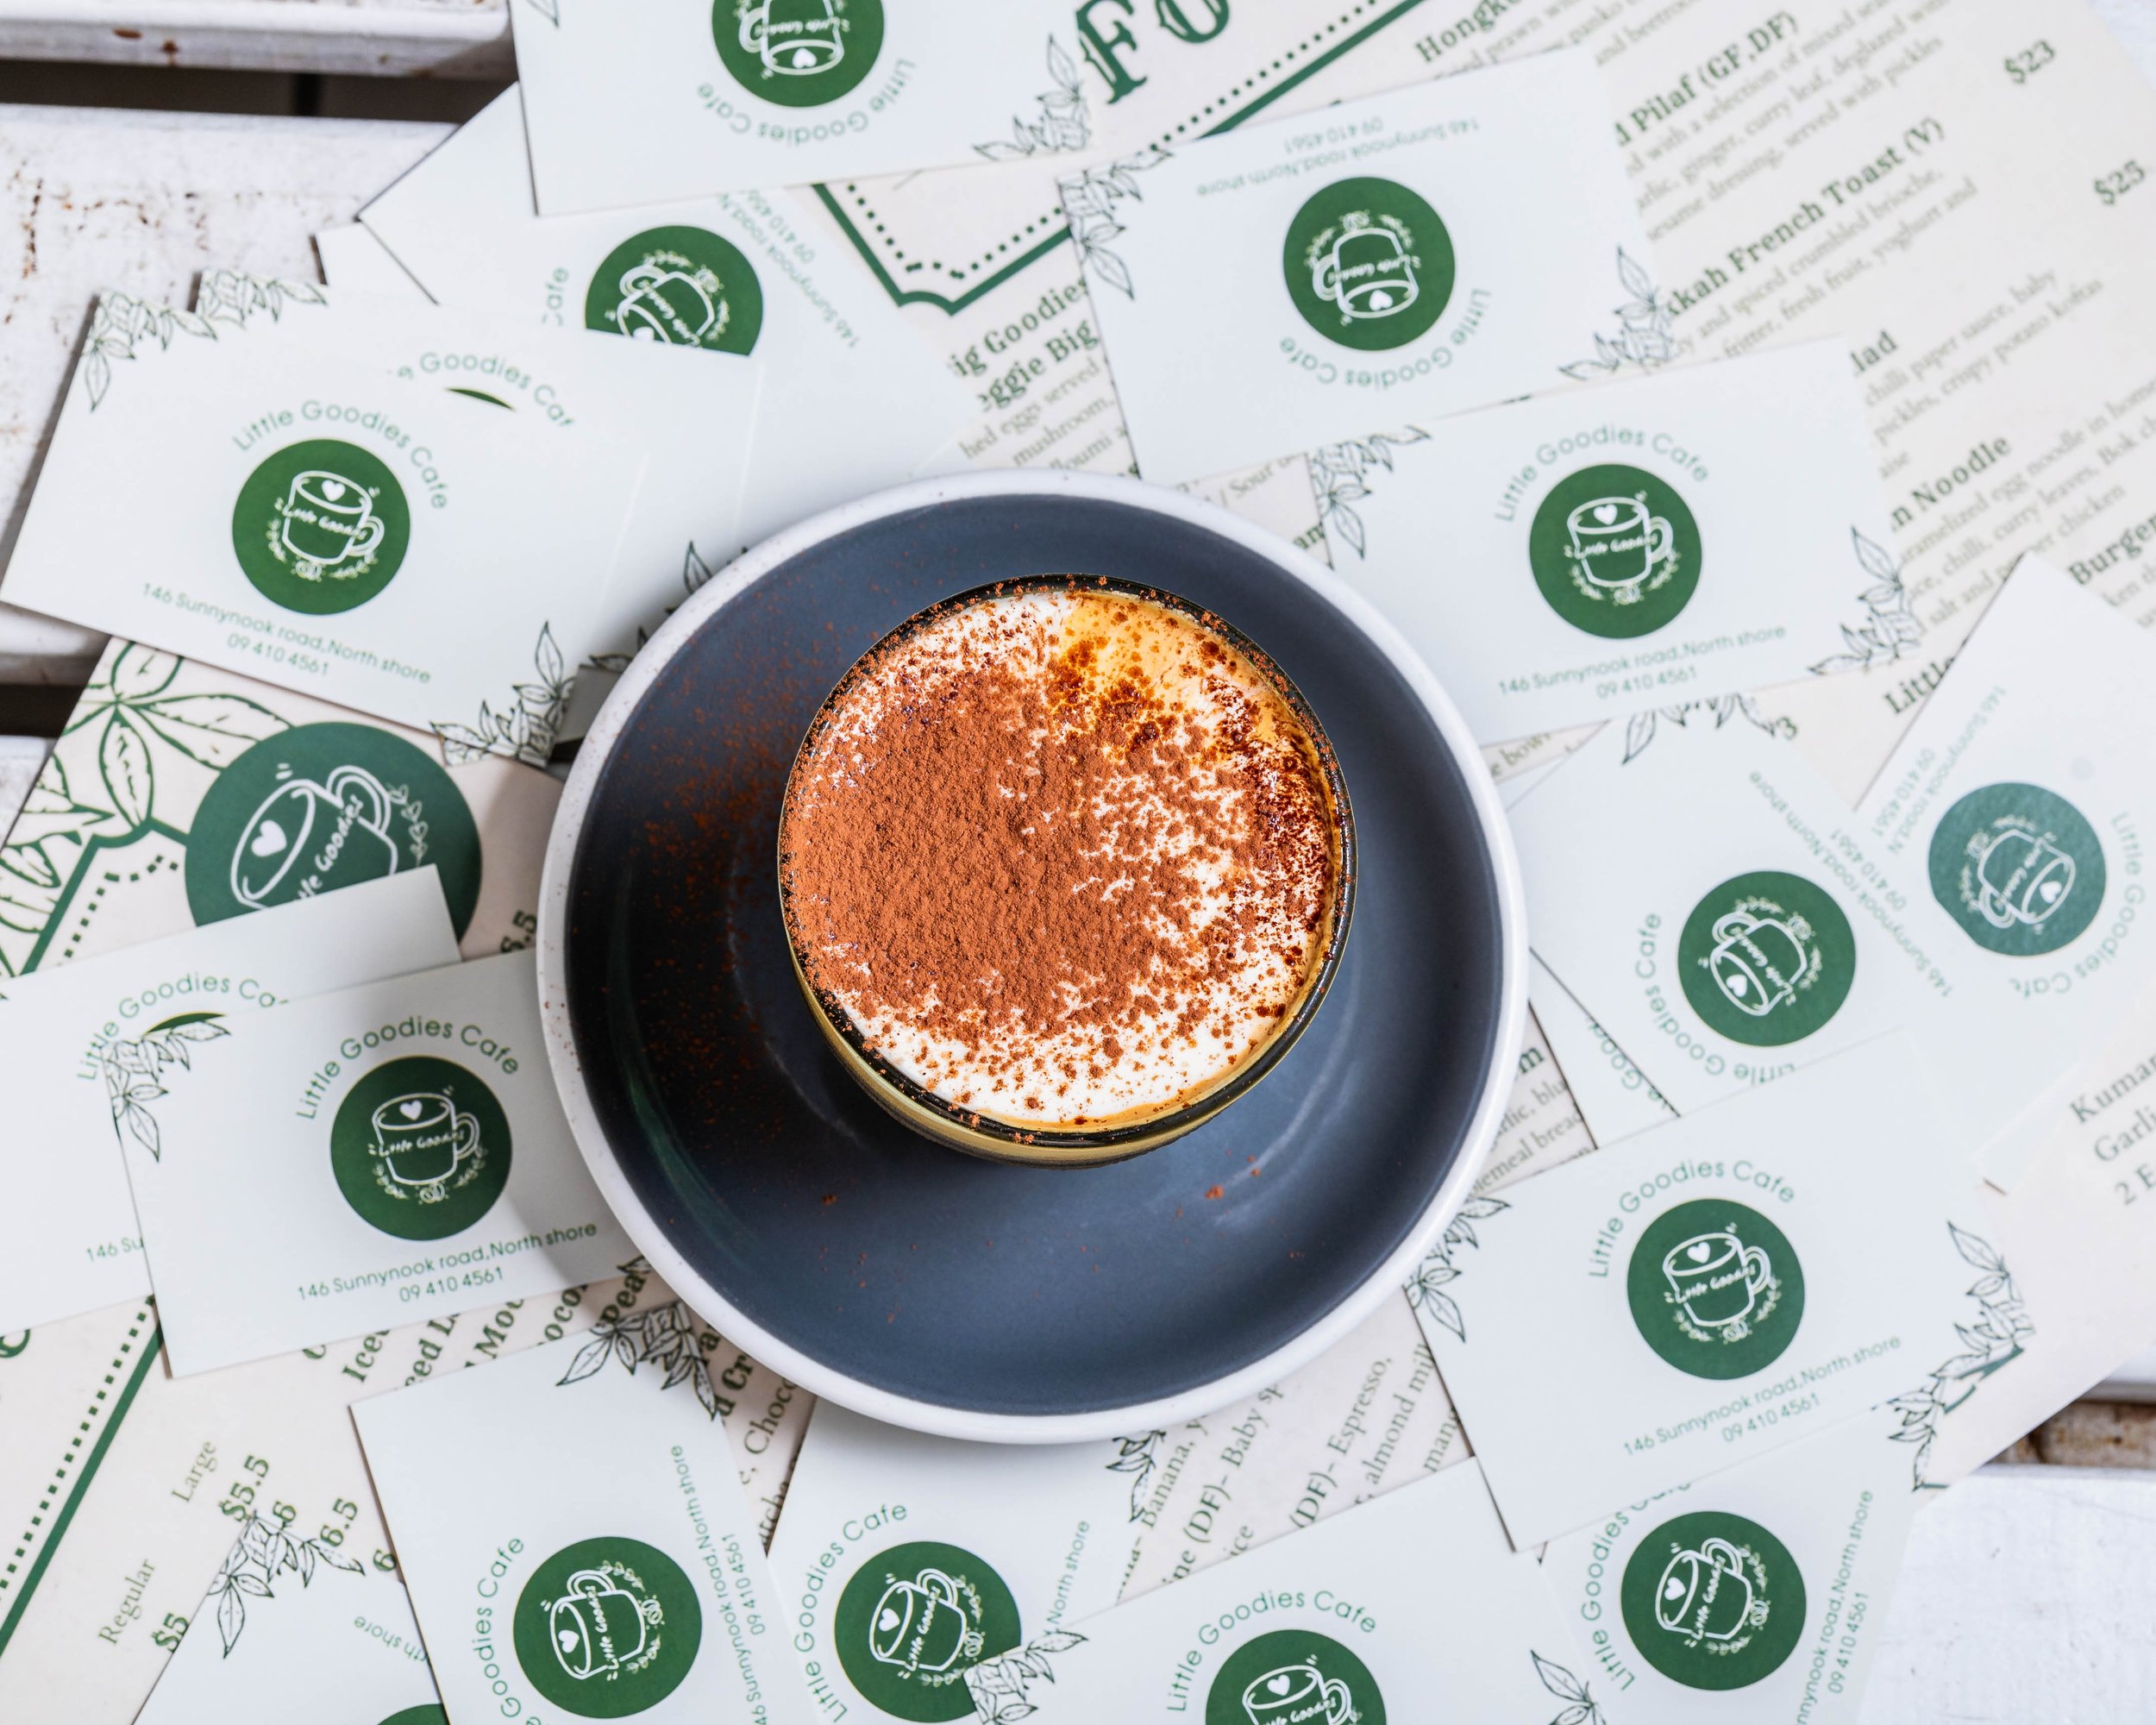
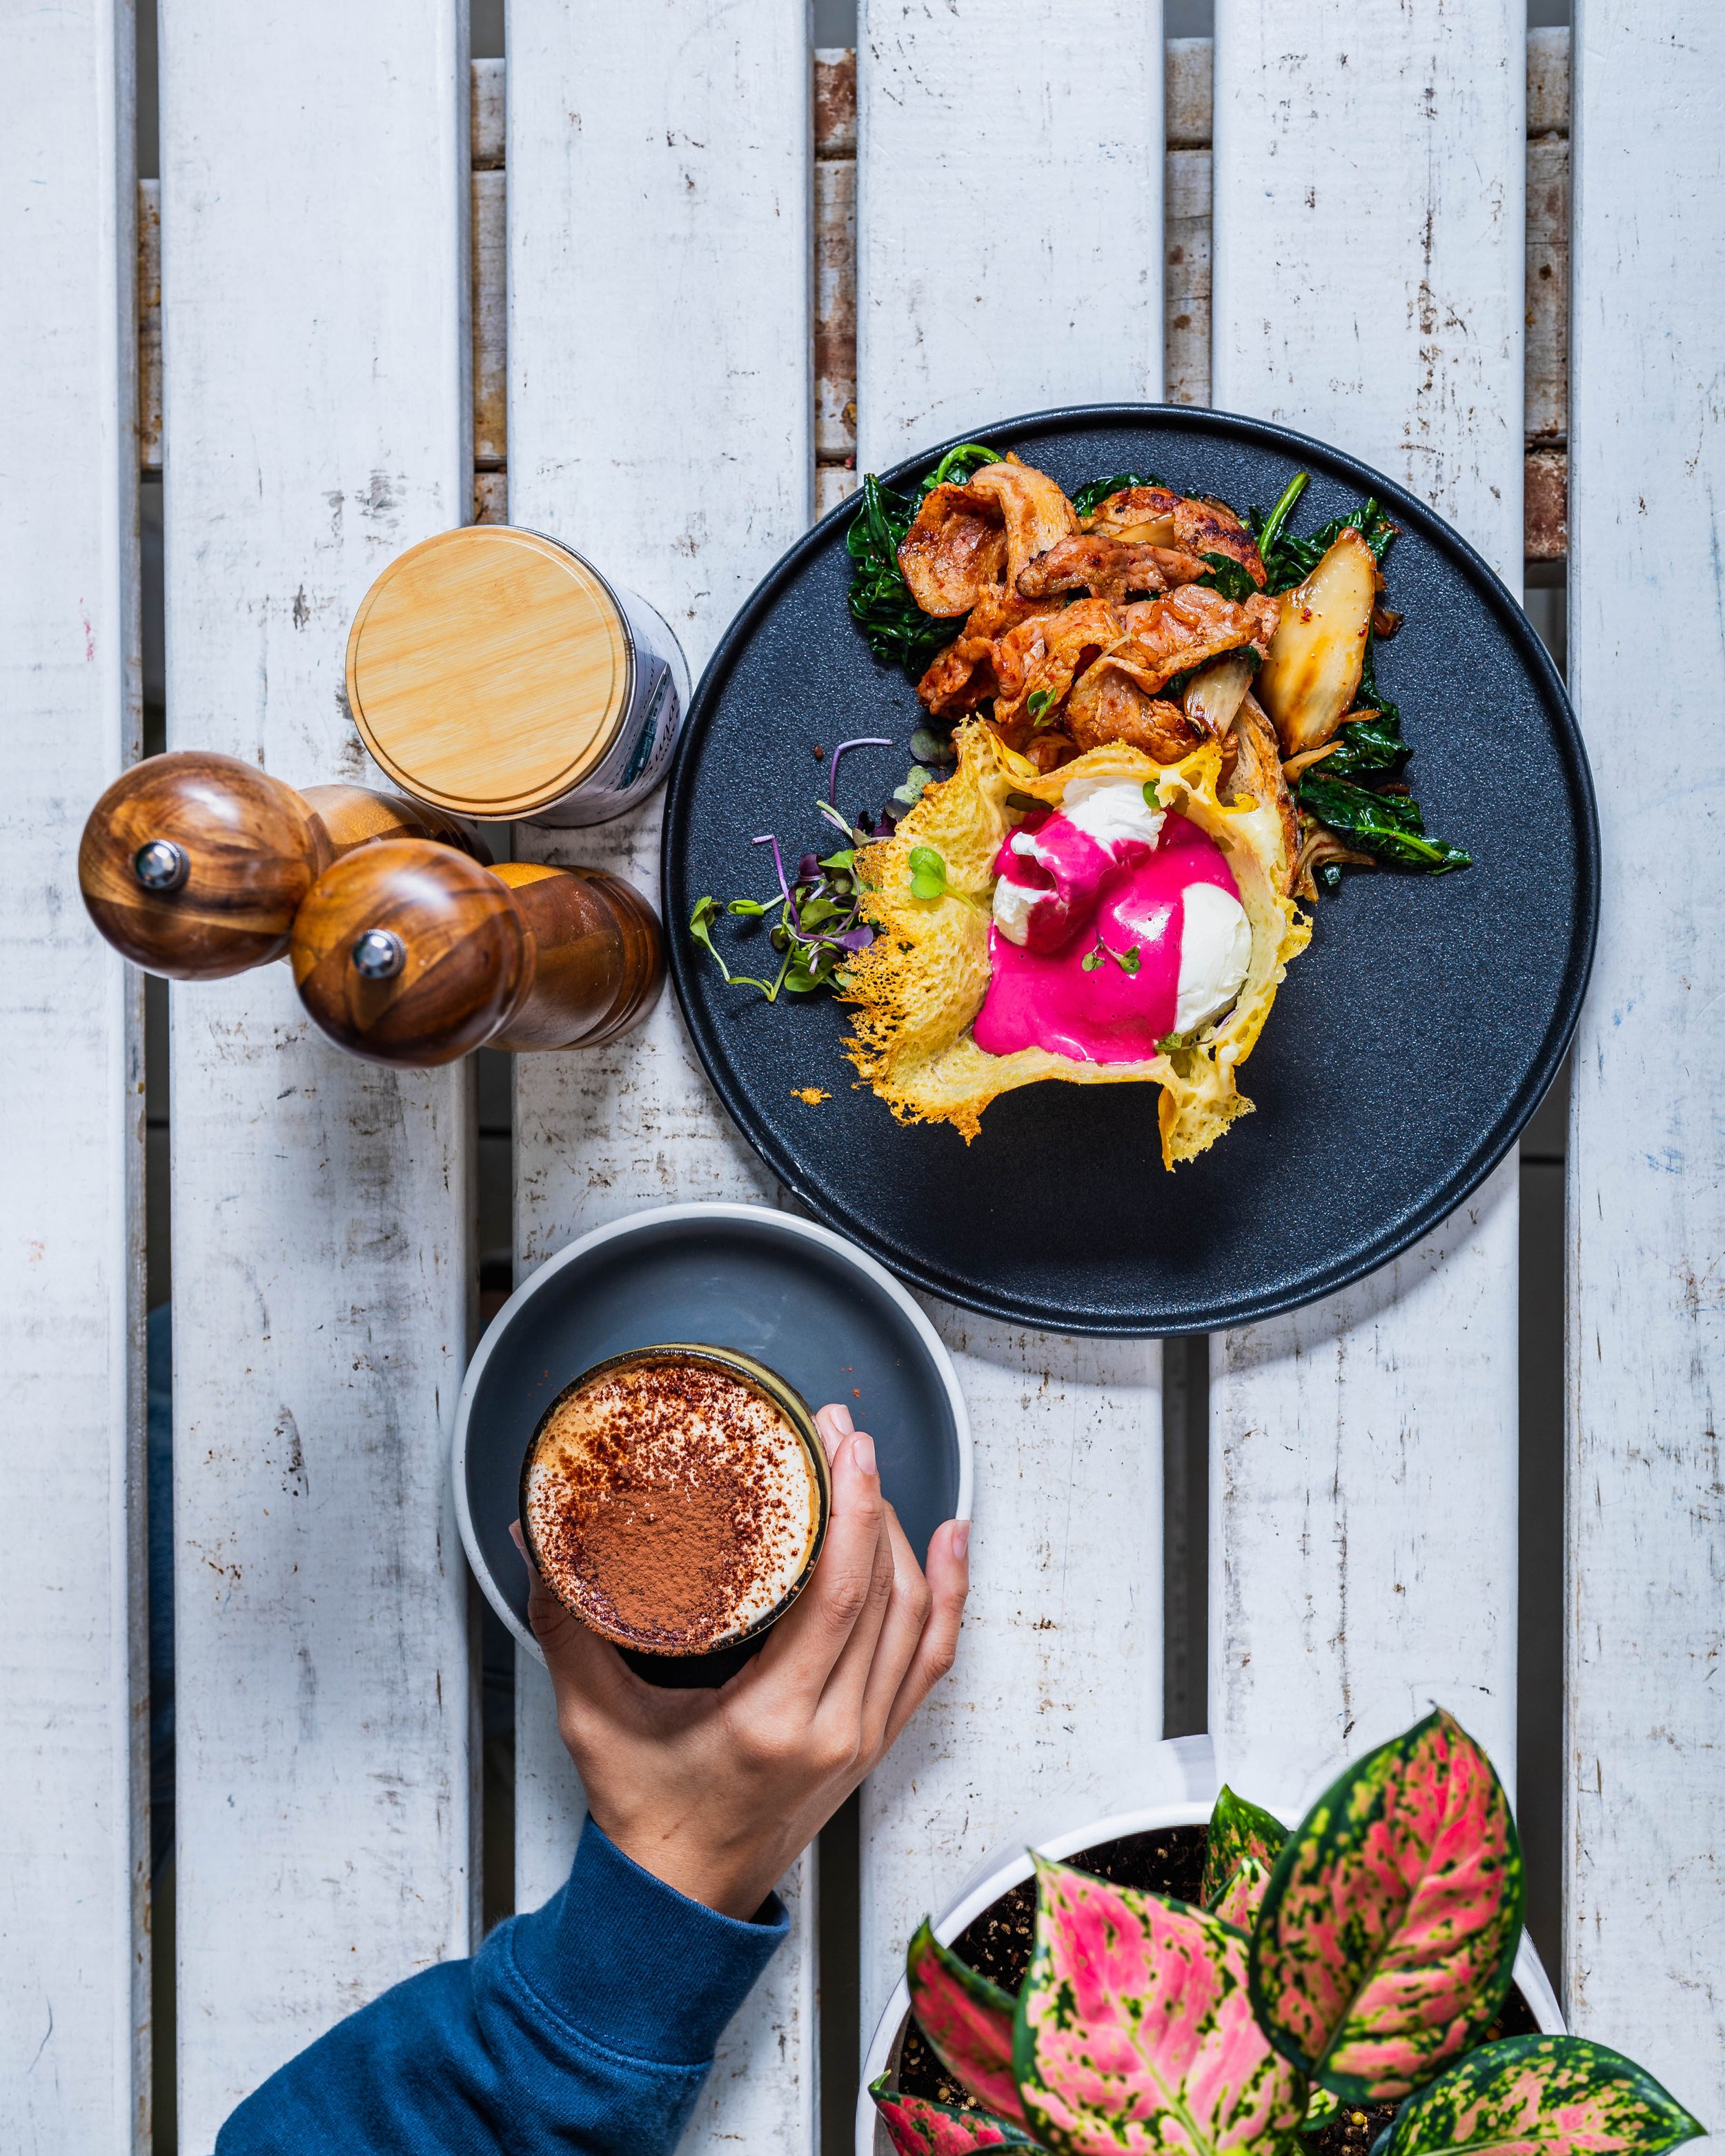
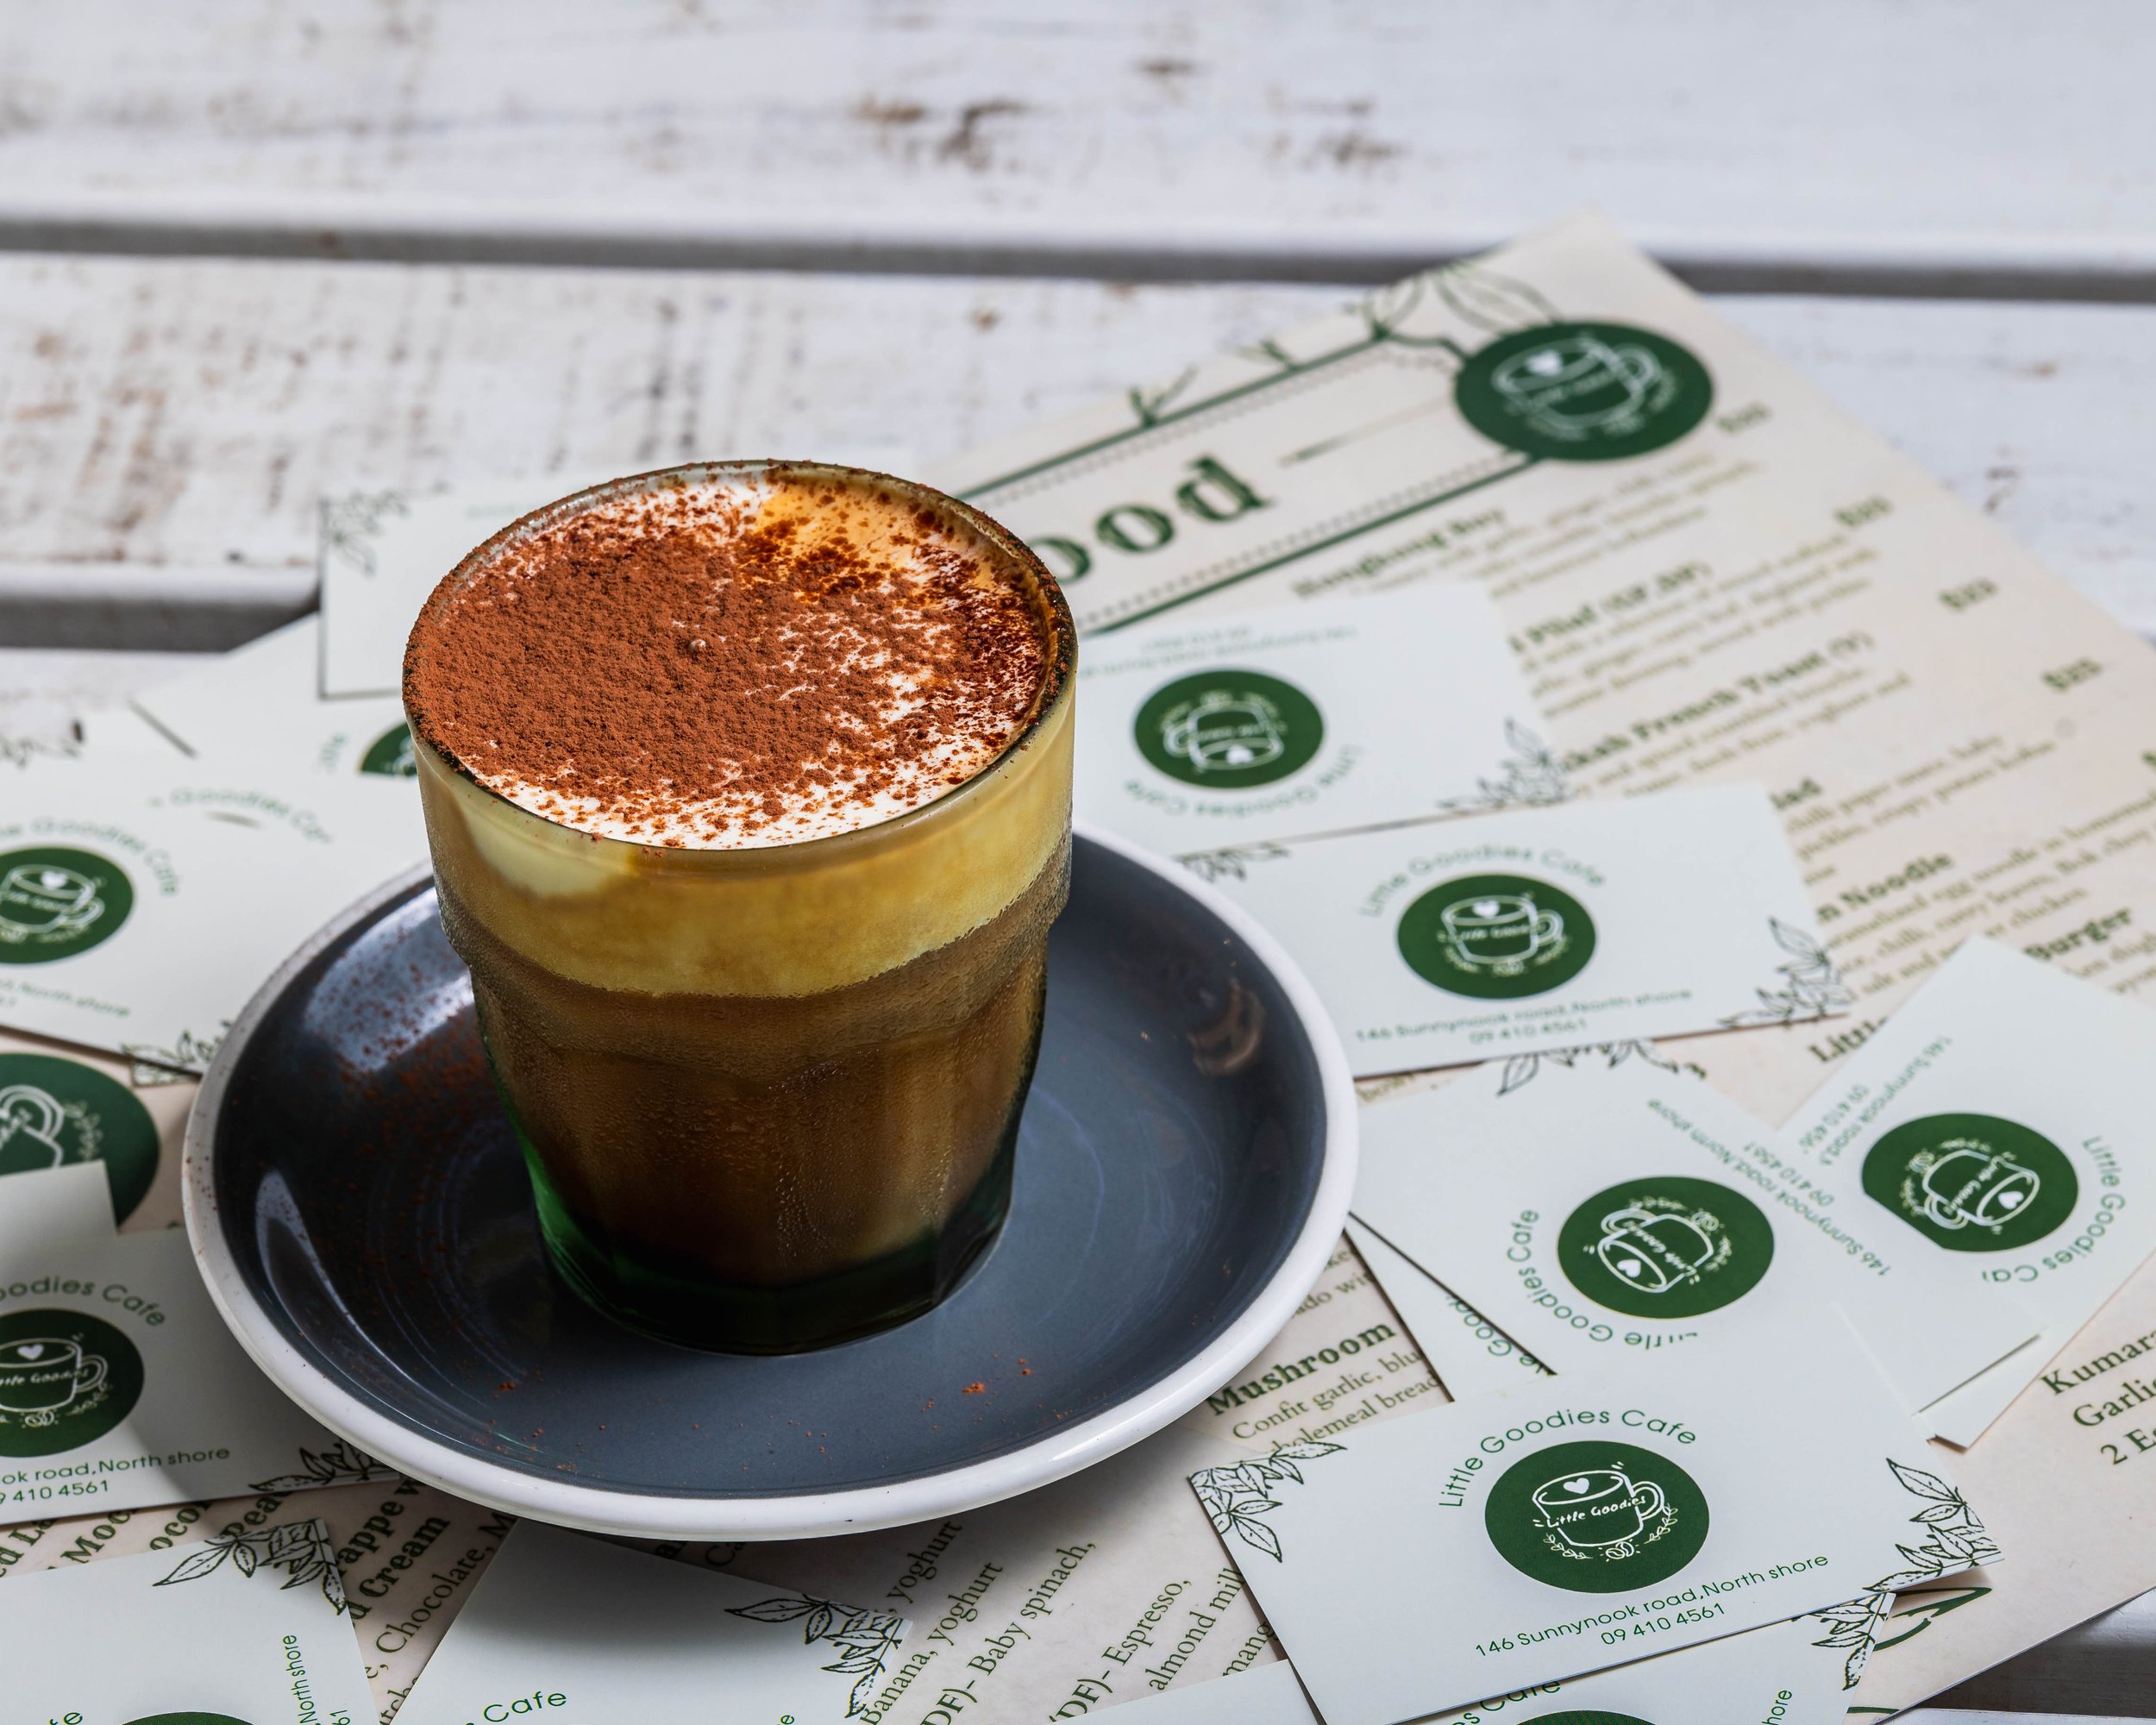
First up on the menu was the protagonist of every morning ritual – coffee. The café's barista expertly crafted each cup, from the meticulous grinding of the beans to the mesmerizing pour of steamed milk. As wisps of aromatic steam rose gracefully from the cup, I eagerly positioned my camera to capture the rich hues and intricate patterns of the crema. With each click, I aimed to encapsulate not just the drink itself, but also the experience – the anticipation, the warmth, and the comforting familiarity of that first sip.

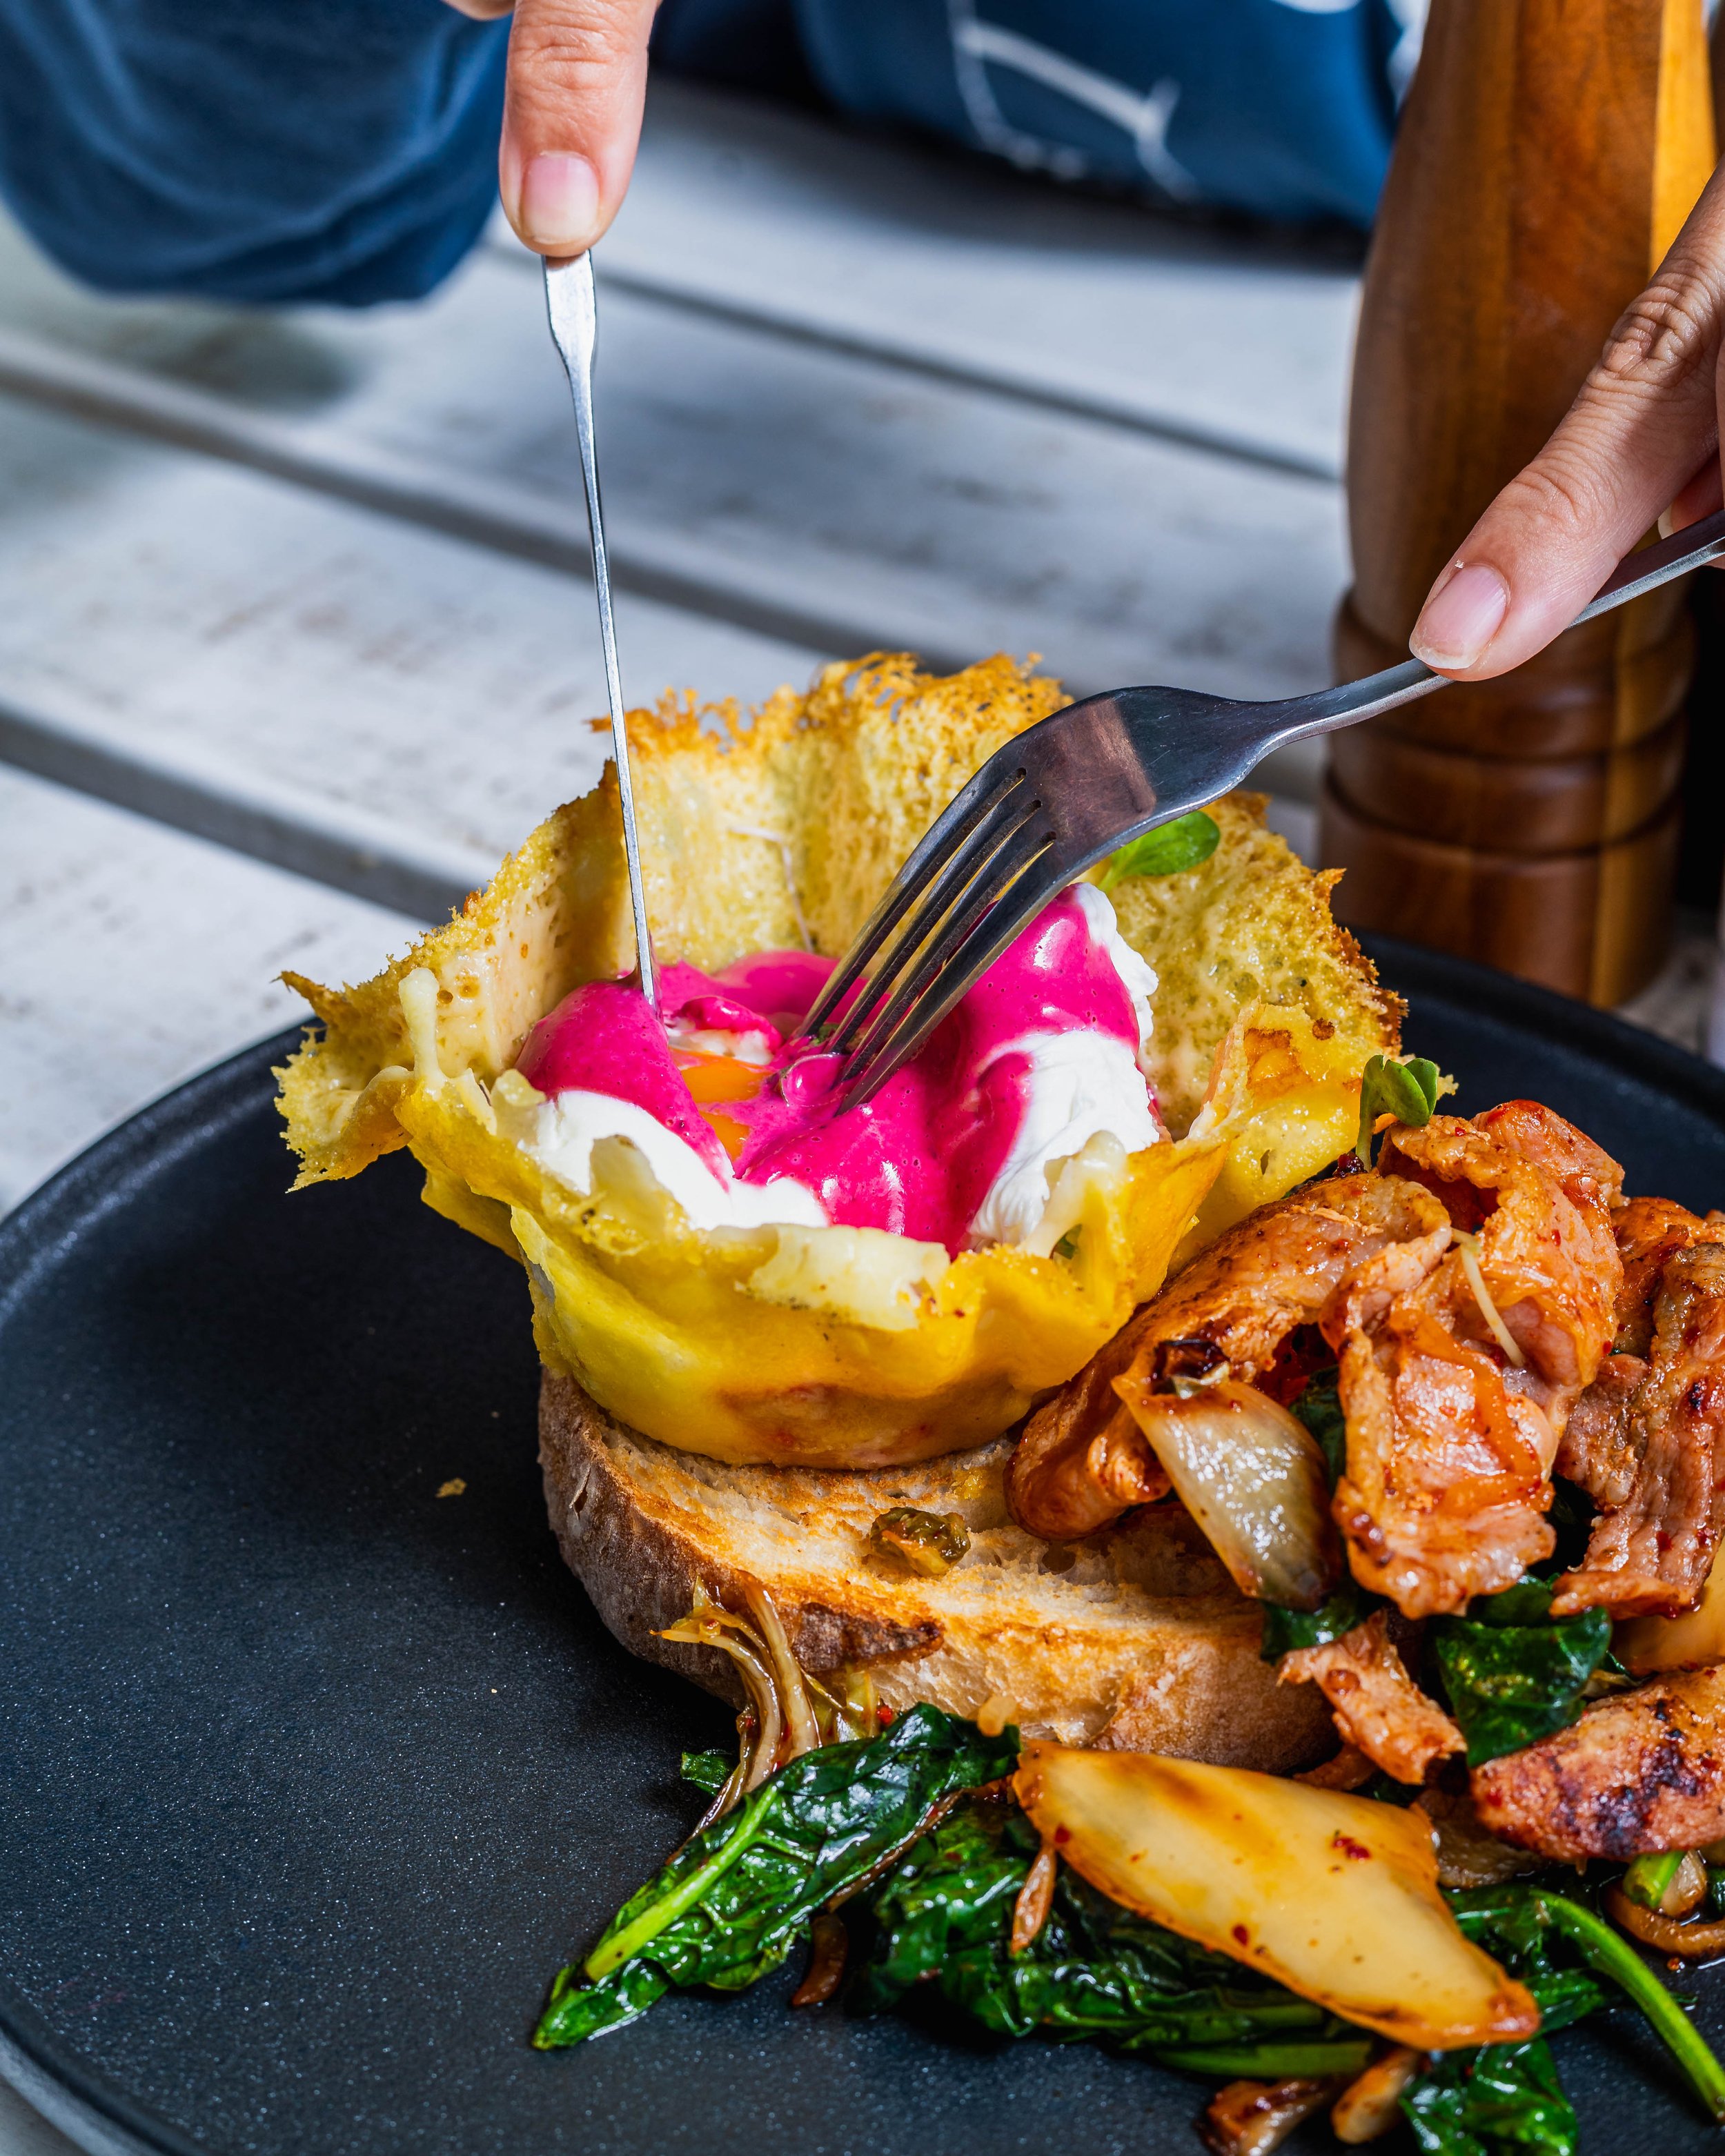
Next on the agenda was a classic brunch favorite: eggs benedict. As the chef meticulously assembled each layer – from the perfectly poached eggs to the hollandaise sauce cascading over golden brioche and savory bacon – I found myself marveling at the artistry inherent in every dish. With careful attention to lighting and composition, I sought to accentuate the vibrant colors and sumptuous textures that make eggs benedict a feast for both the eyes and the palate.

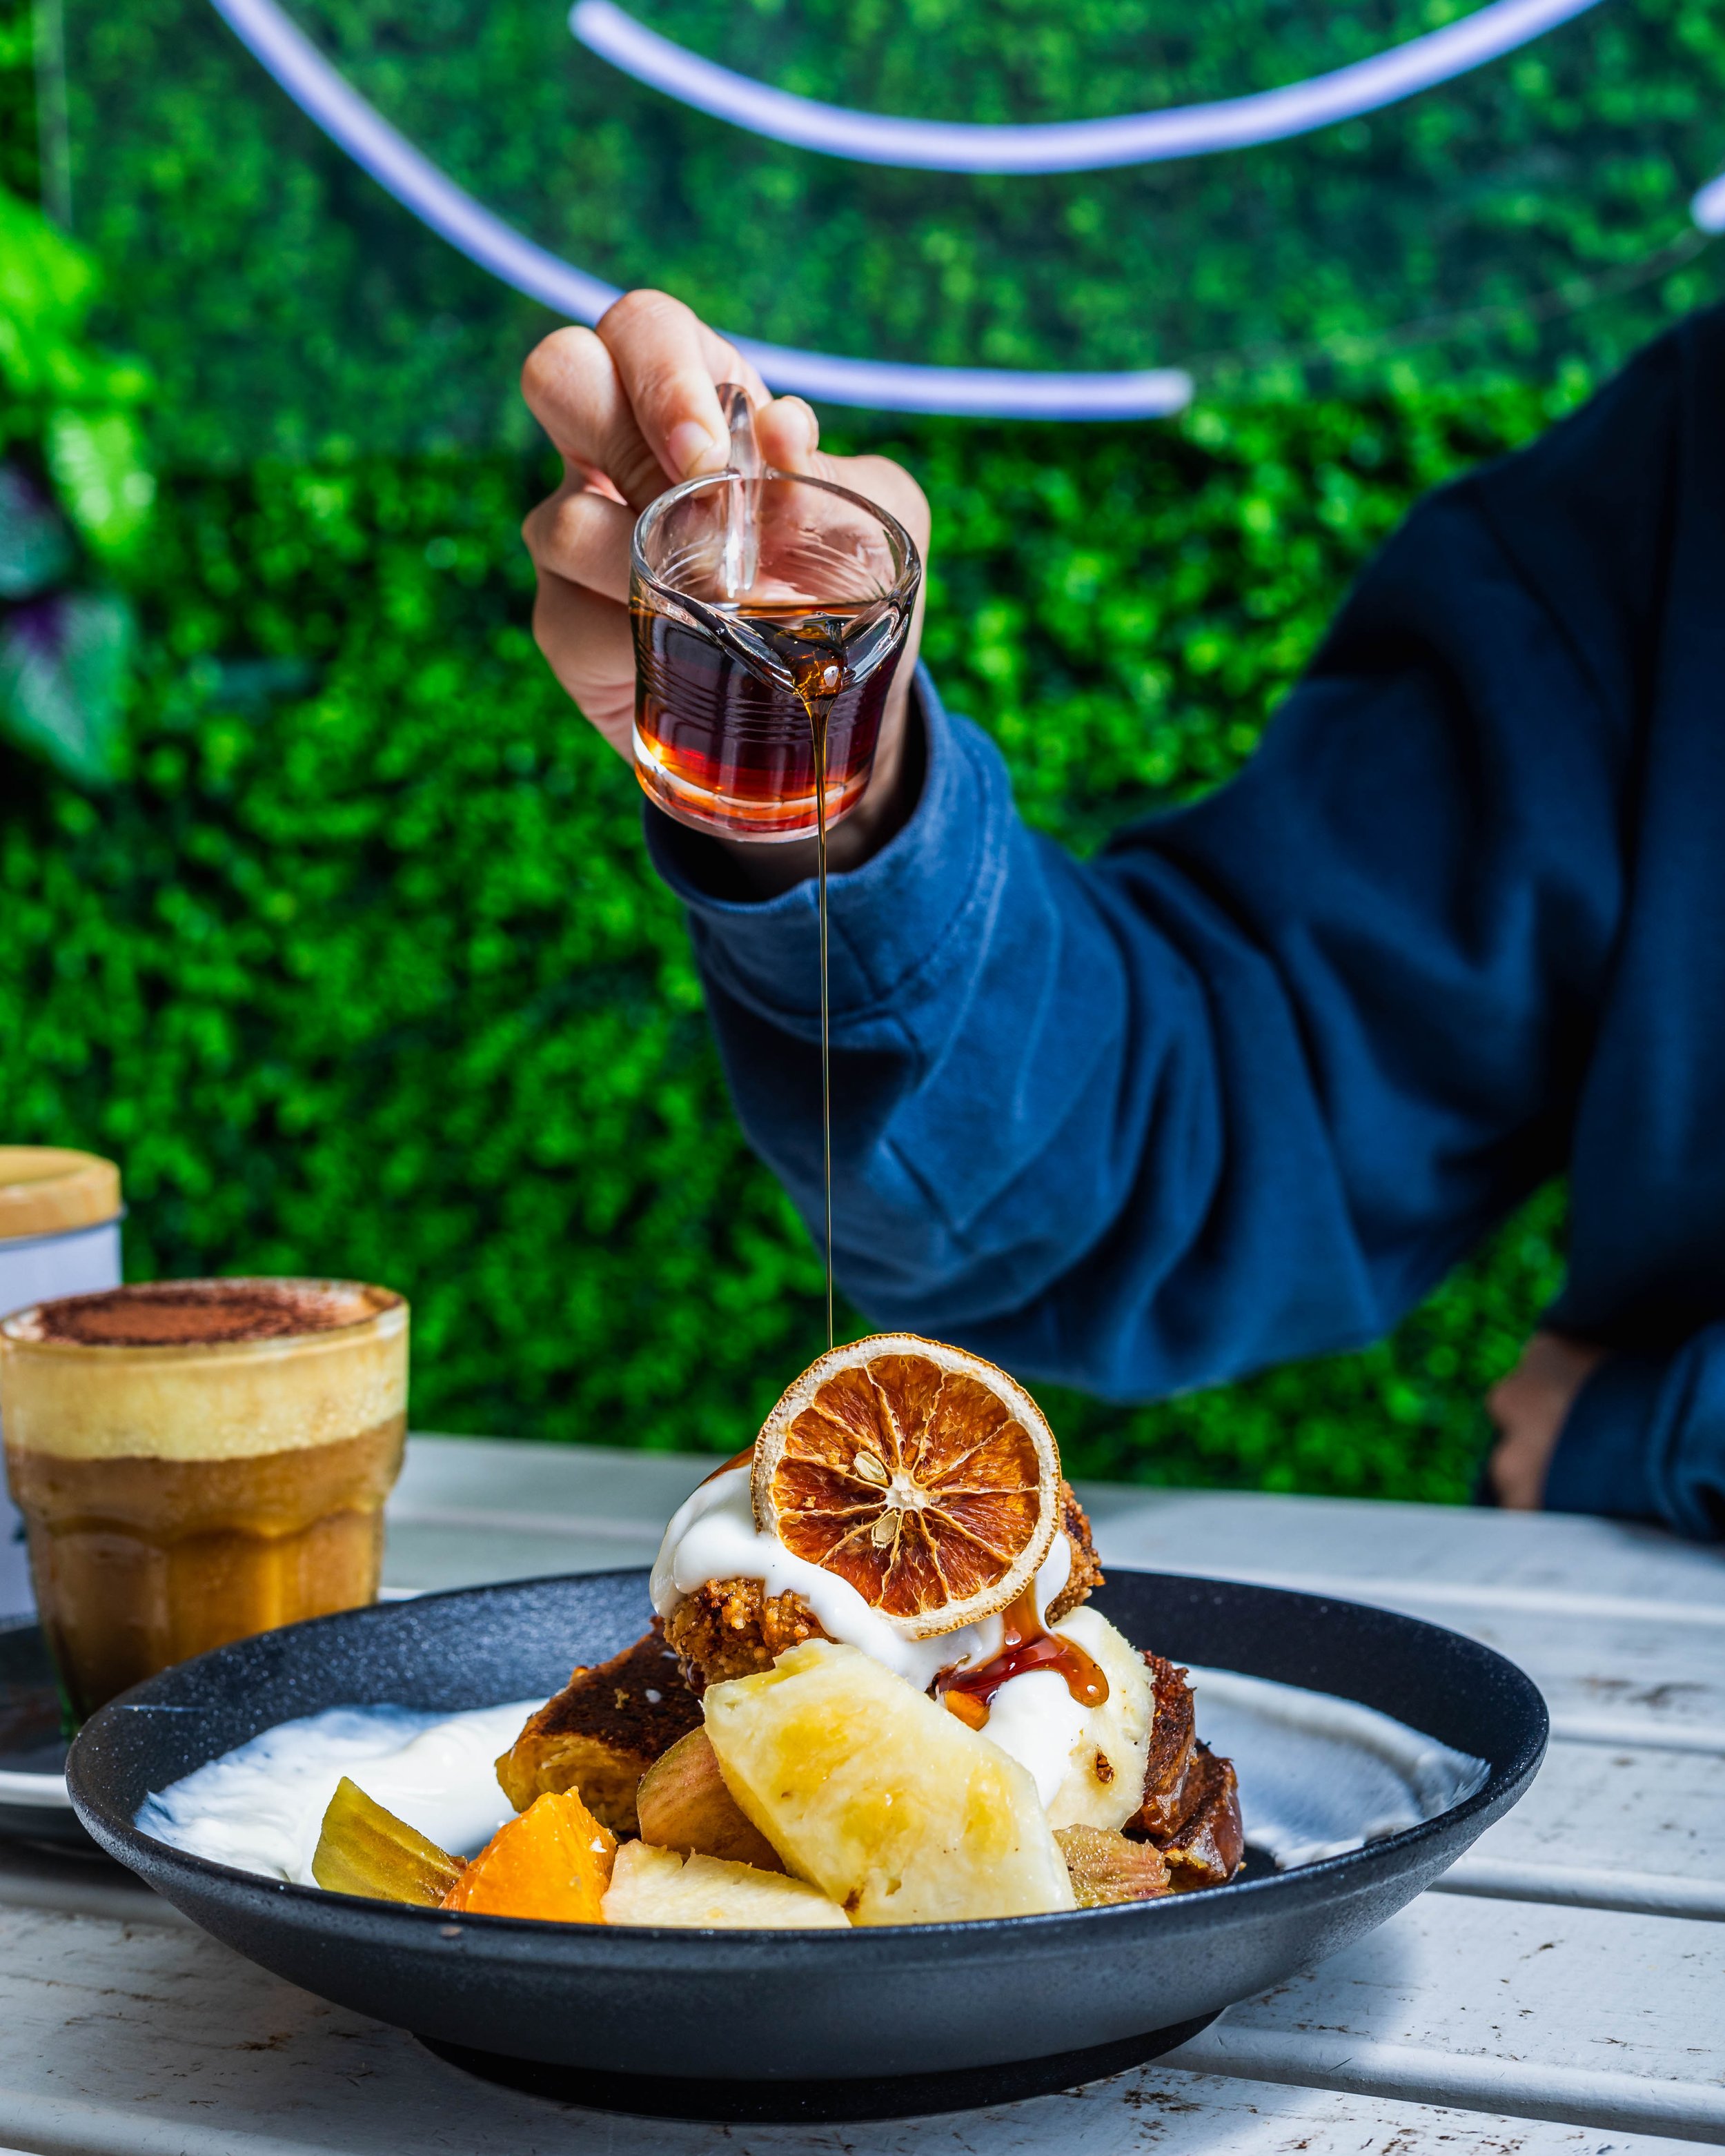
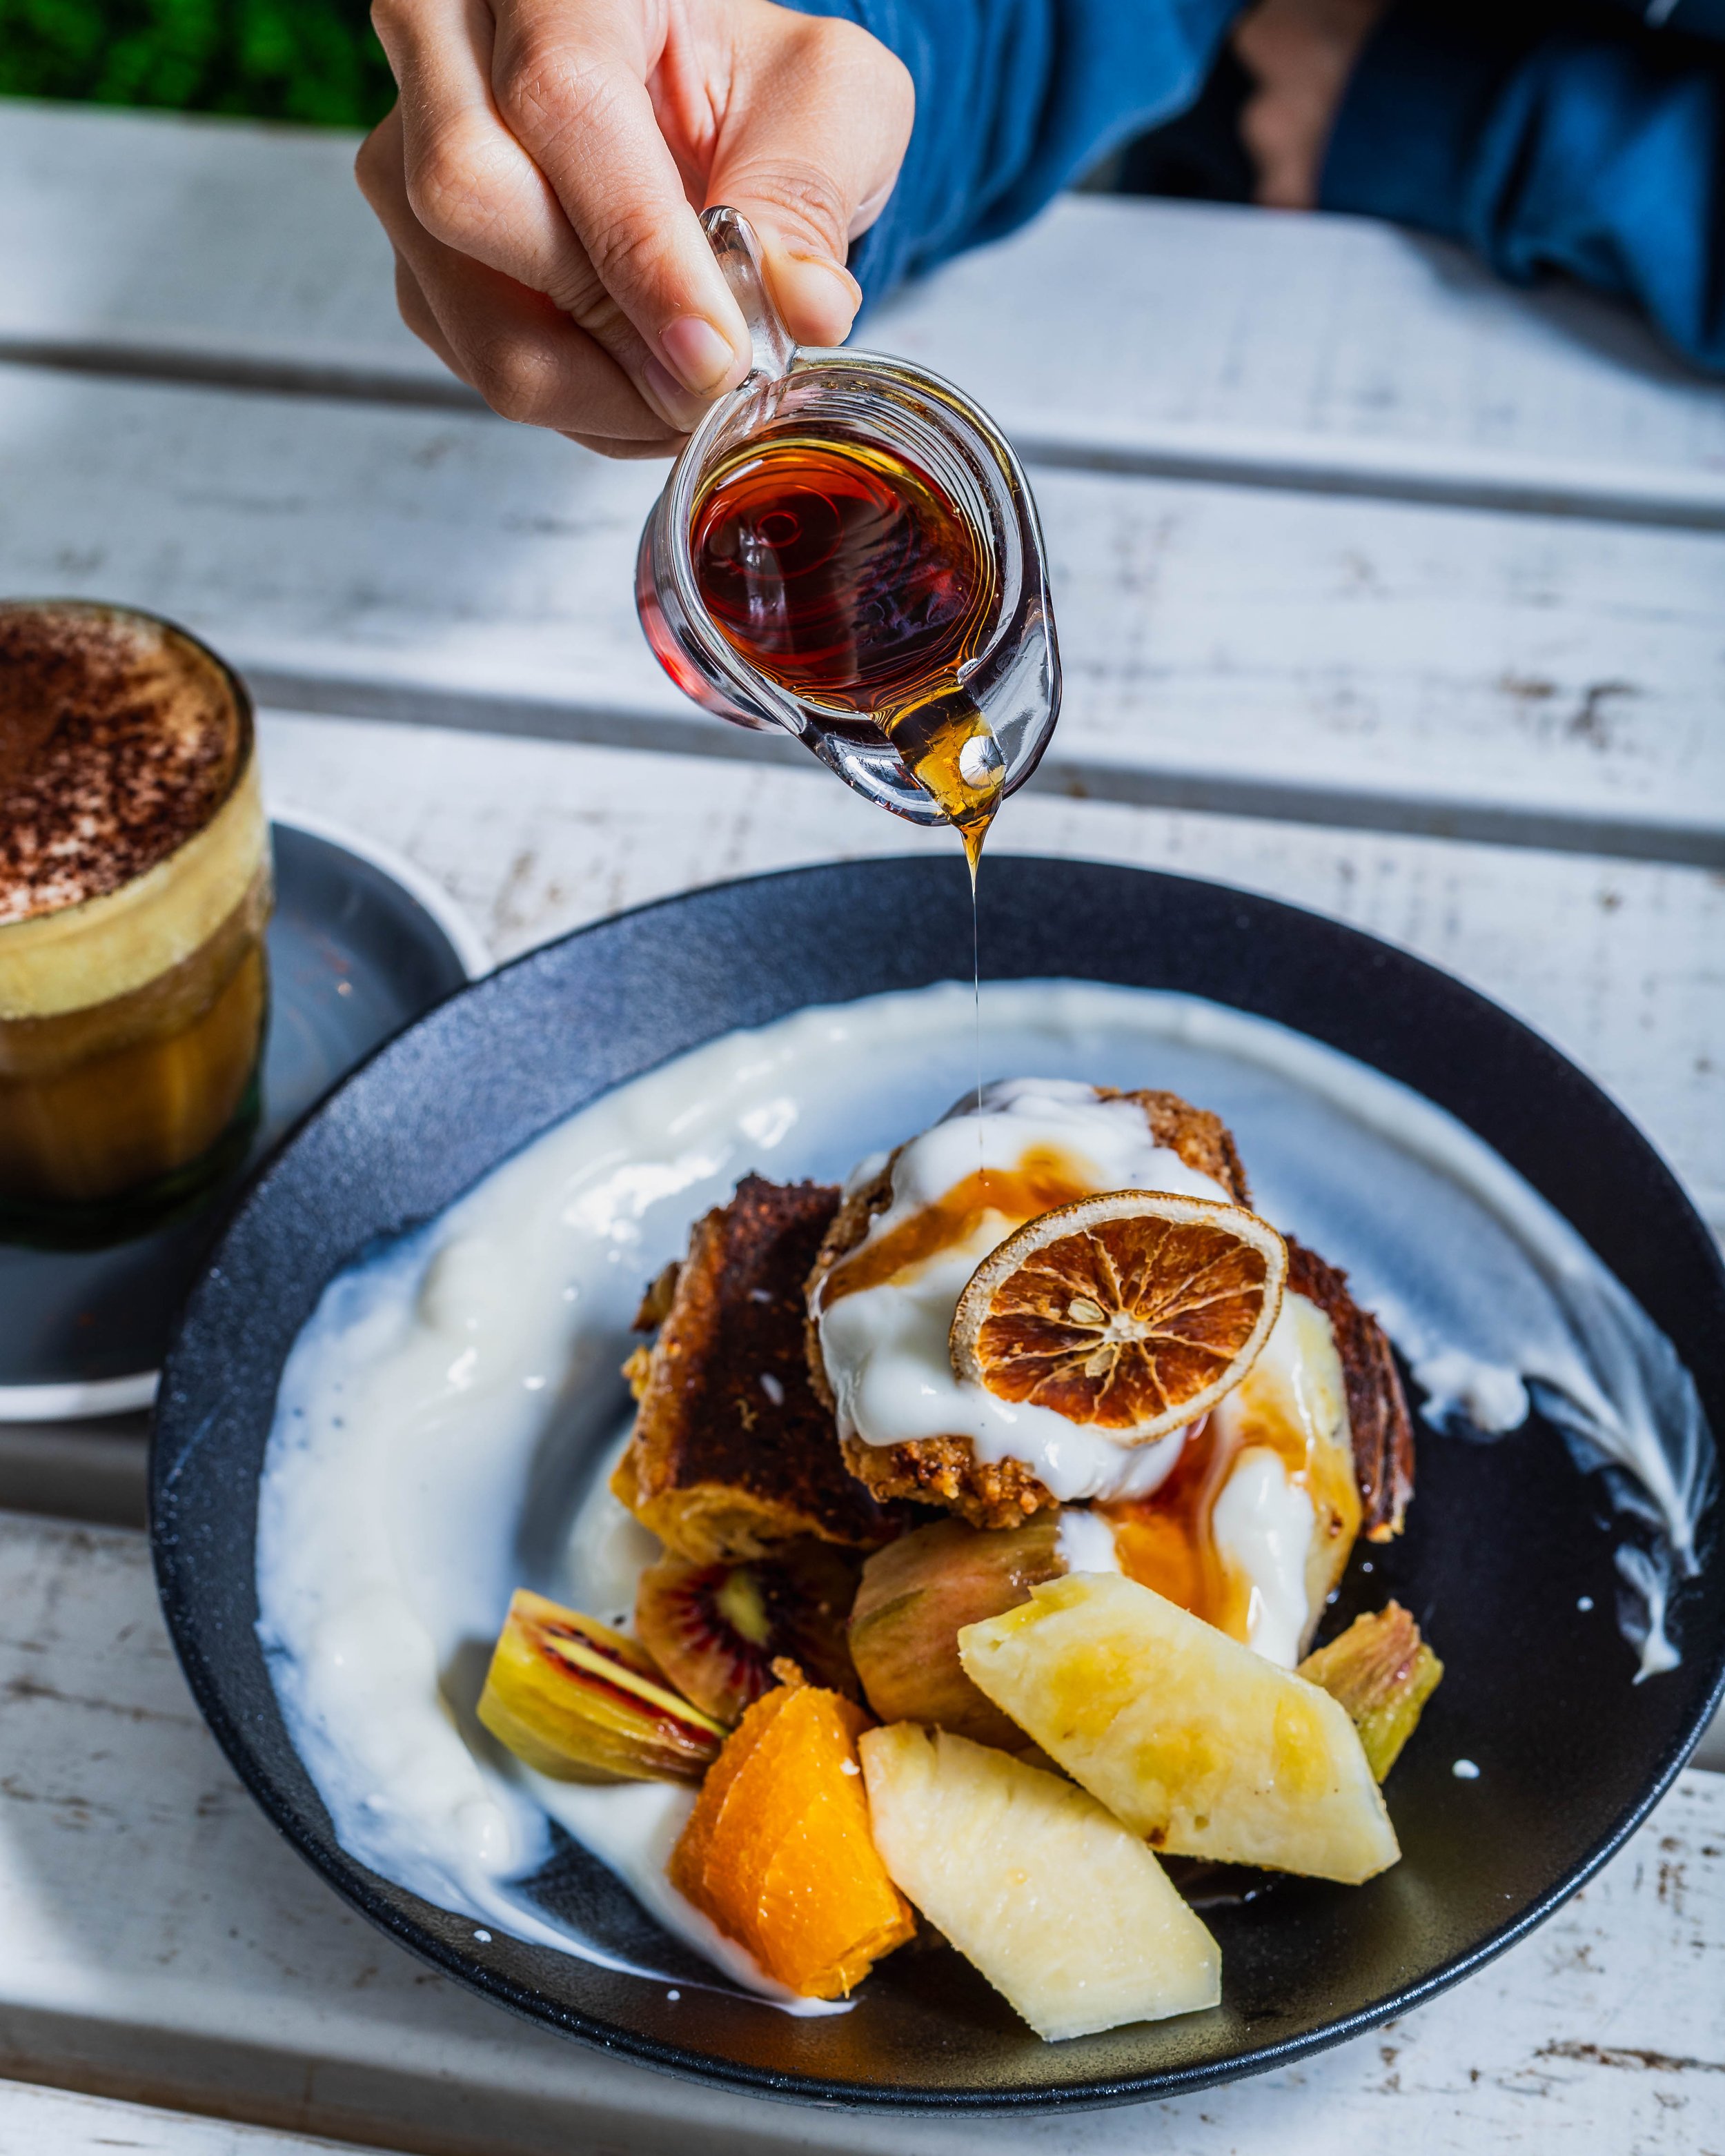
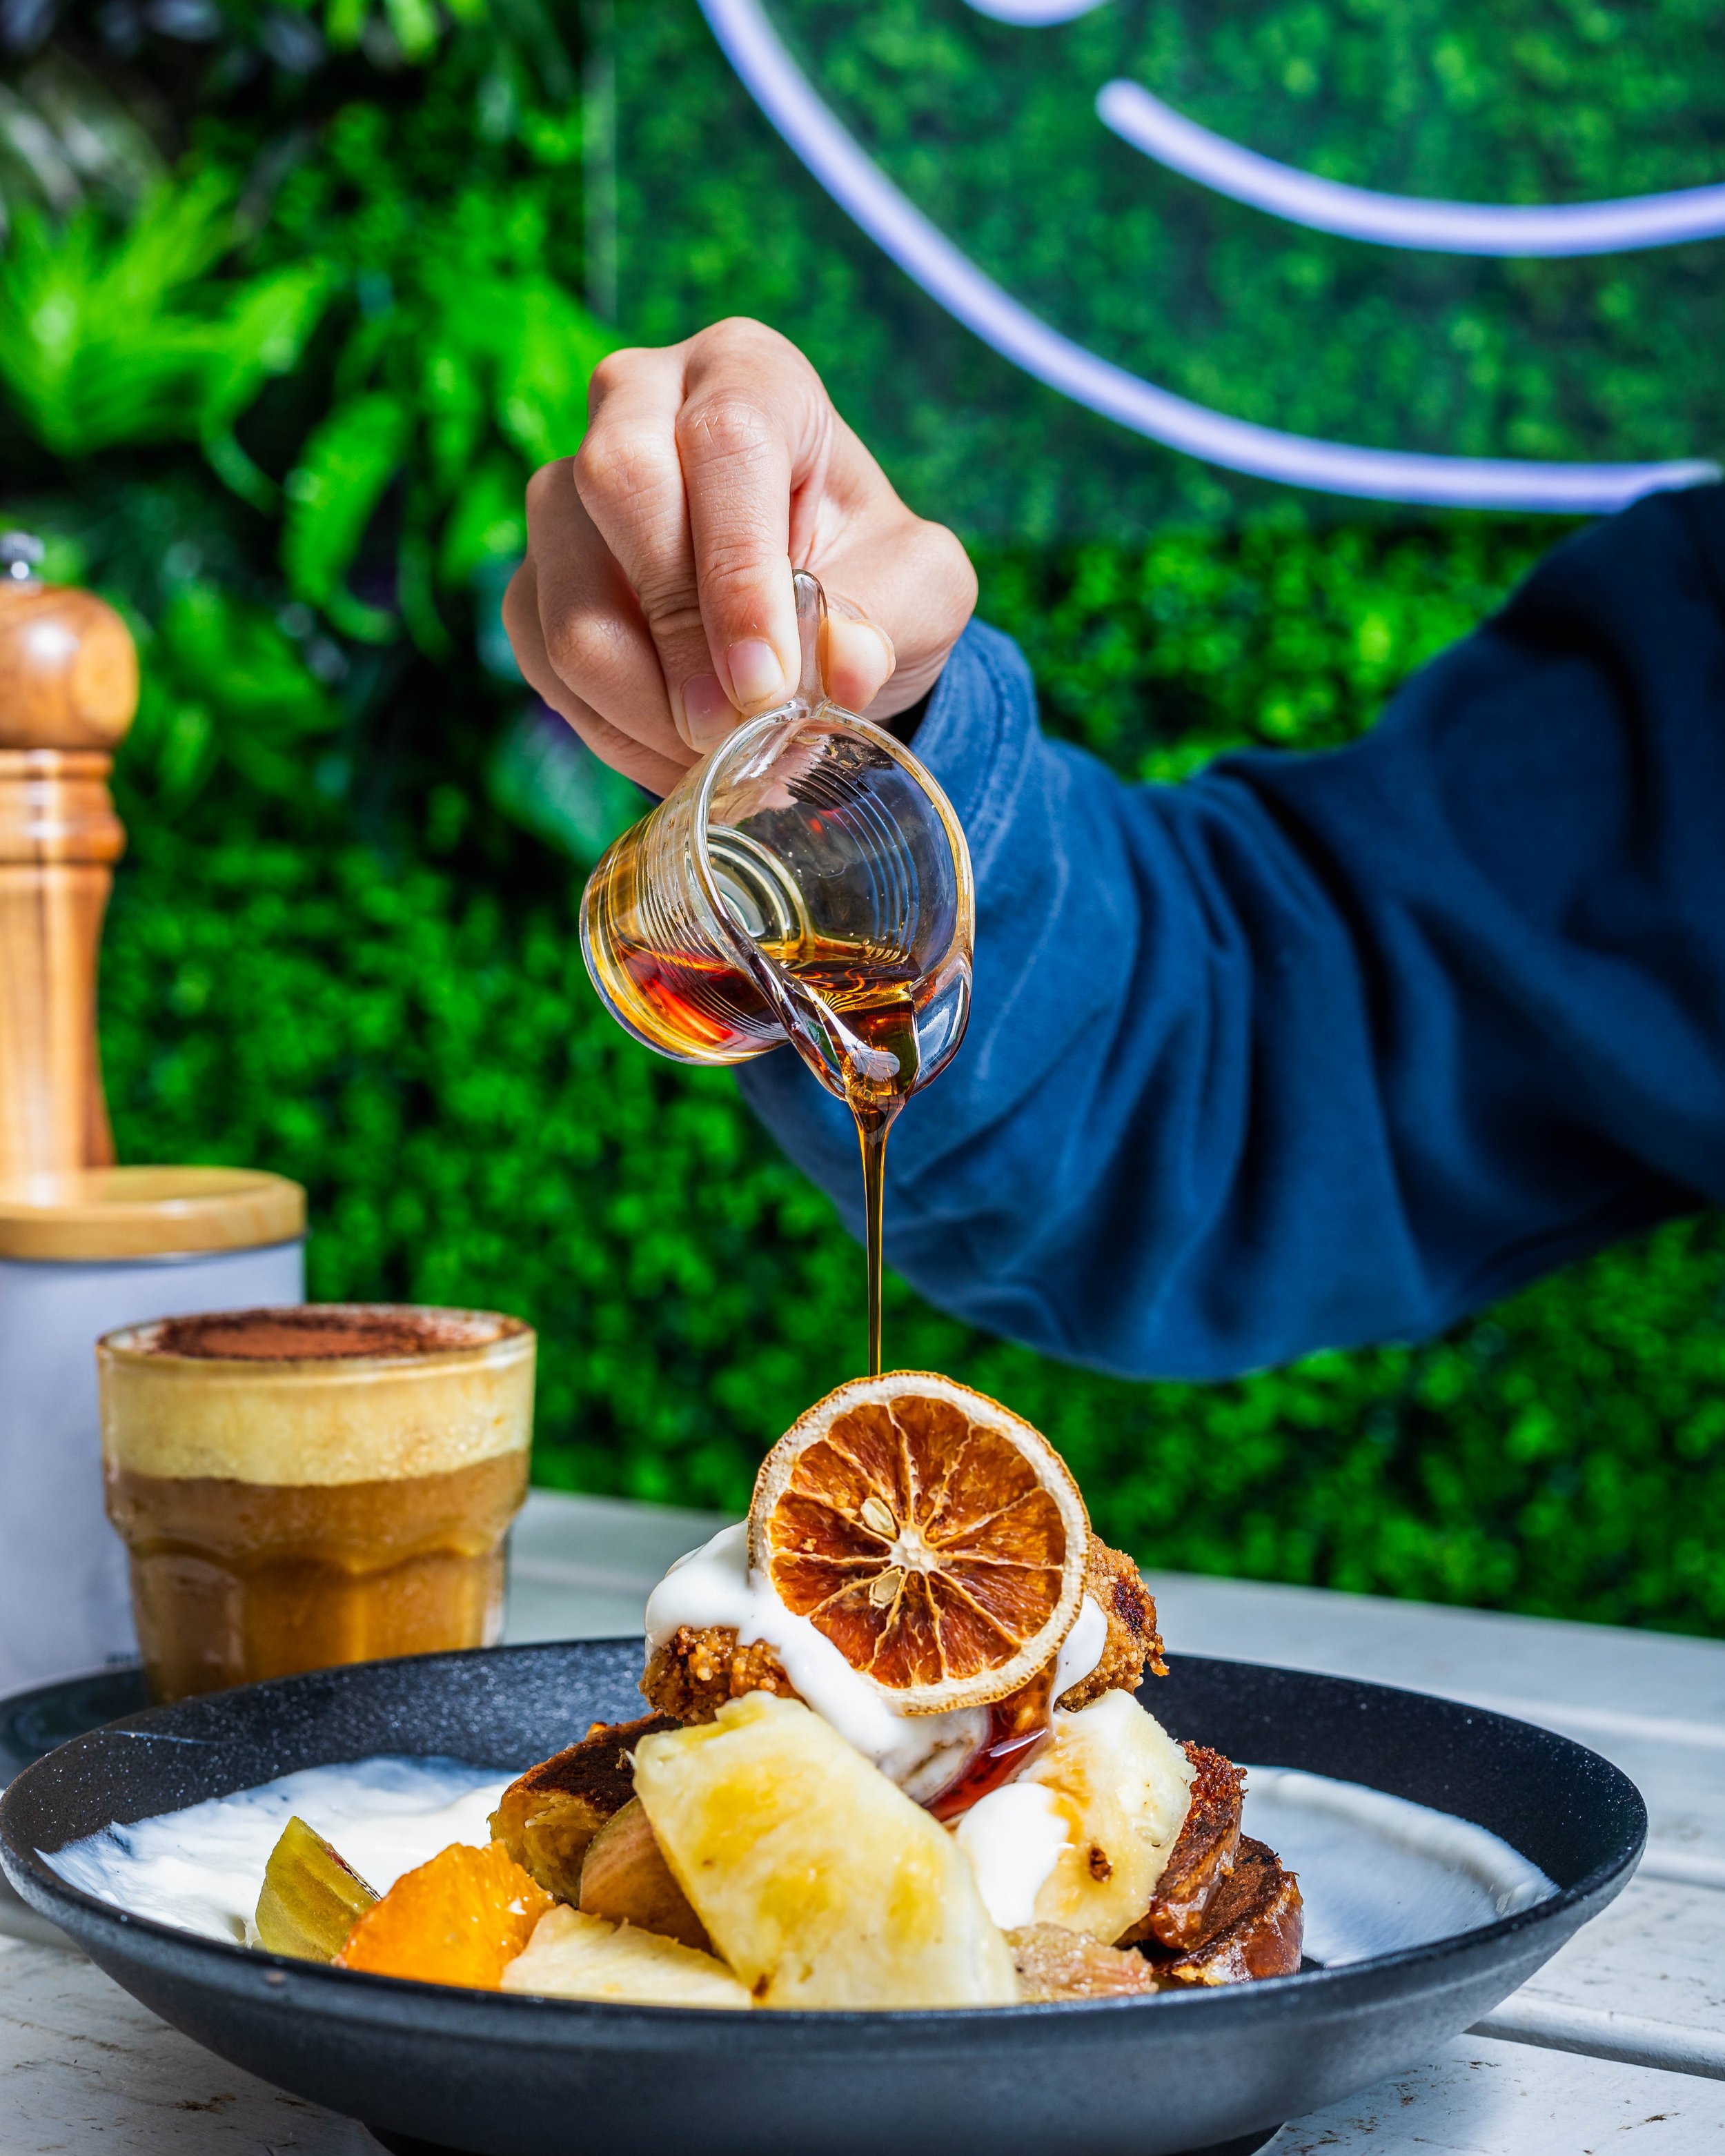
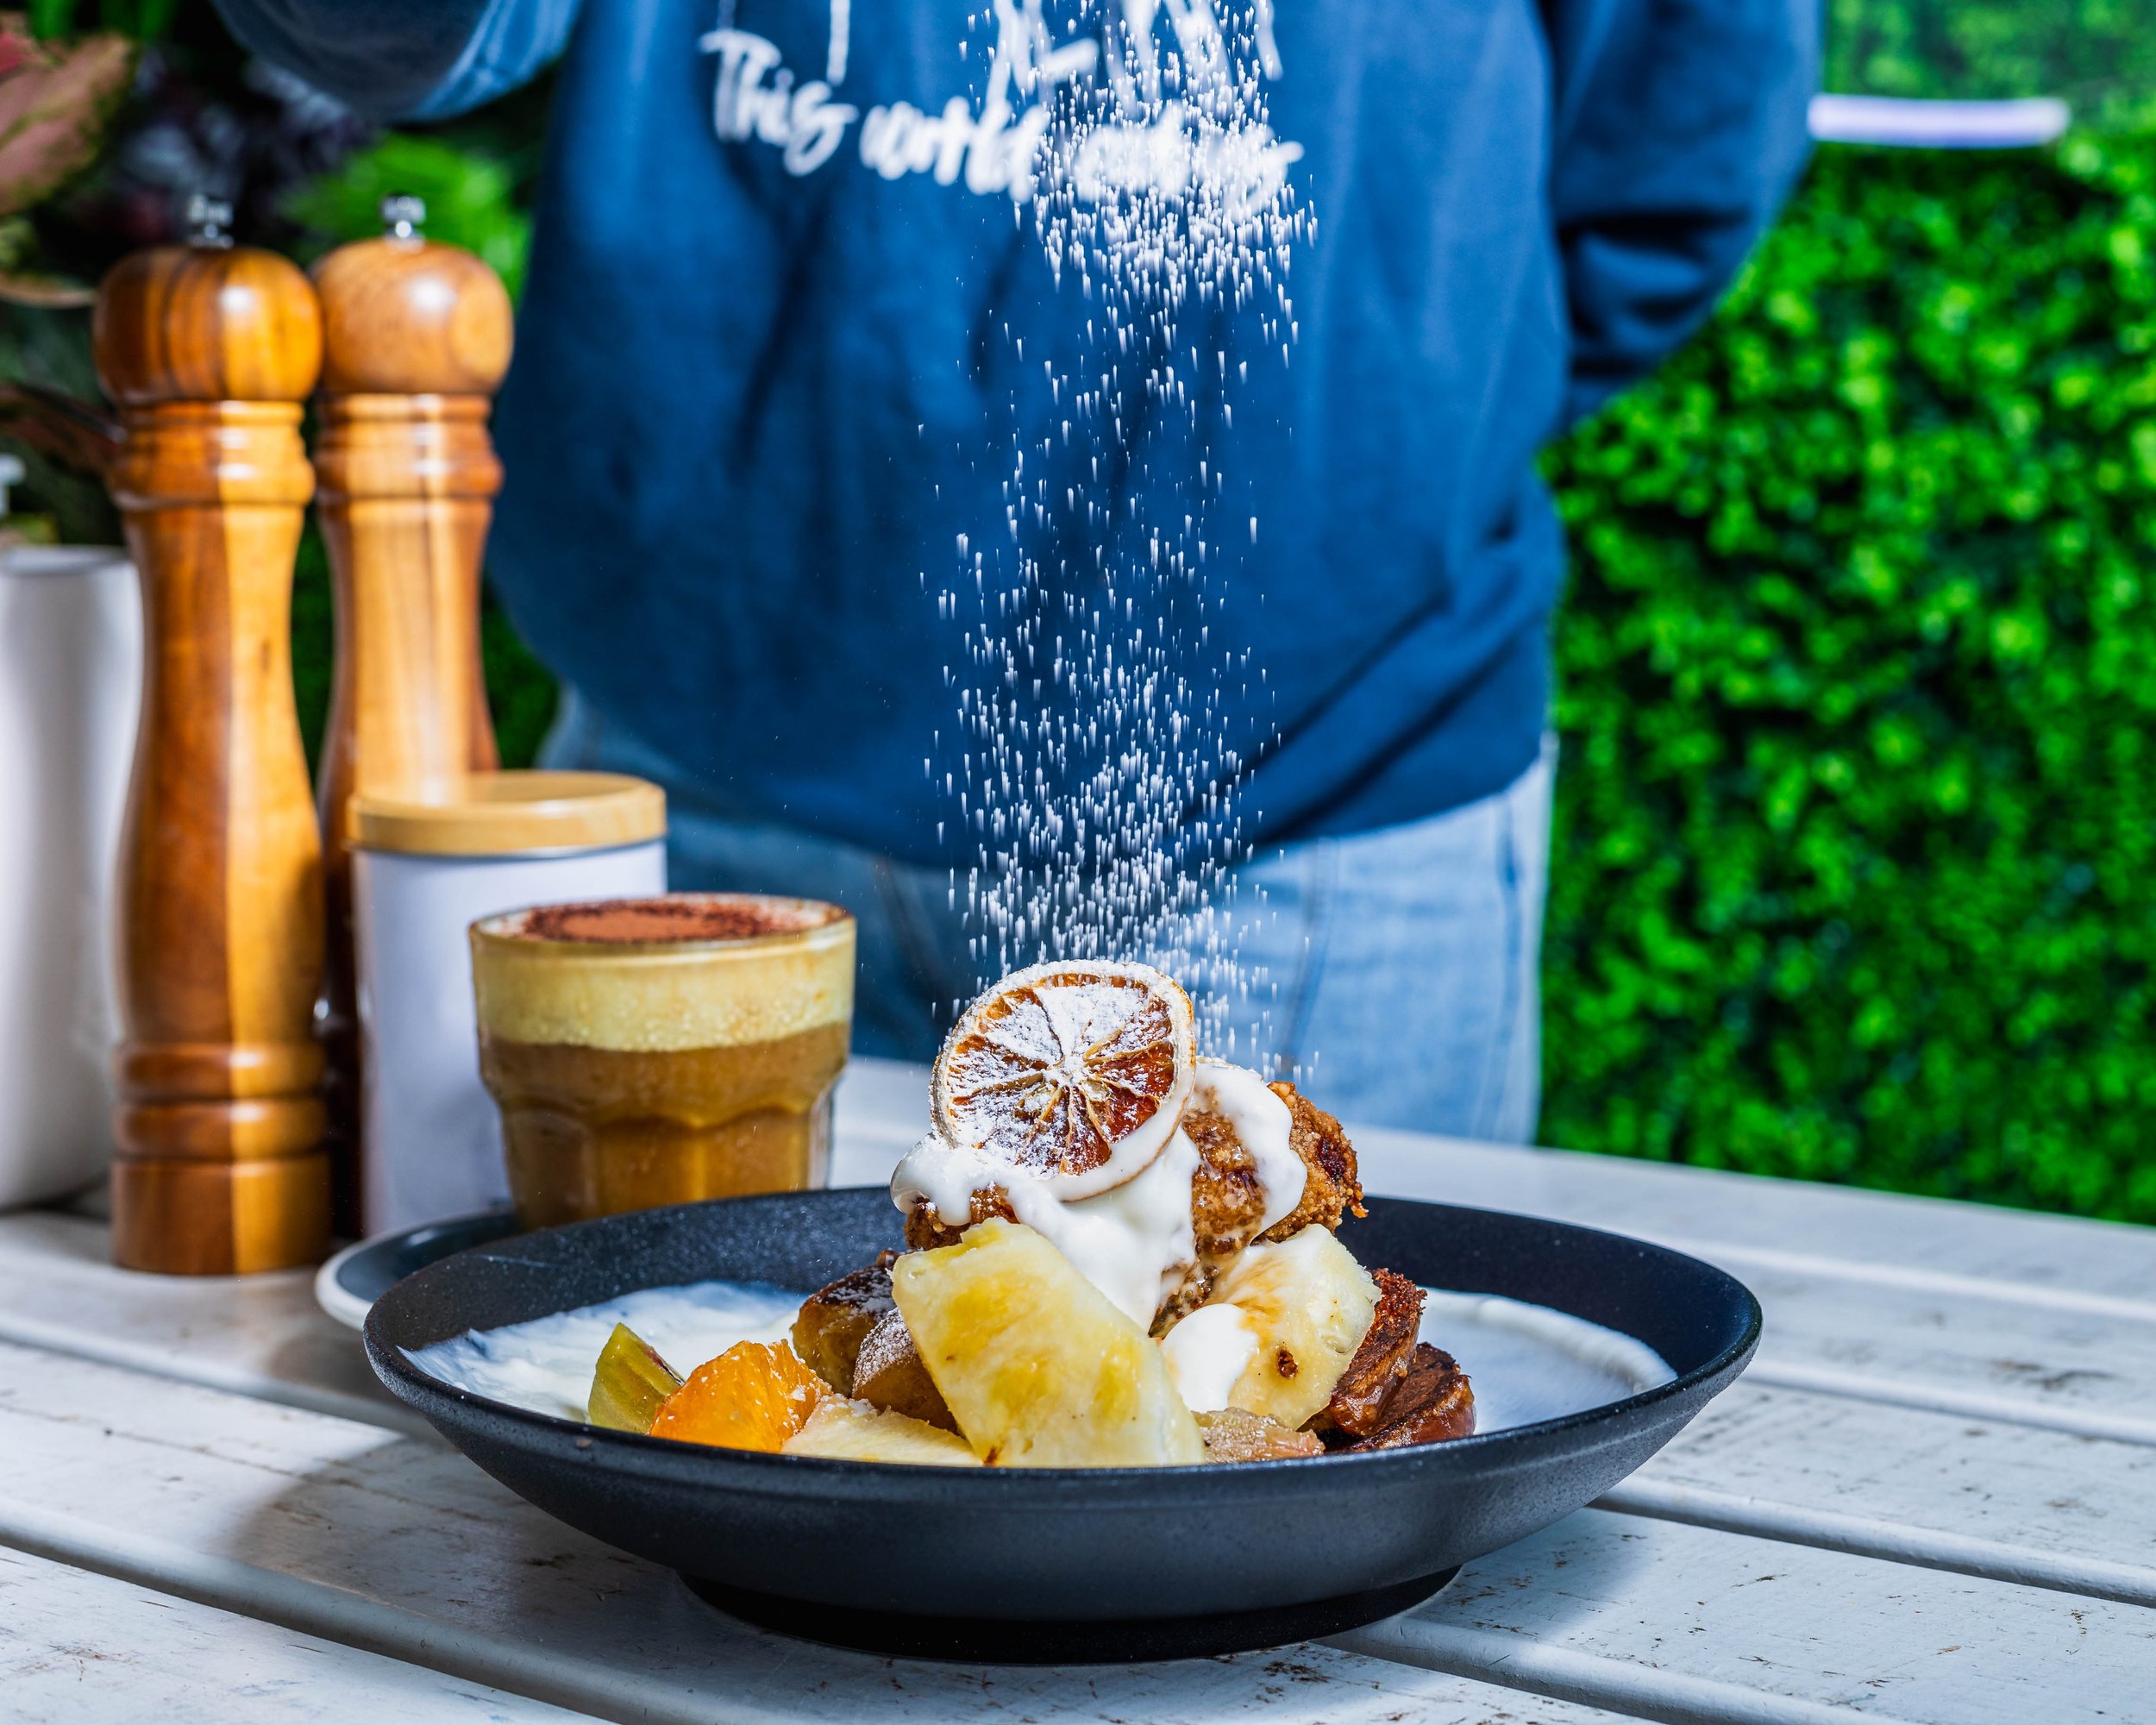
Finally, it was time to indulge in a sweet symphony of flavors with the café's signature maple syrup French toast. Thick slices of brioche bread were soaked in a decadent mixture of eggs, cream, and fragrant vanilla before being griddled to golden perfection. As the maple syrup cascaded over the delicate towers of French toast, I couldn't help but feel a sense of reverence for the culinary craftsmanship on display. With each frame, I endeavored to capture not just the visual appeal of the dish, but also the sheer joy and indulgence inherent in every bite.

Through the lens of my camera, I strive to do justice to the culinary creations of Auckland's vibrant café scene. Each shoot presents a new opportunity to celebrate the artistry and passion of local chefs and artisans, while also inviting viewers to embark on their own sensory journey through the world of food and photography.

For café and restaurant owners seeking to elevate their online presence and entice diners with mouthwatering visuals, investing in professional food photography is key. With a keen eye for detail and a deep appreciation for the culinary arts, I am committed to helping businesses showcase their offerings in the most appetizing light possible.

Whether you're craving a steaming cup of coffee, a decadent brunch spread, or a sweet indulgence to satisfy your sweet tooth, Auckland's café scene offers a feast for all the senses. And through the lens of a dedicated food photographer, these culinary delights are brought to life in stunning detail, inviting viewers to savor every moment and every bite.

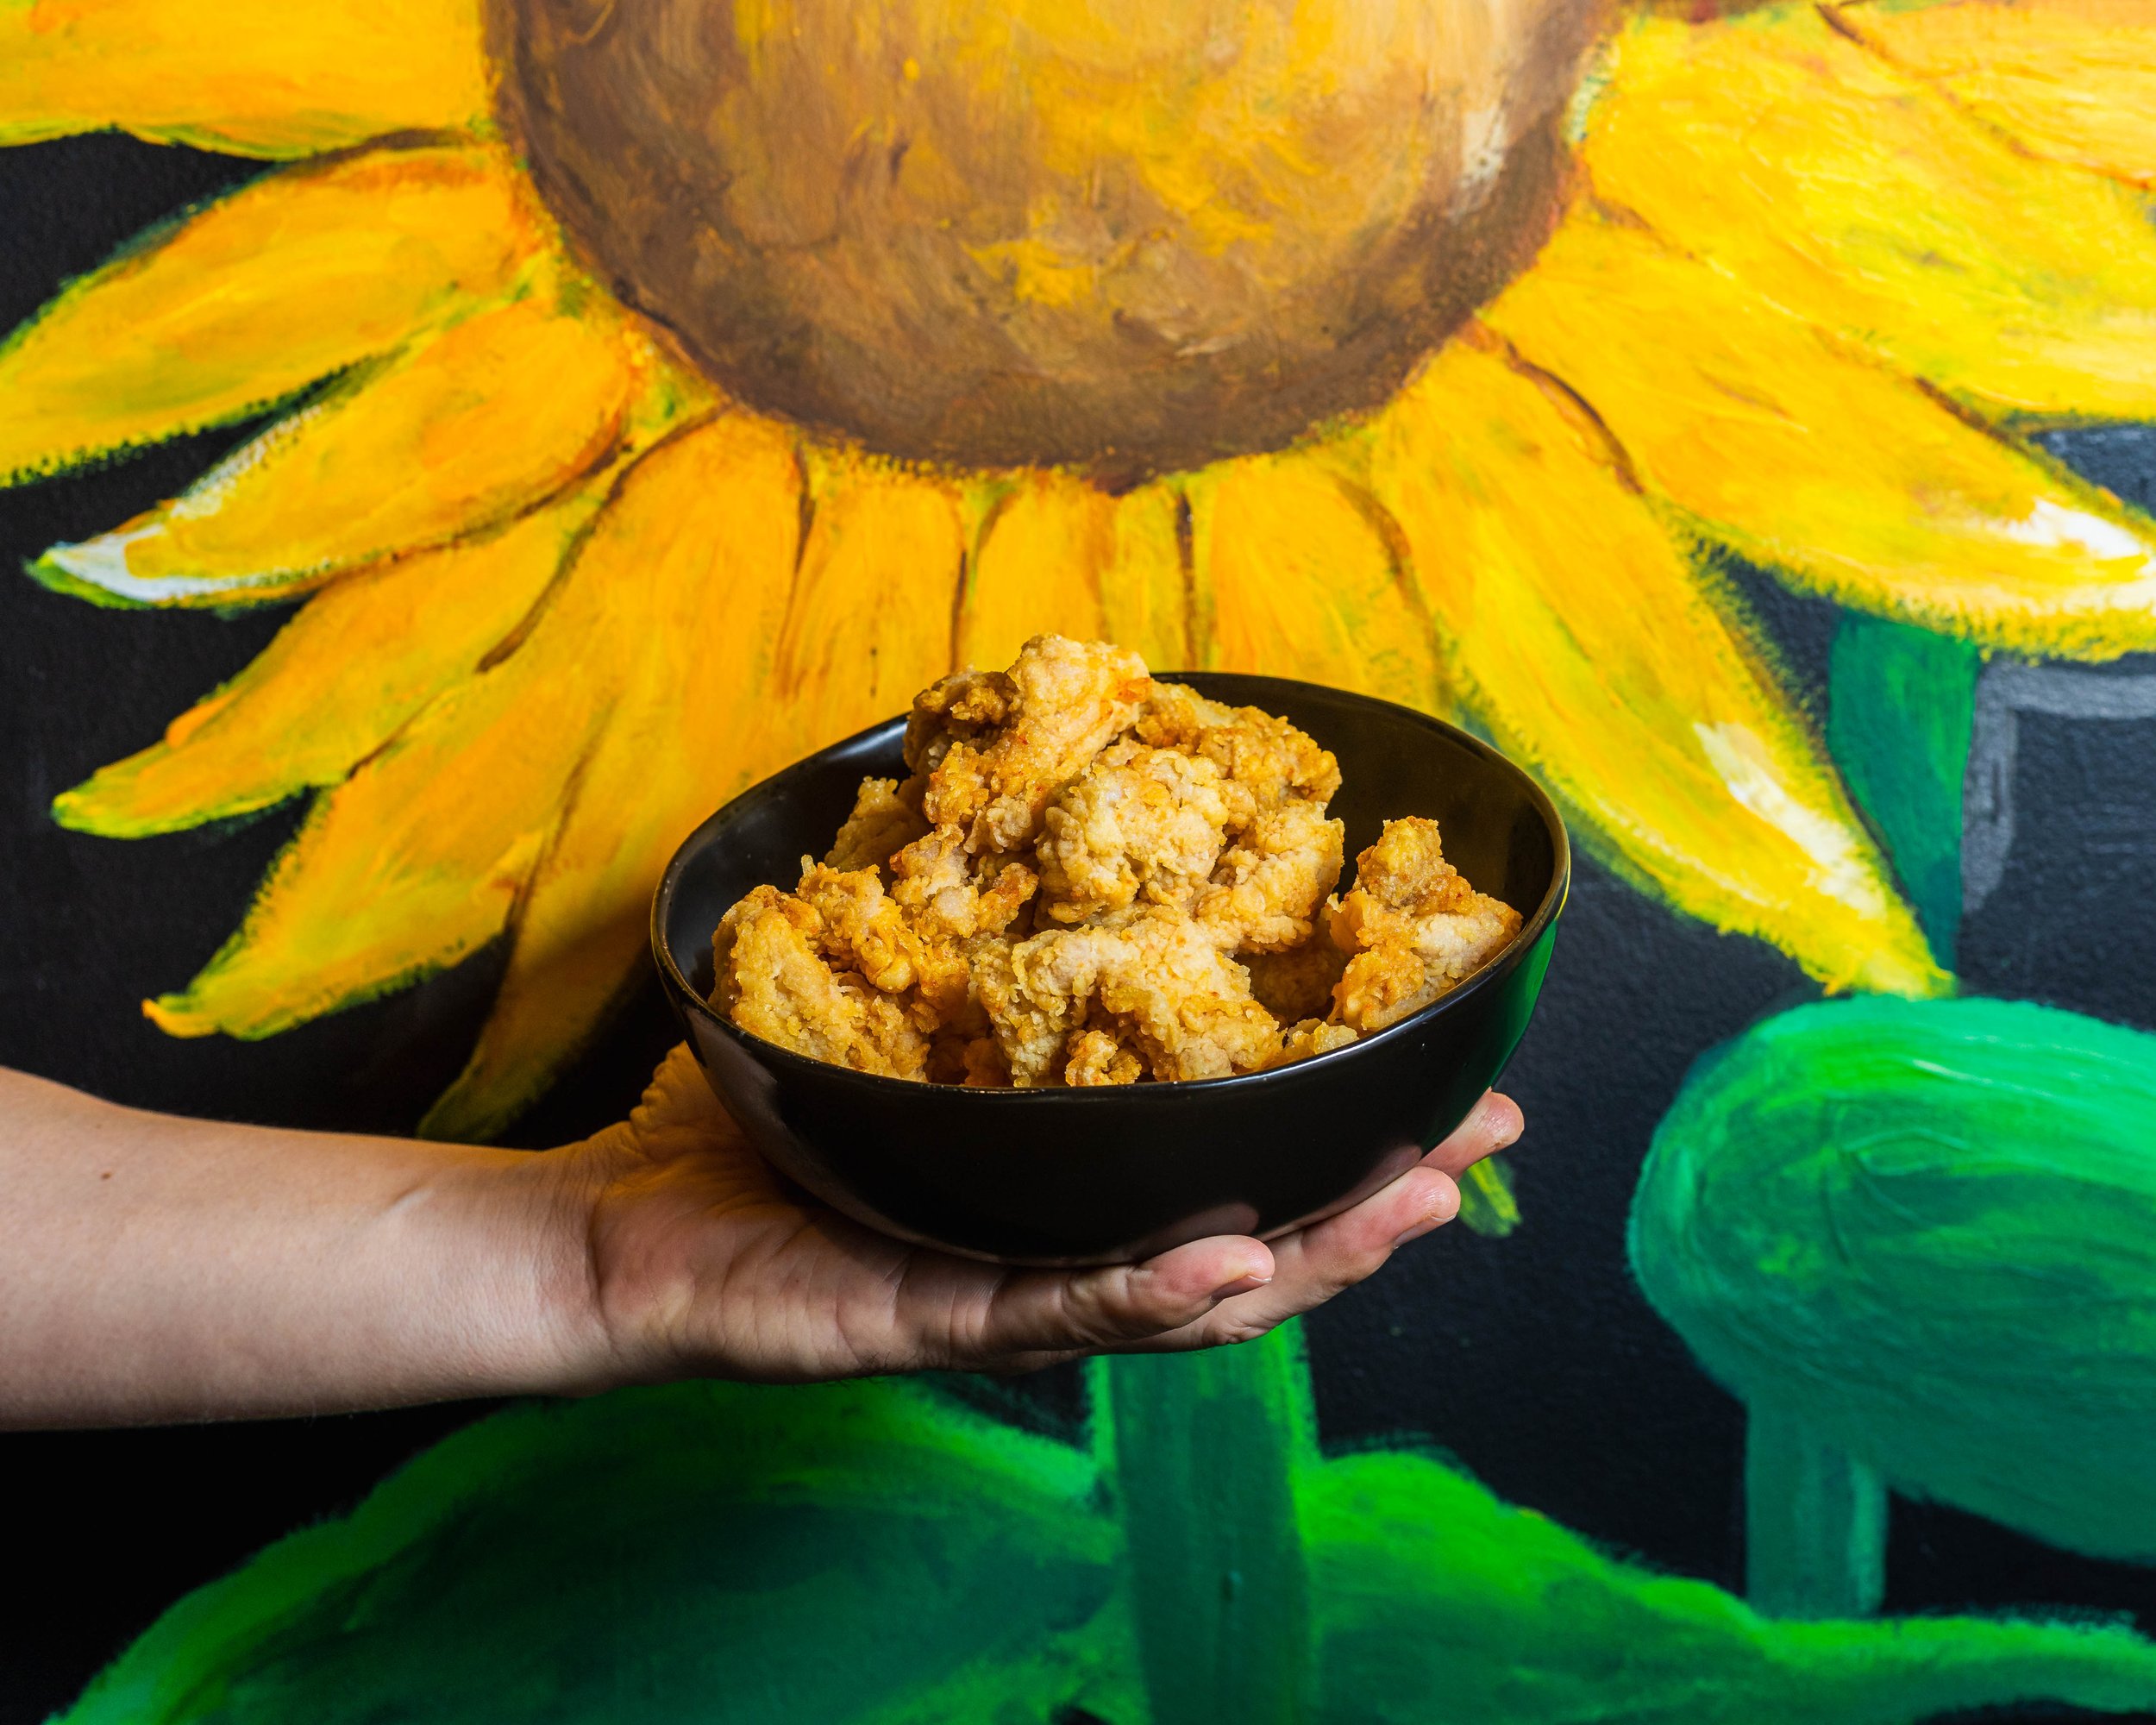
Capturing Culinary Delights: A Korean Fried Chicken Burger Shoot in Auckland

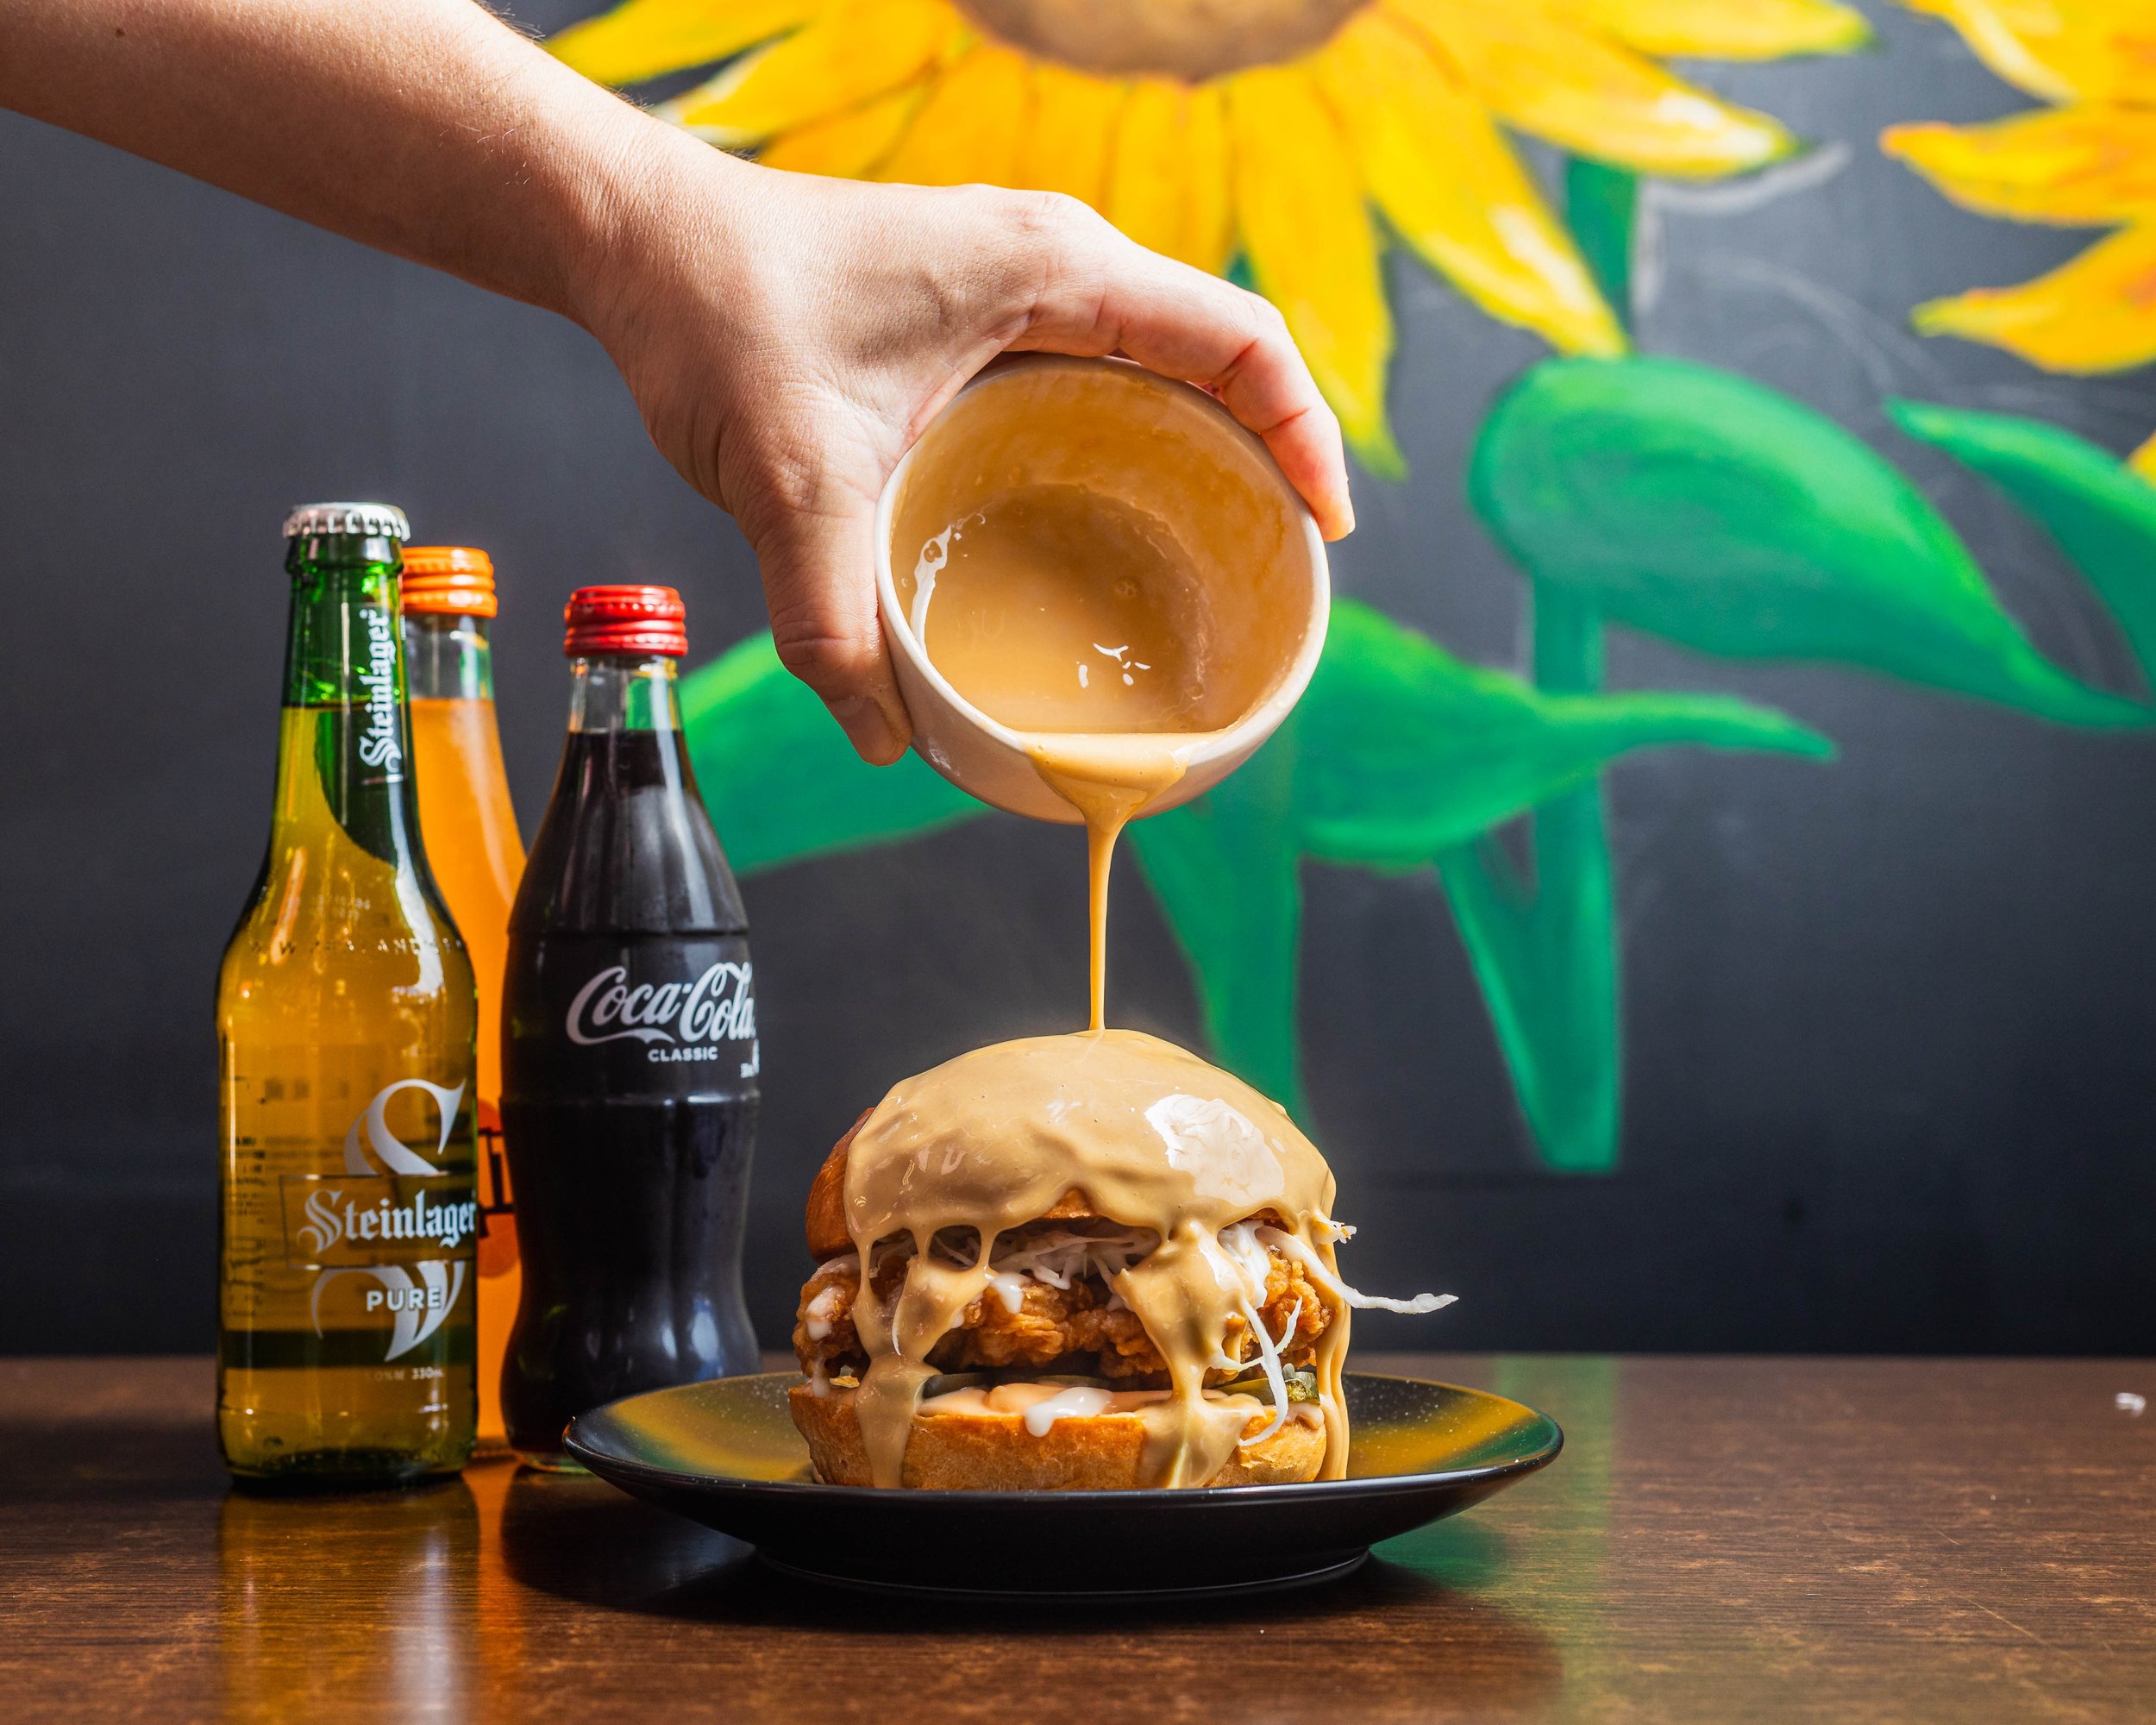
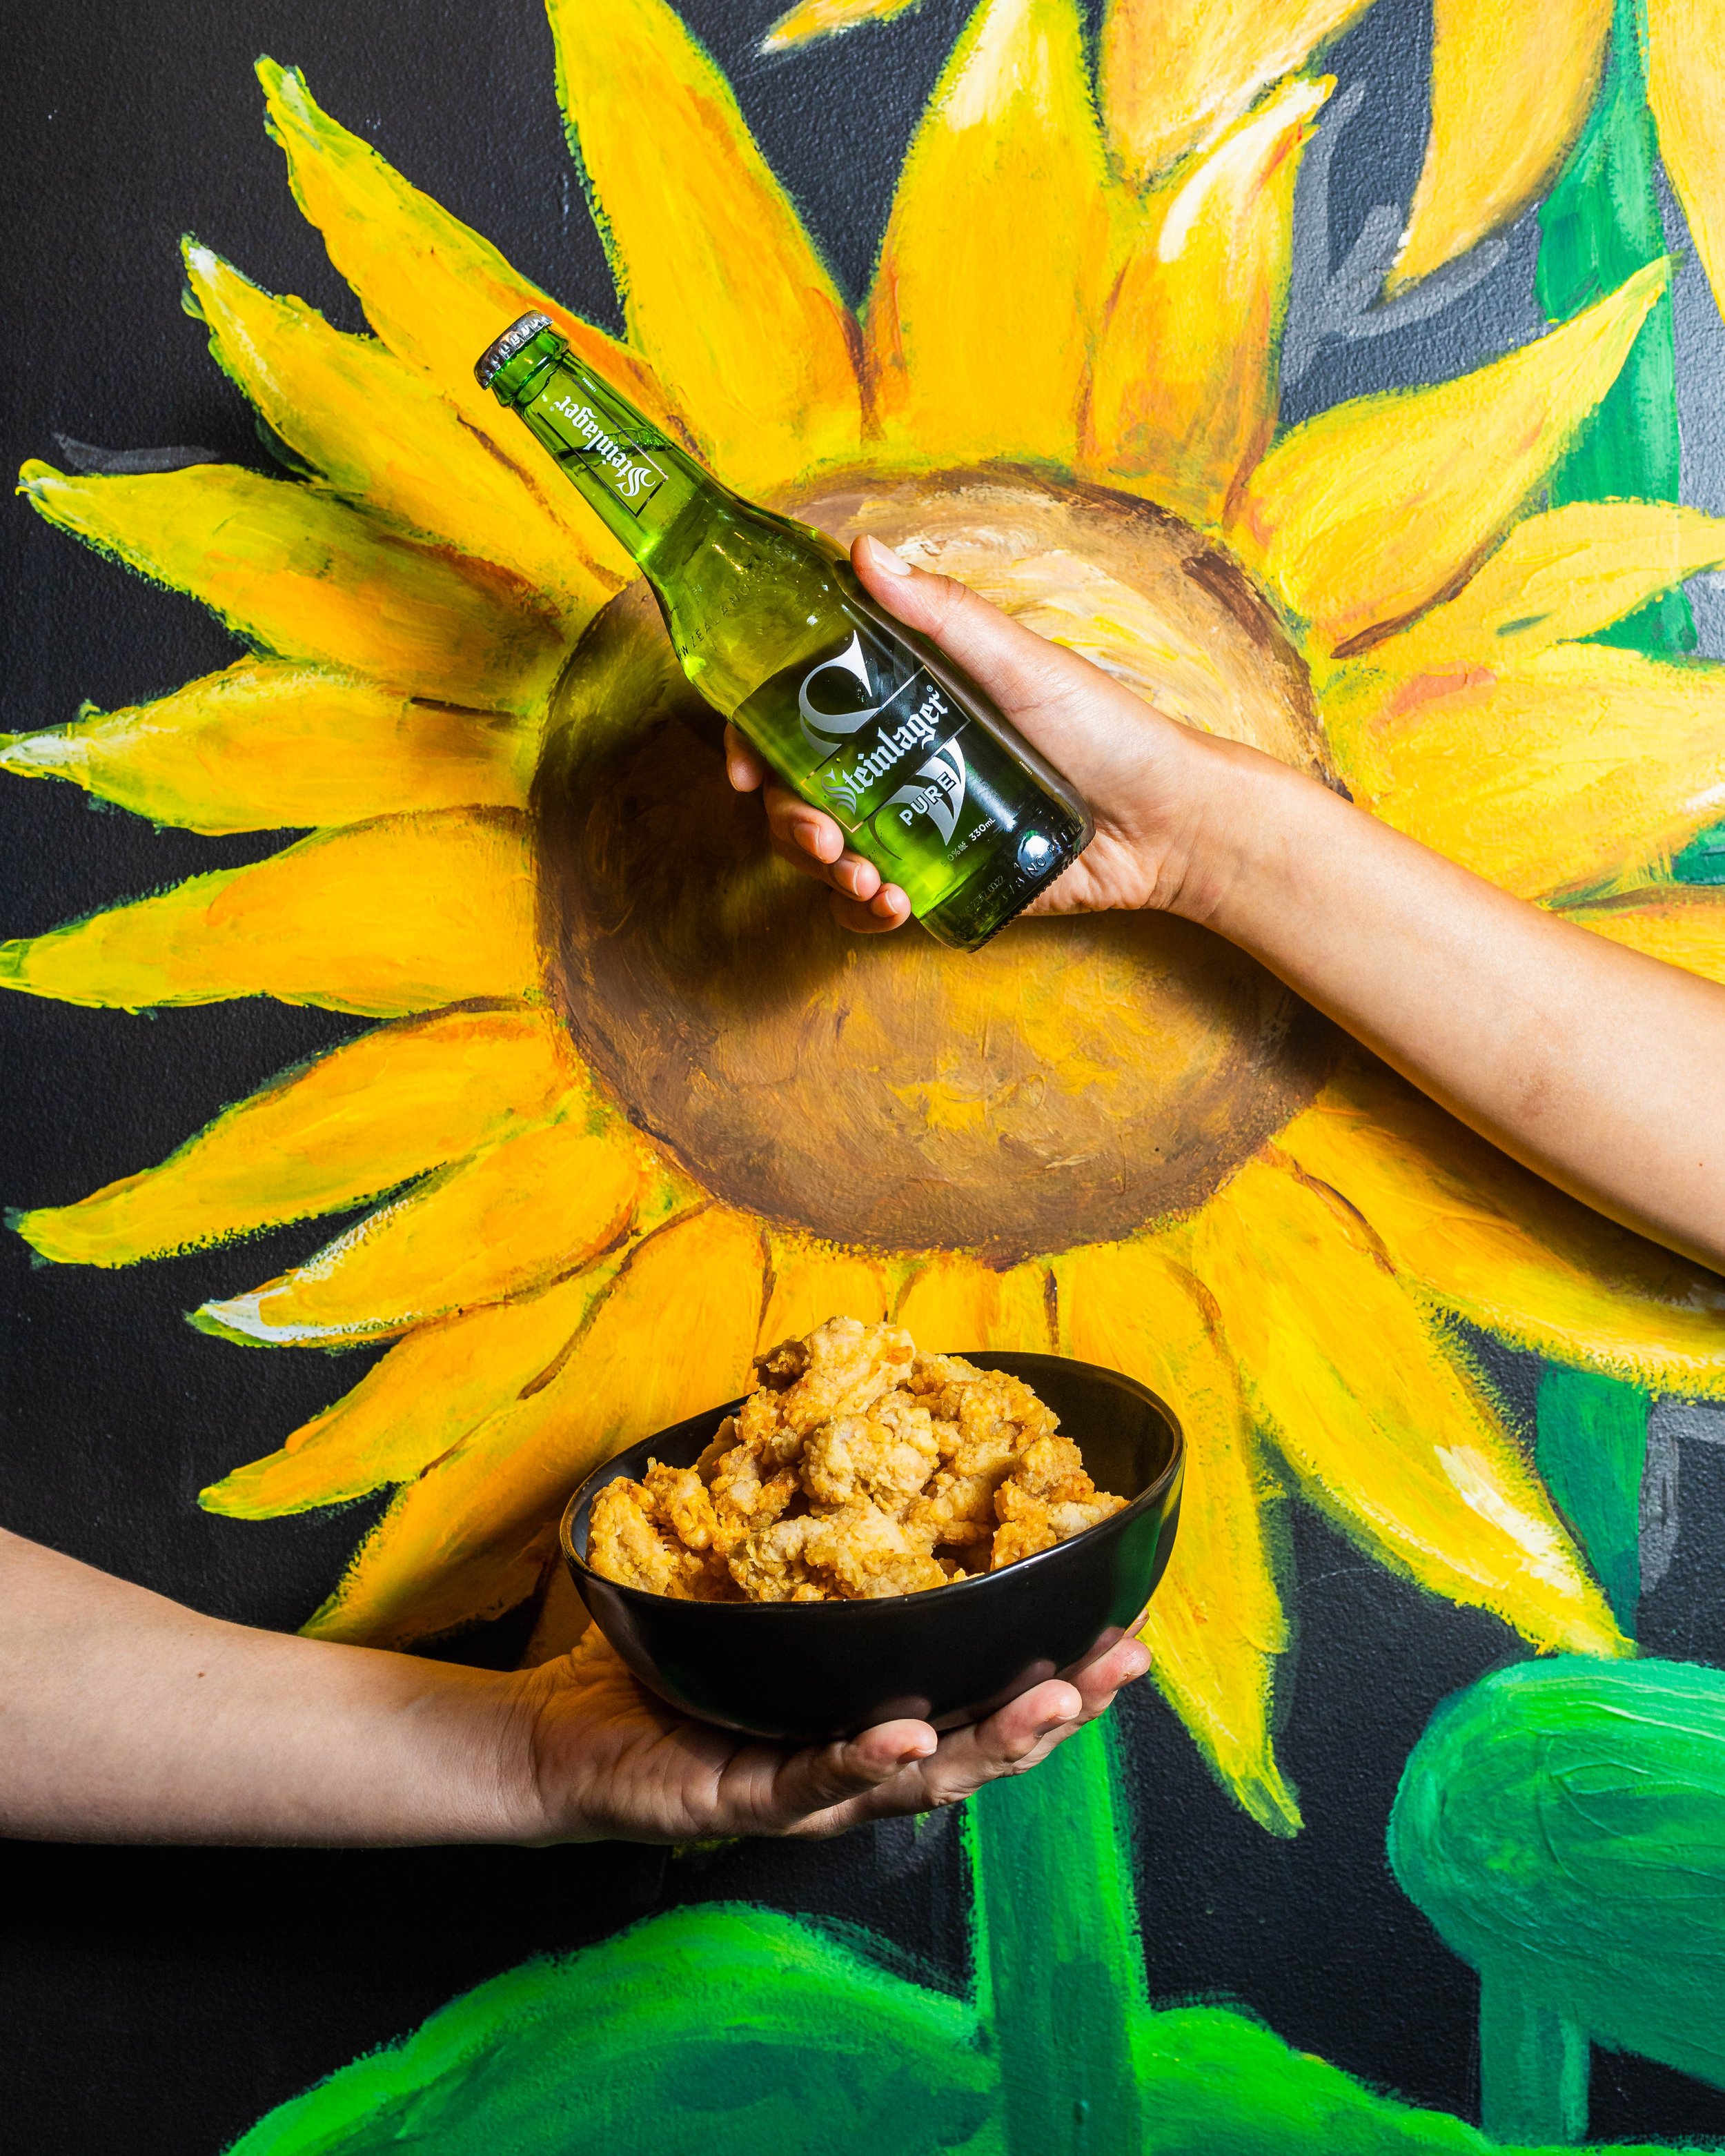
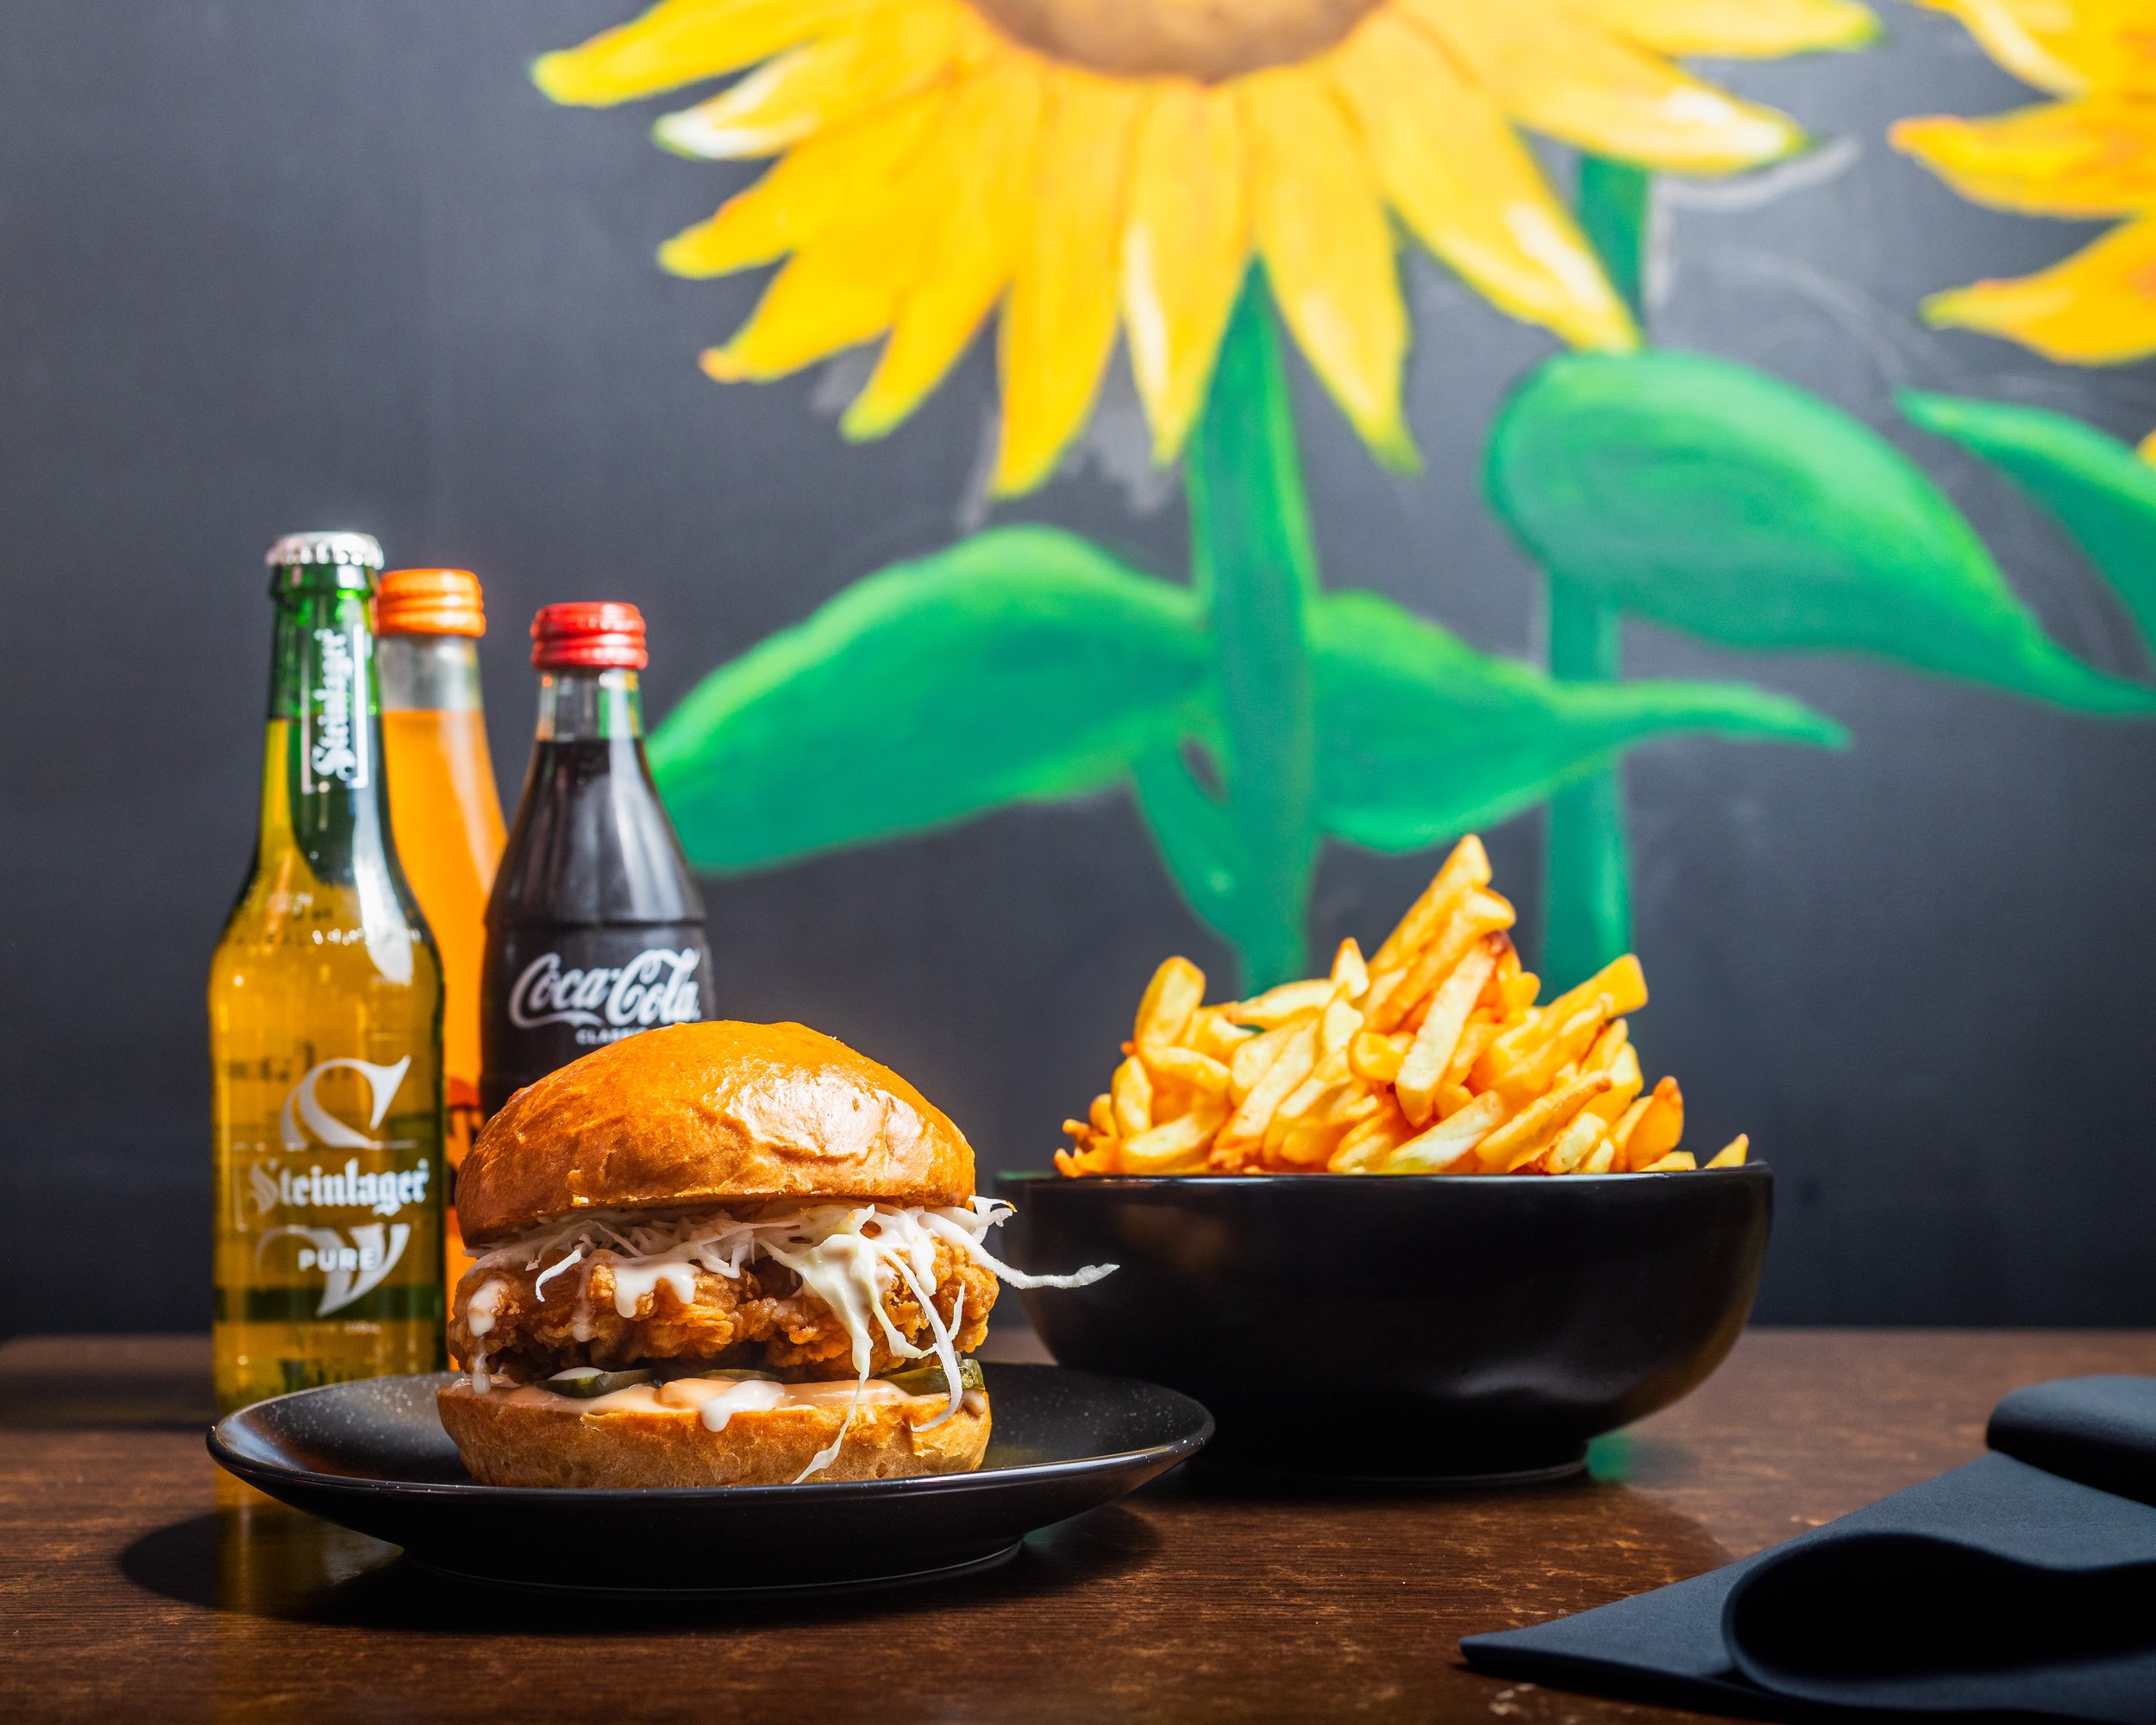
As a food photographer based in Auckland, I've had the pleasure of capturing some of the most delectable dishes this vibrant city has to offer. Recently, I had the opportunity to work with a Korean fried chicken restaurant that has been making waves with its unique culinary creations. Among their standout dishes was a mouthwatering Korean Fried Chicken Burger topped with a cheesy sauce that was begging to be photographed.

Stepping into the restaurant, the aroma of sizzling chicken and savory spices instantly filled the air, heightening the anticipation for the upcoming shoot. The ambiance was lively, with diners eagerly indulging in crispy chicken delights while I set up my gear, ready to immortalize these culinary masterpieces through my lens.

The moment the Korean Fried Chicken Burger was brought out, I knew it would be the highlight of the shoot. A generous portion of perfectly fried chicken nestled between fluffy buns, adorned with vibrant vegetables, and crowned with a decadent cascade of cheesy sauce – it was a sight to behold. Each element of the burger was meticulously crafted, promising a symphony of flavors with every bite.

As the shoot came to an end, I couldn't help but feel a sense of satisfaction knowing that I had successfully captured the essence of the Korean Fried Chicken Burger through my lens. From the crispy chicken to the gooey cheese sauce, every element had been immortalized in stunning detail, ready to tantalize the taste buds of viewers near and far.

Working with this Korean fried chicken restaurant was truly a delight, and I'm grateful for the opportunity to showcase their culinary creations through my photography. Auckland's food scene continues to impress with its diverse flavors and innovative dishes, and I can't wait to see what delicious delights await my lens next.

Whether you're a food enthusiast or simply someone who appreciates the artistry of gastronomy, I invite you to explore the vibrant culinary landscape of Auckland through the lens of my camera. Who knows what mouthwatering treasures await your discovery?

Until next time, happy eating!

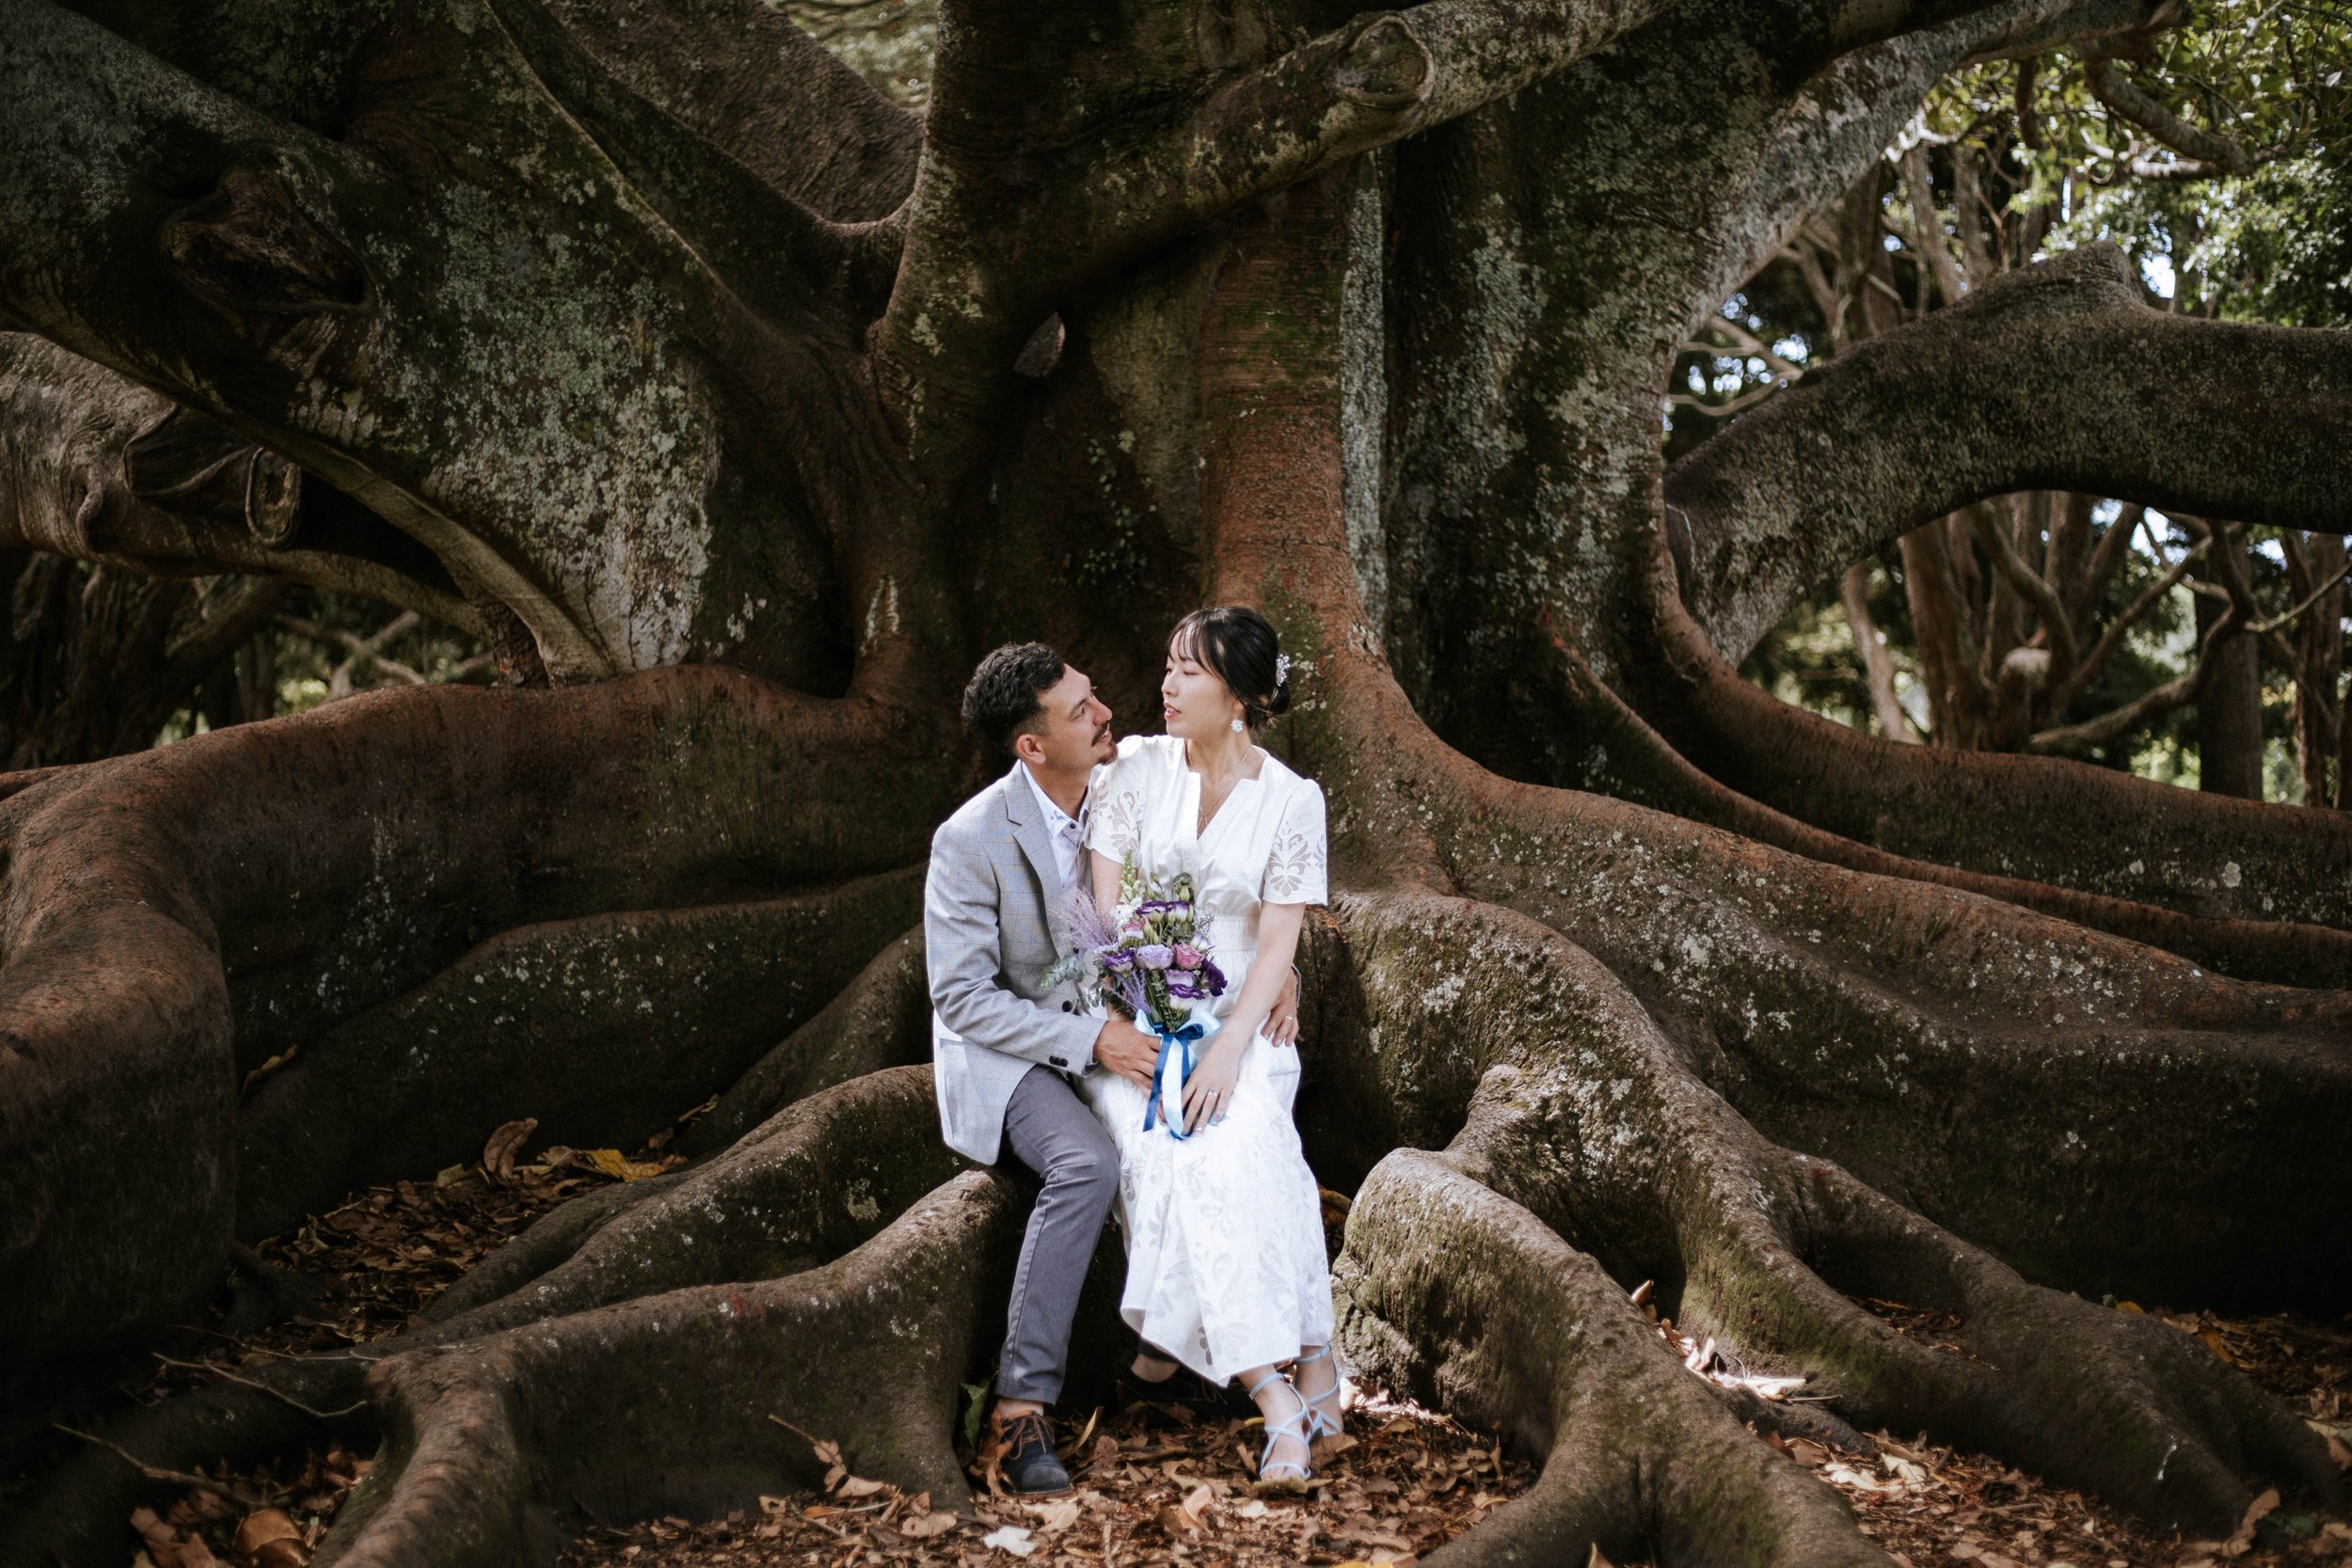
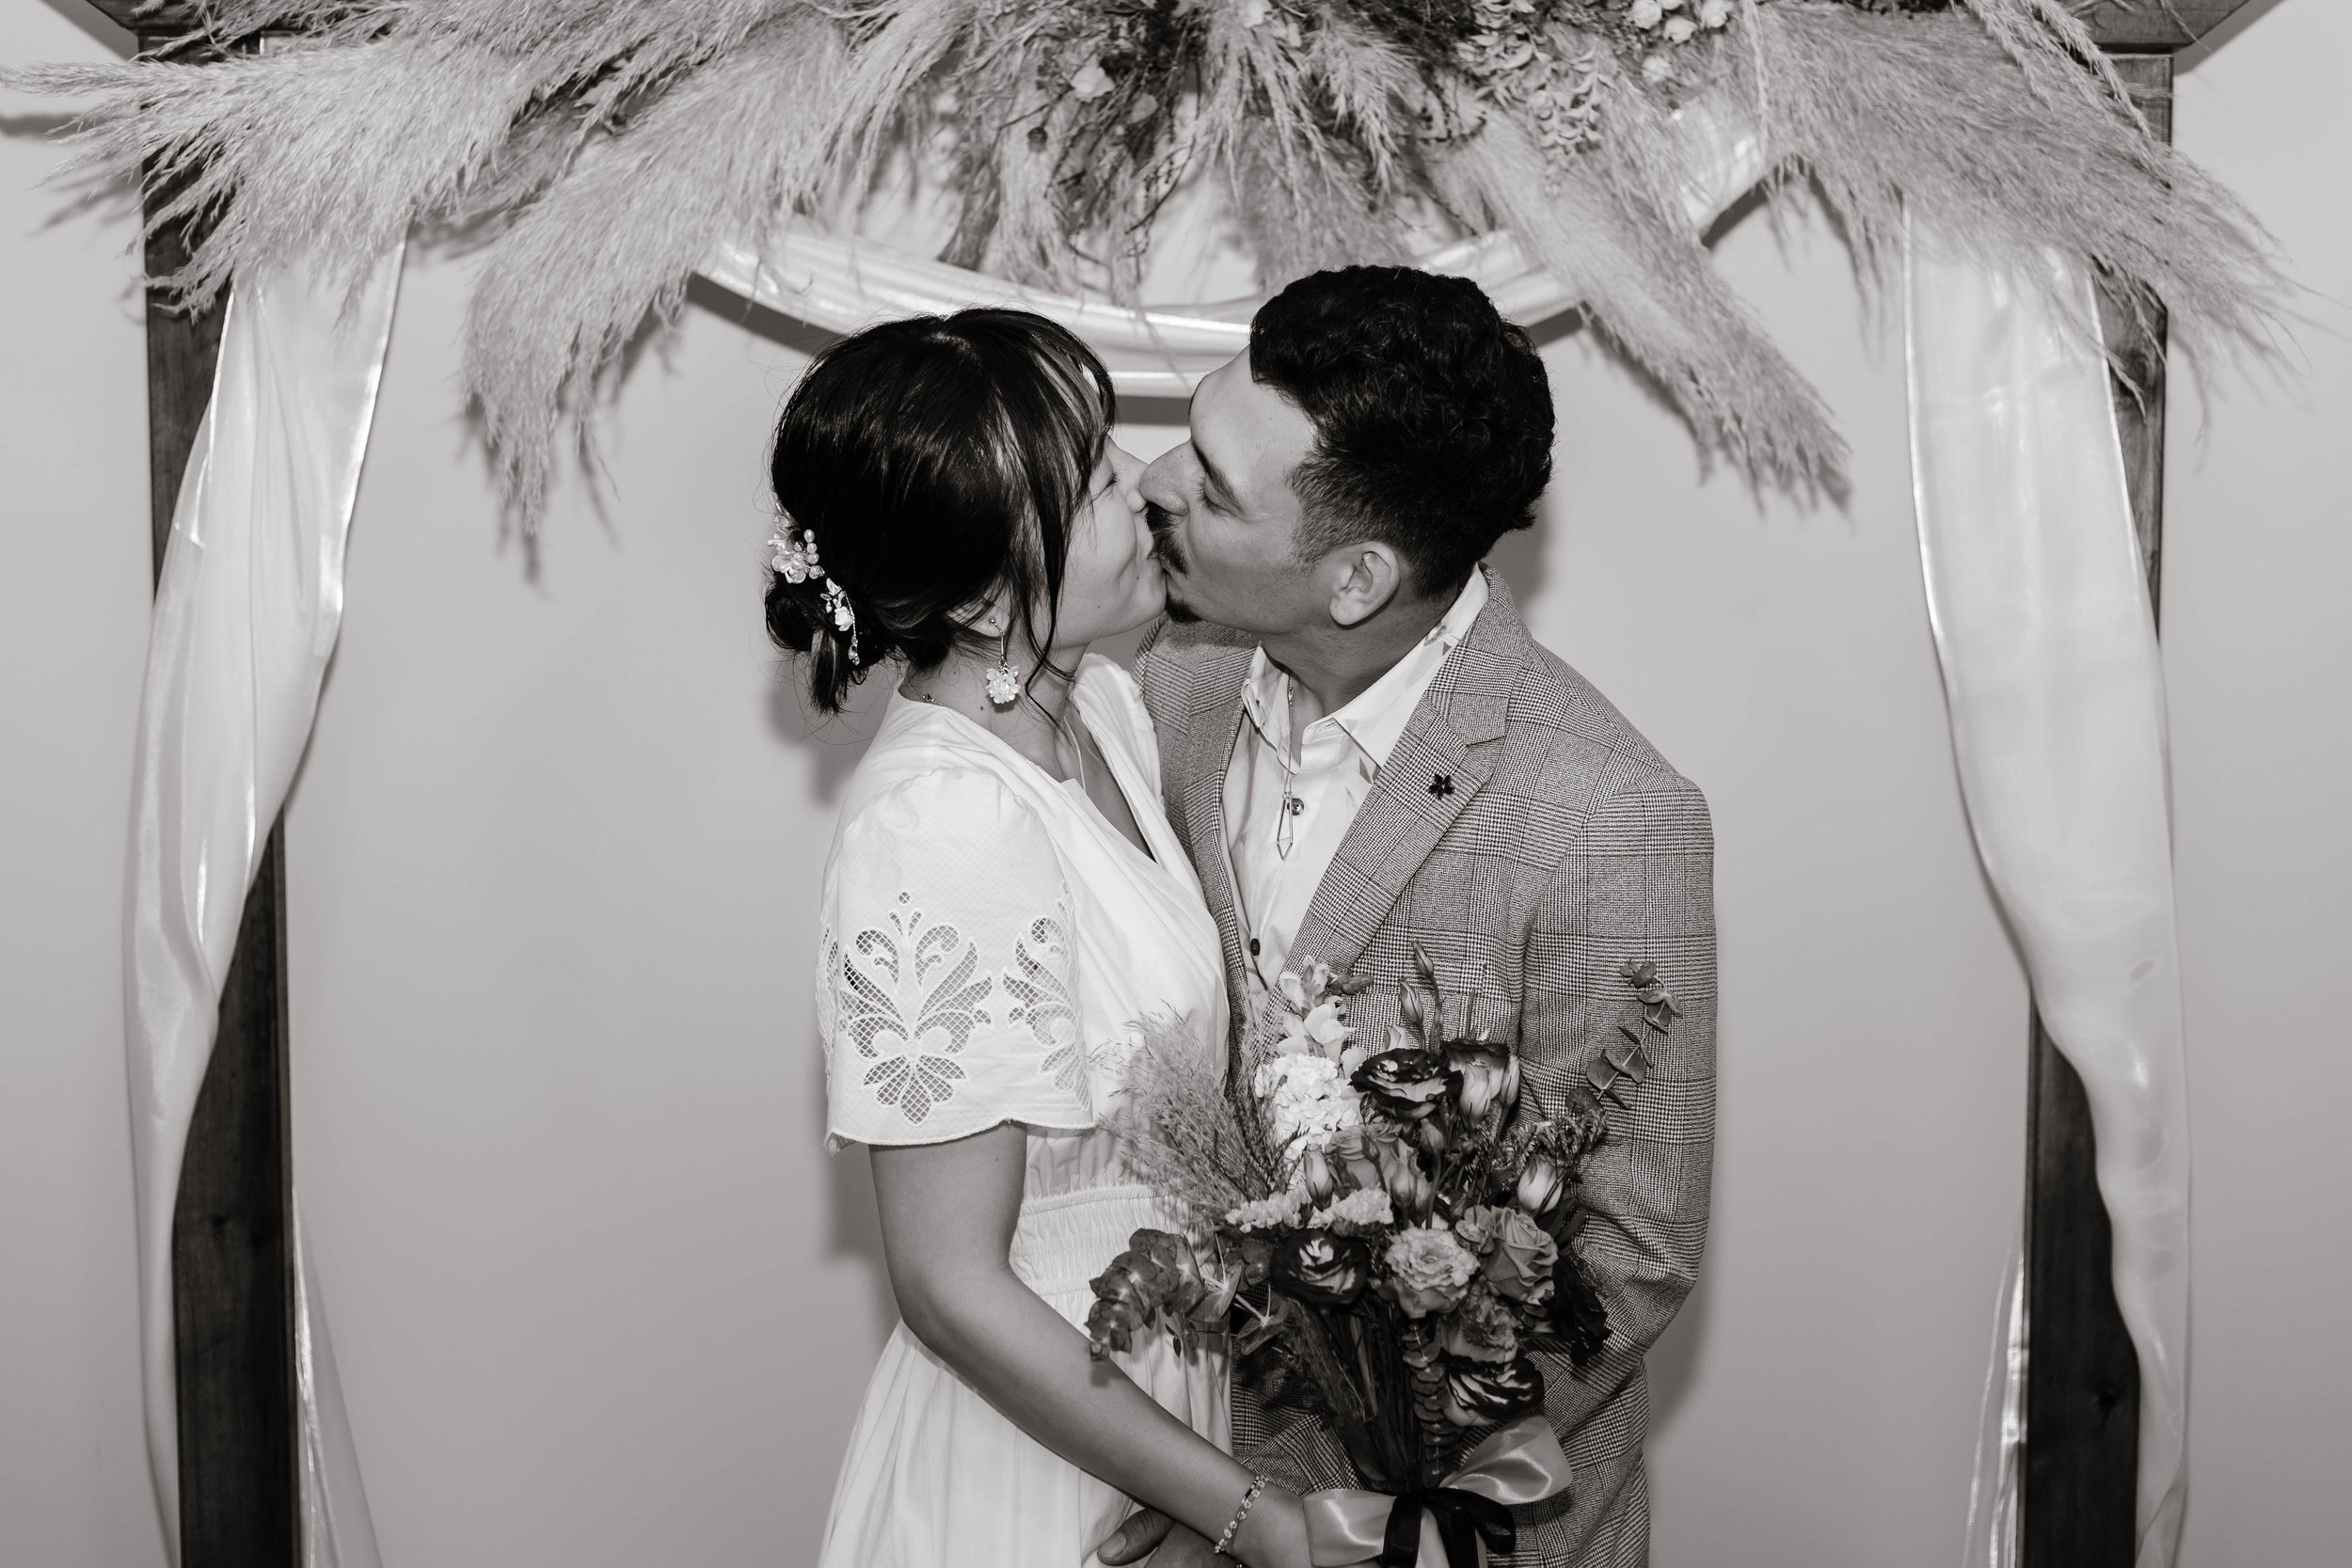
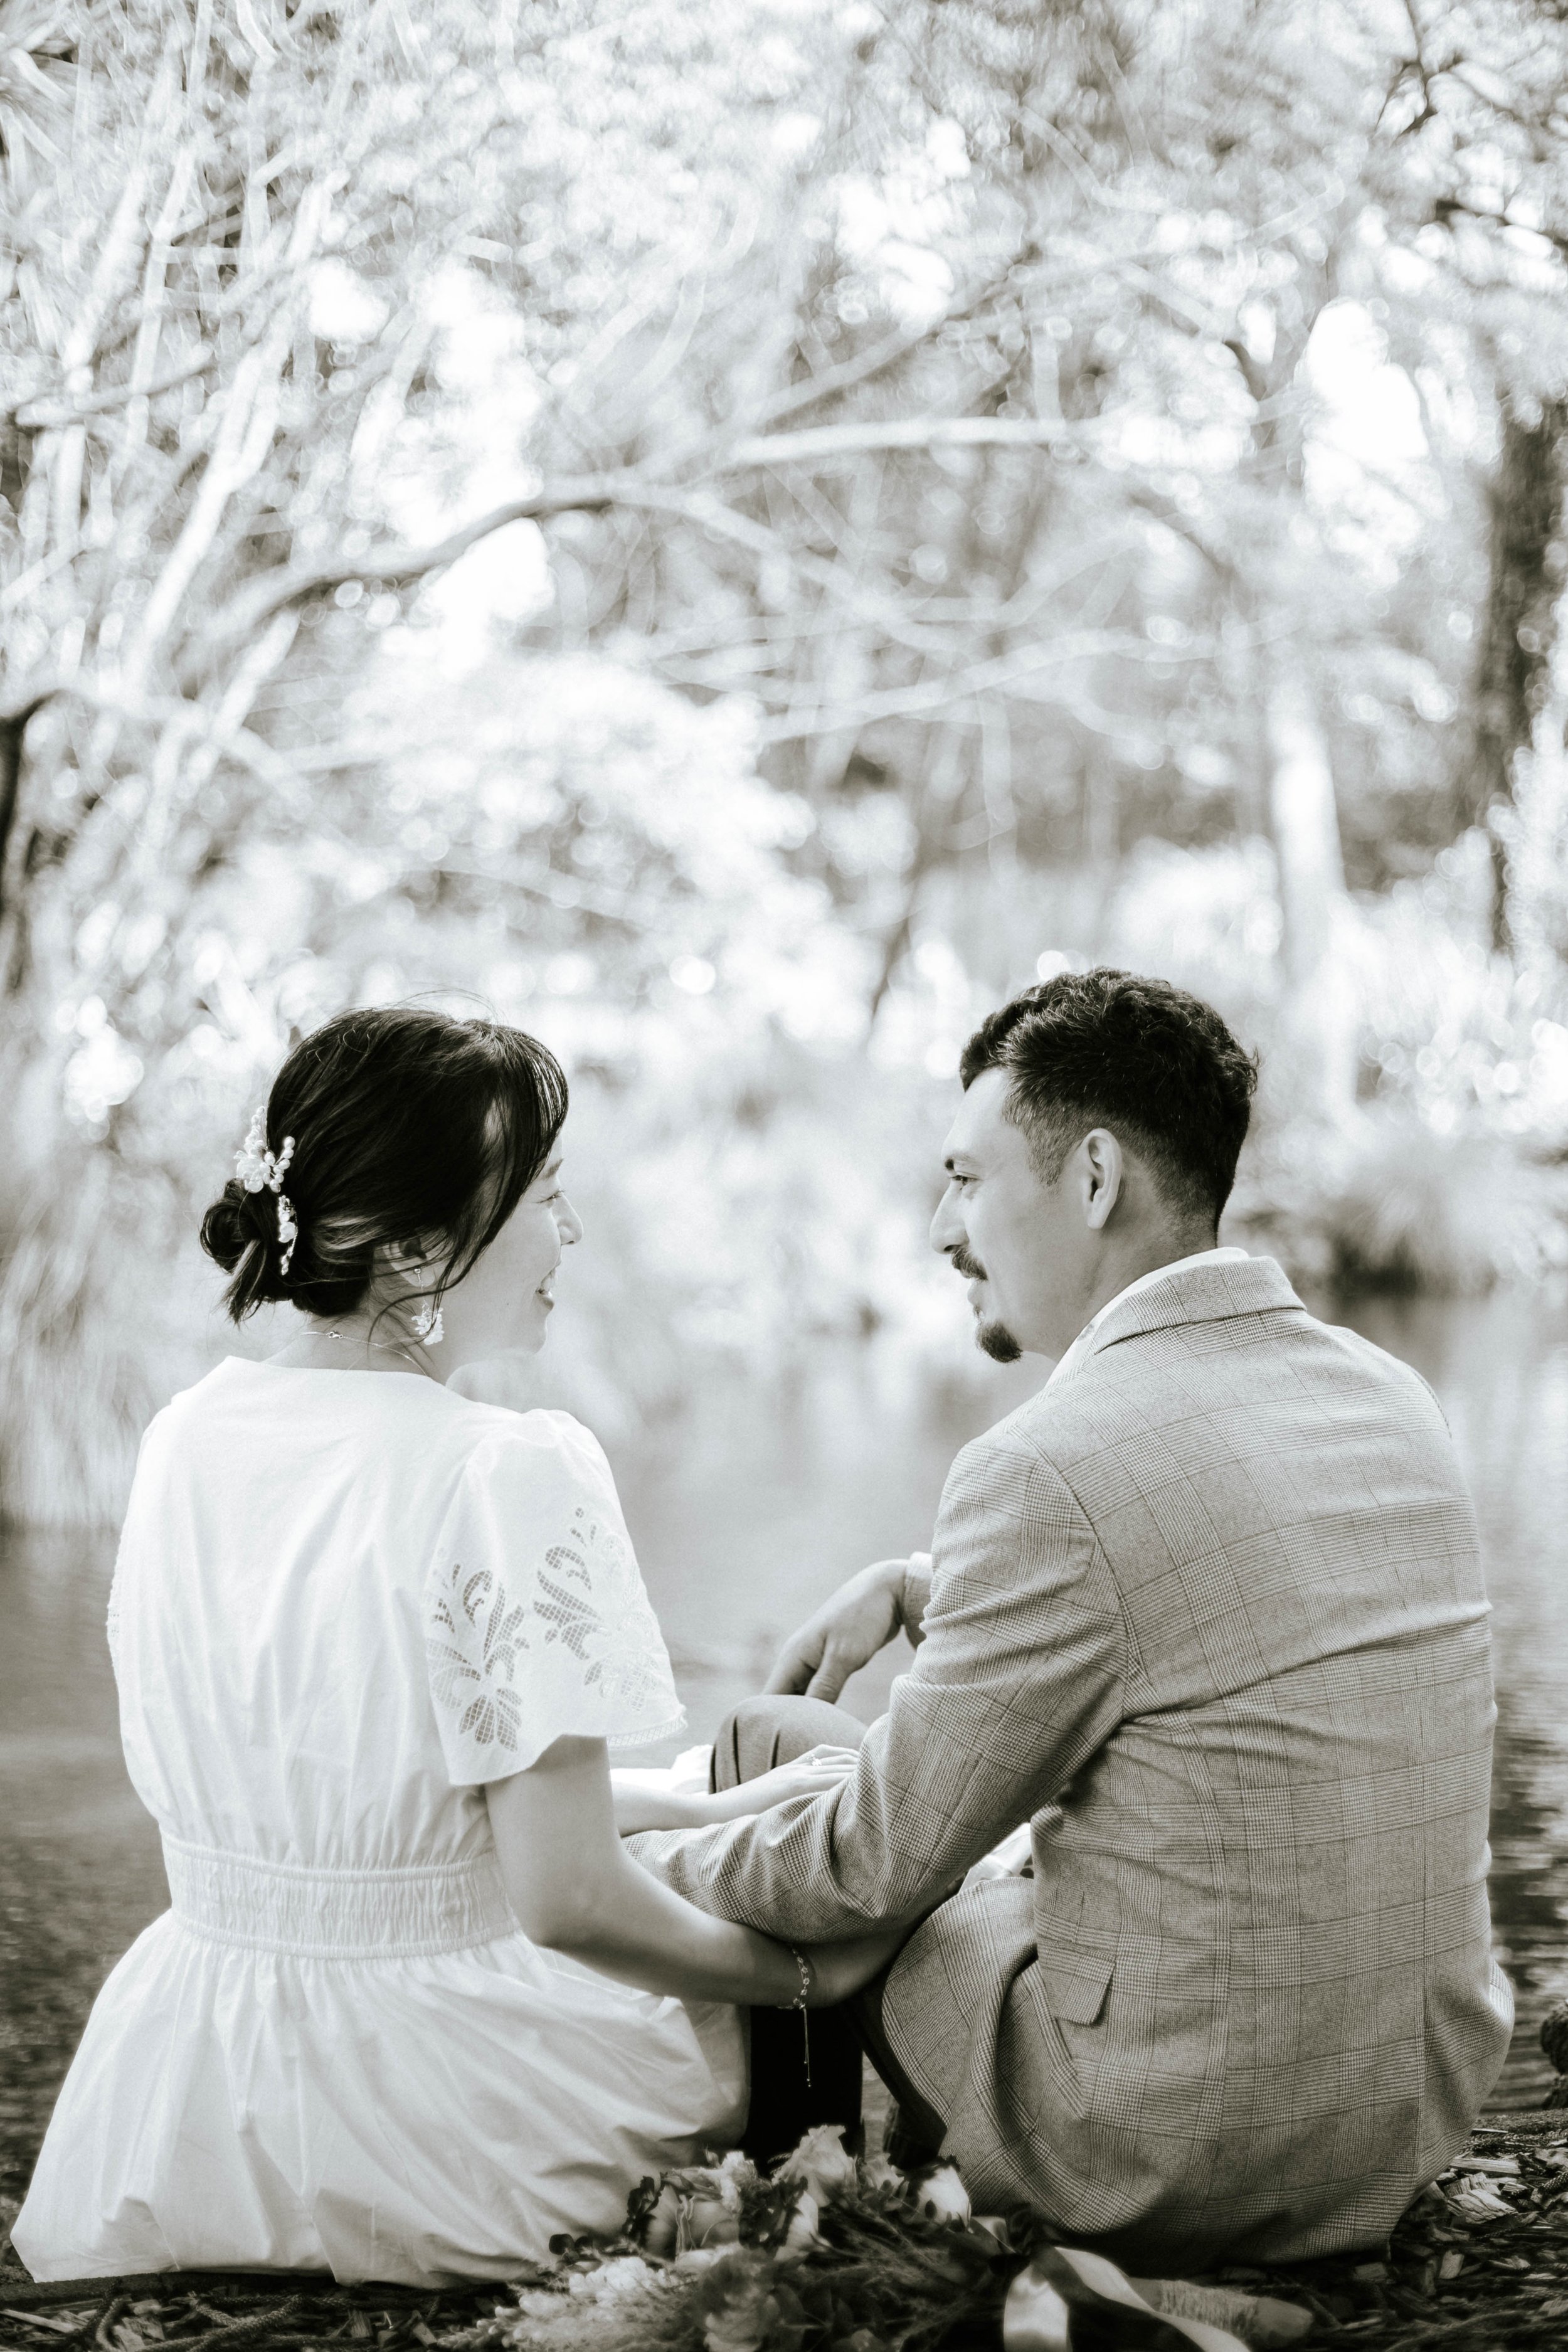
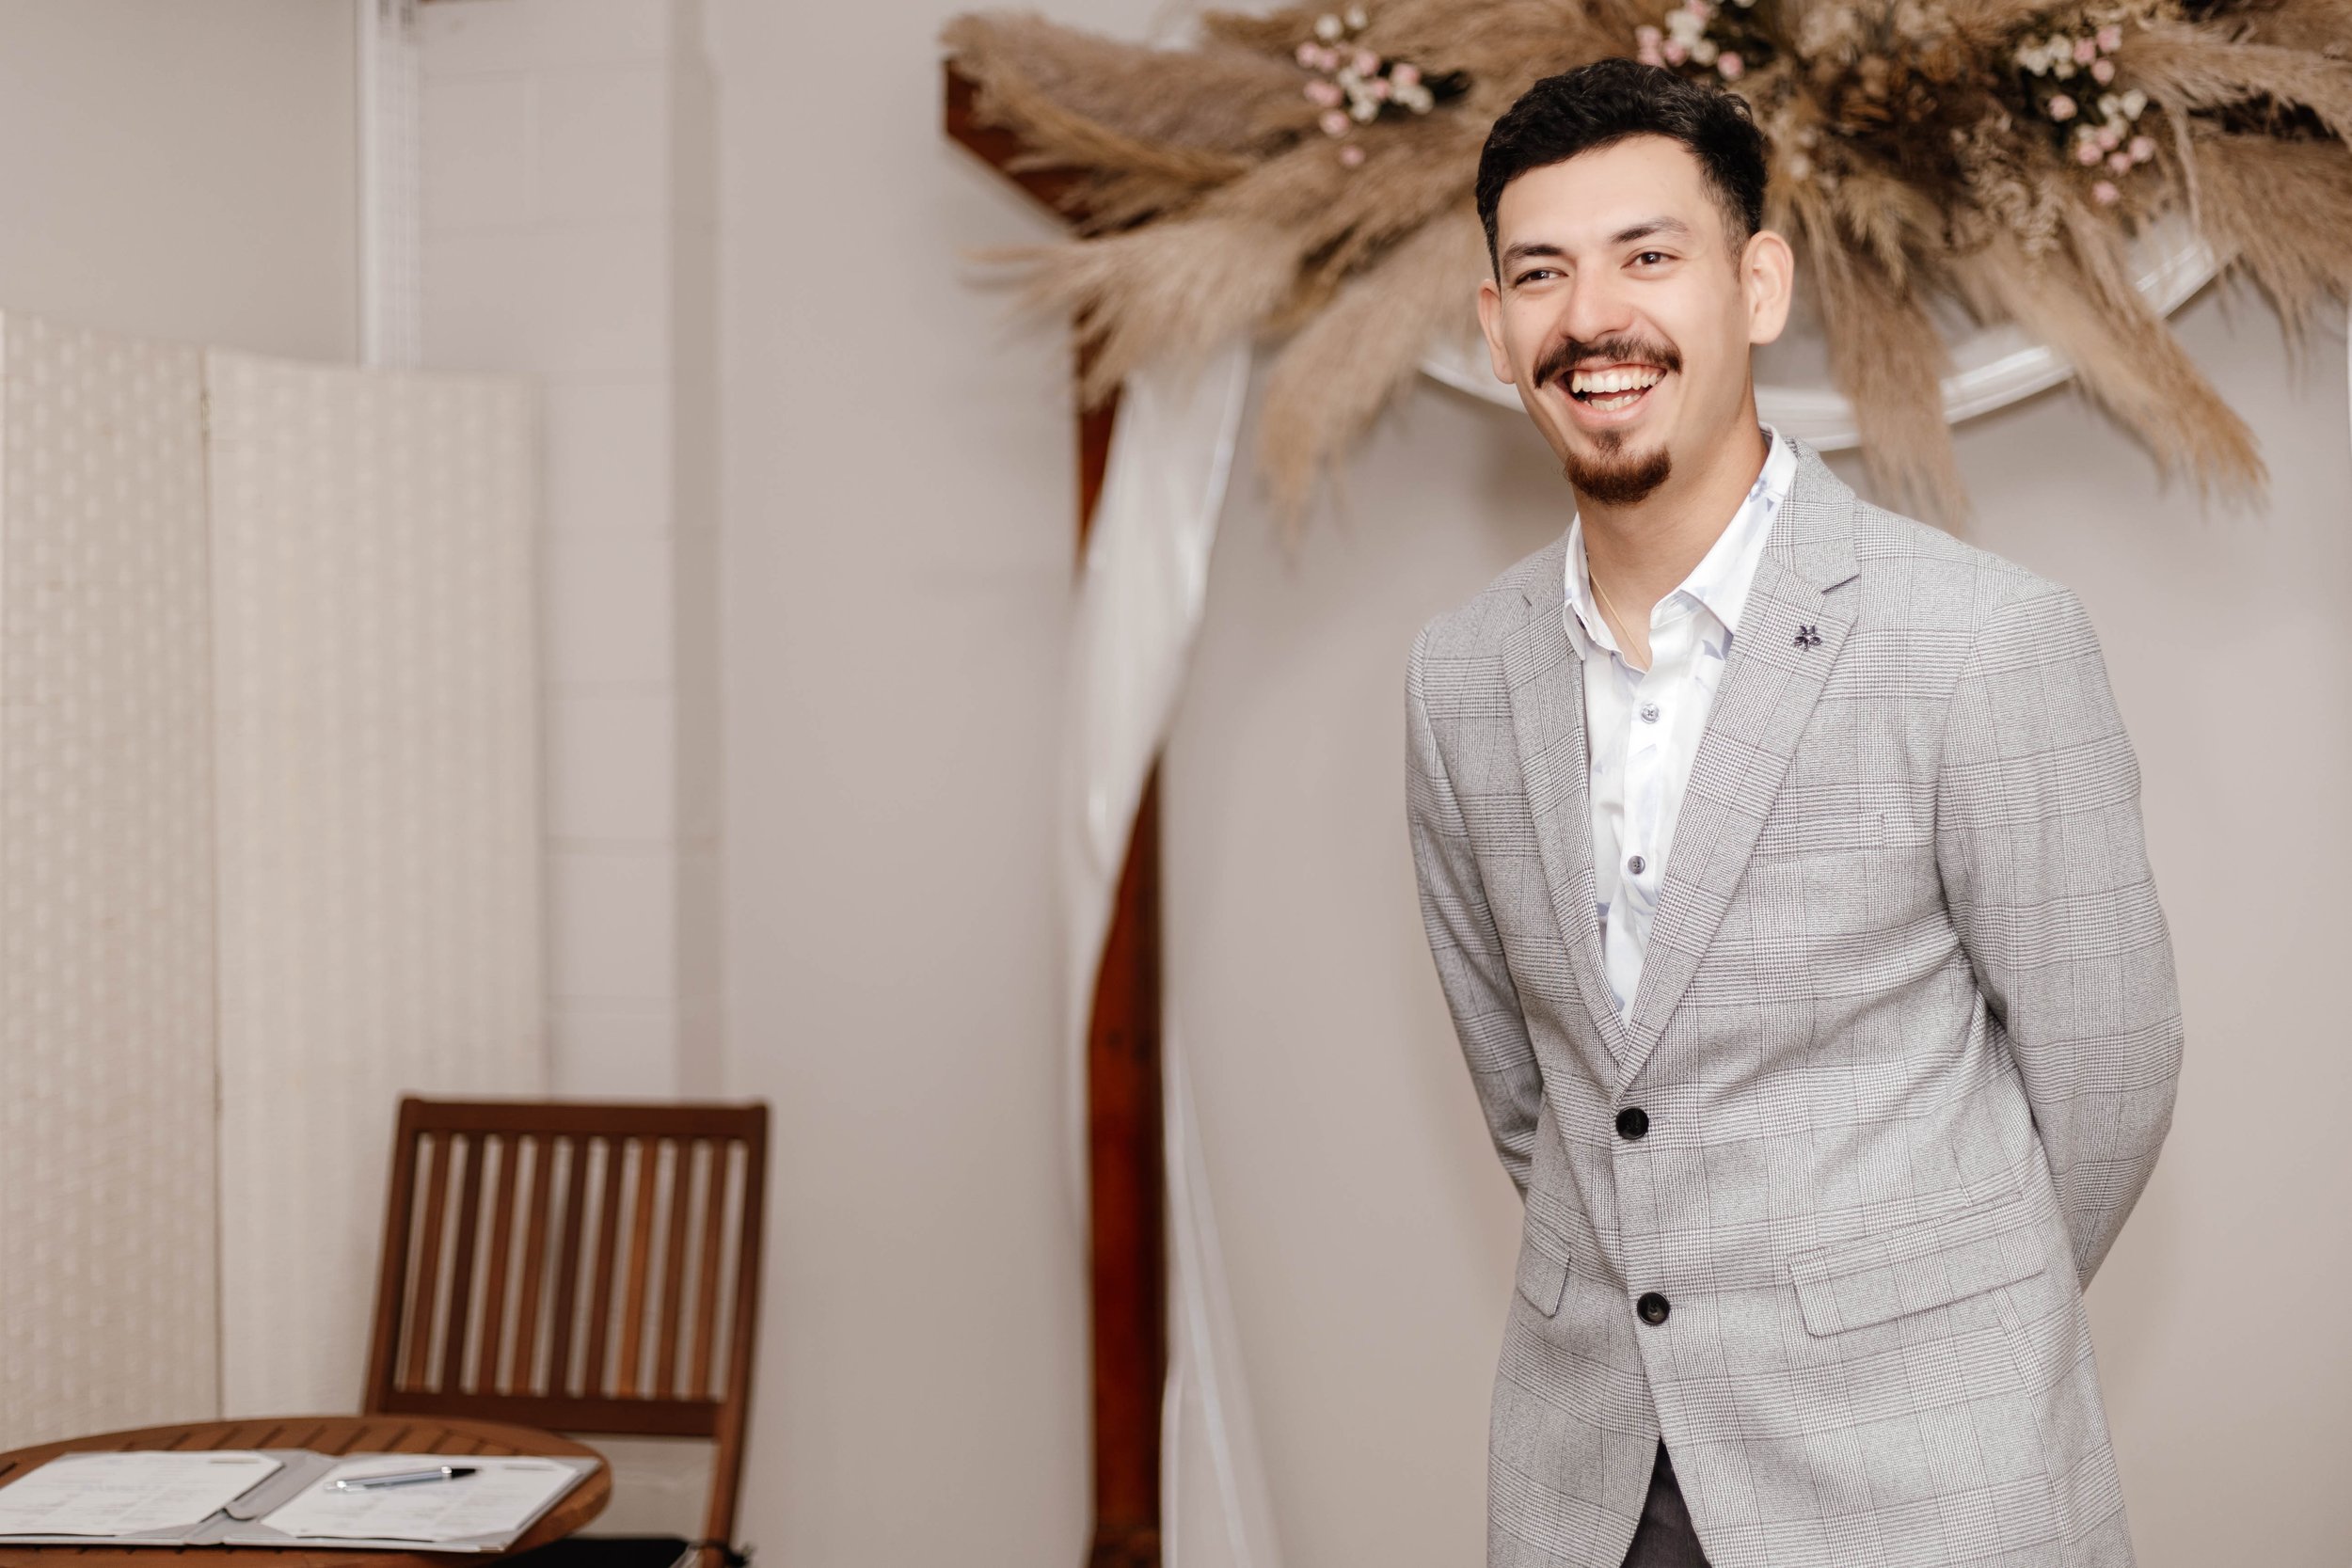
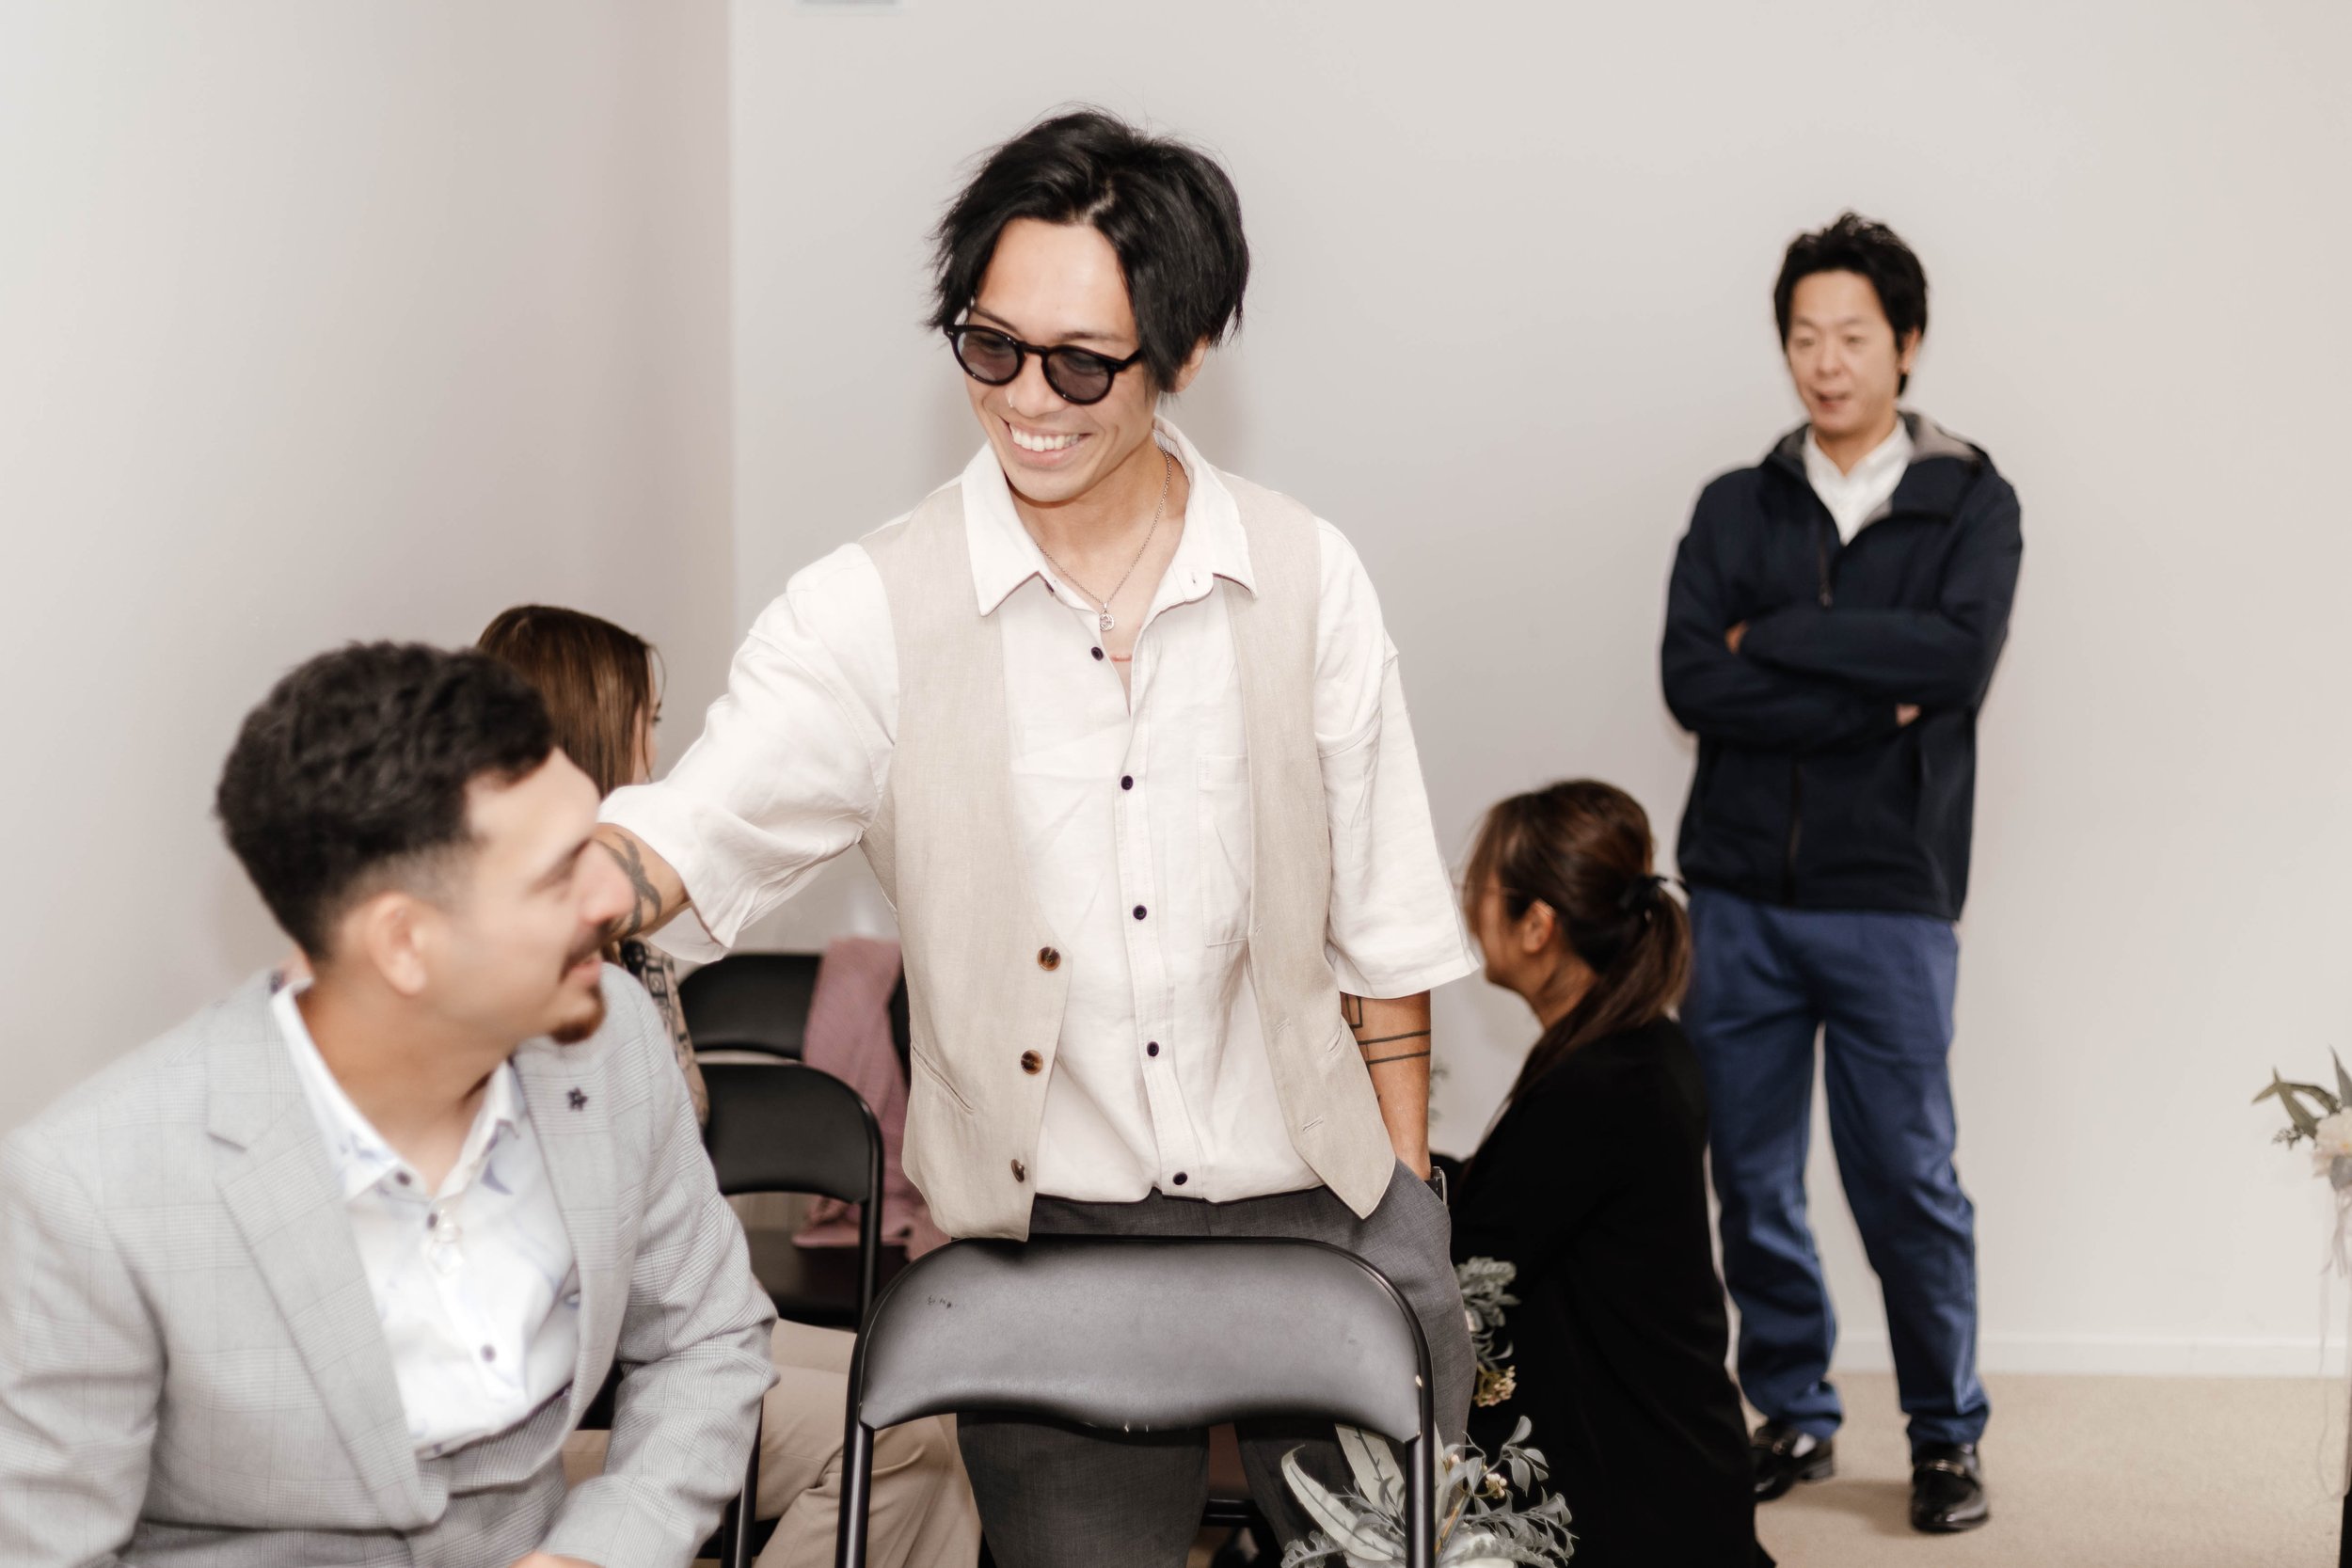
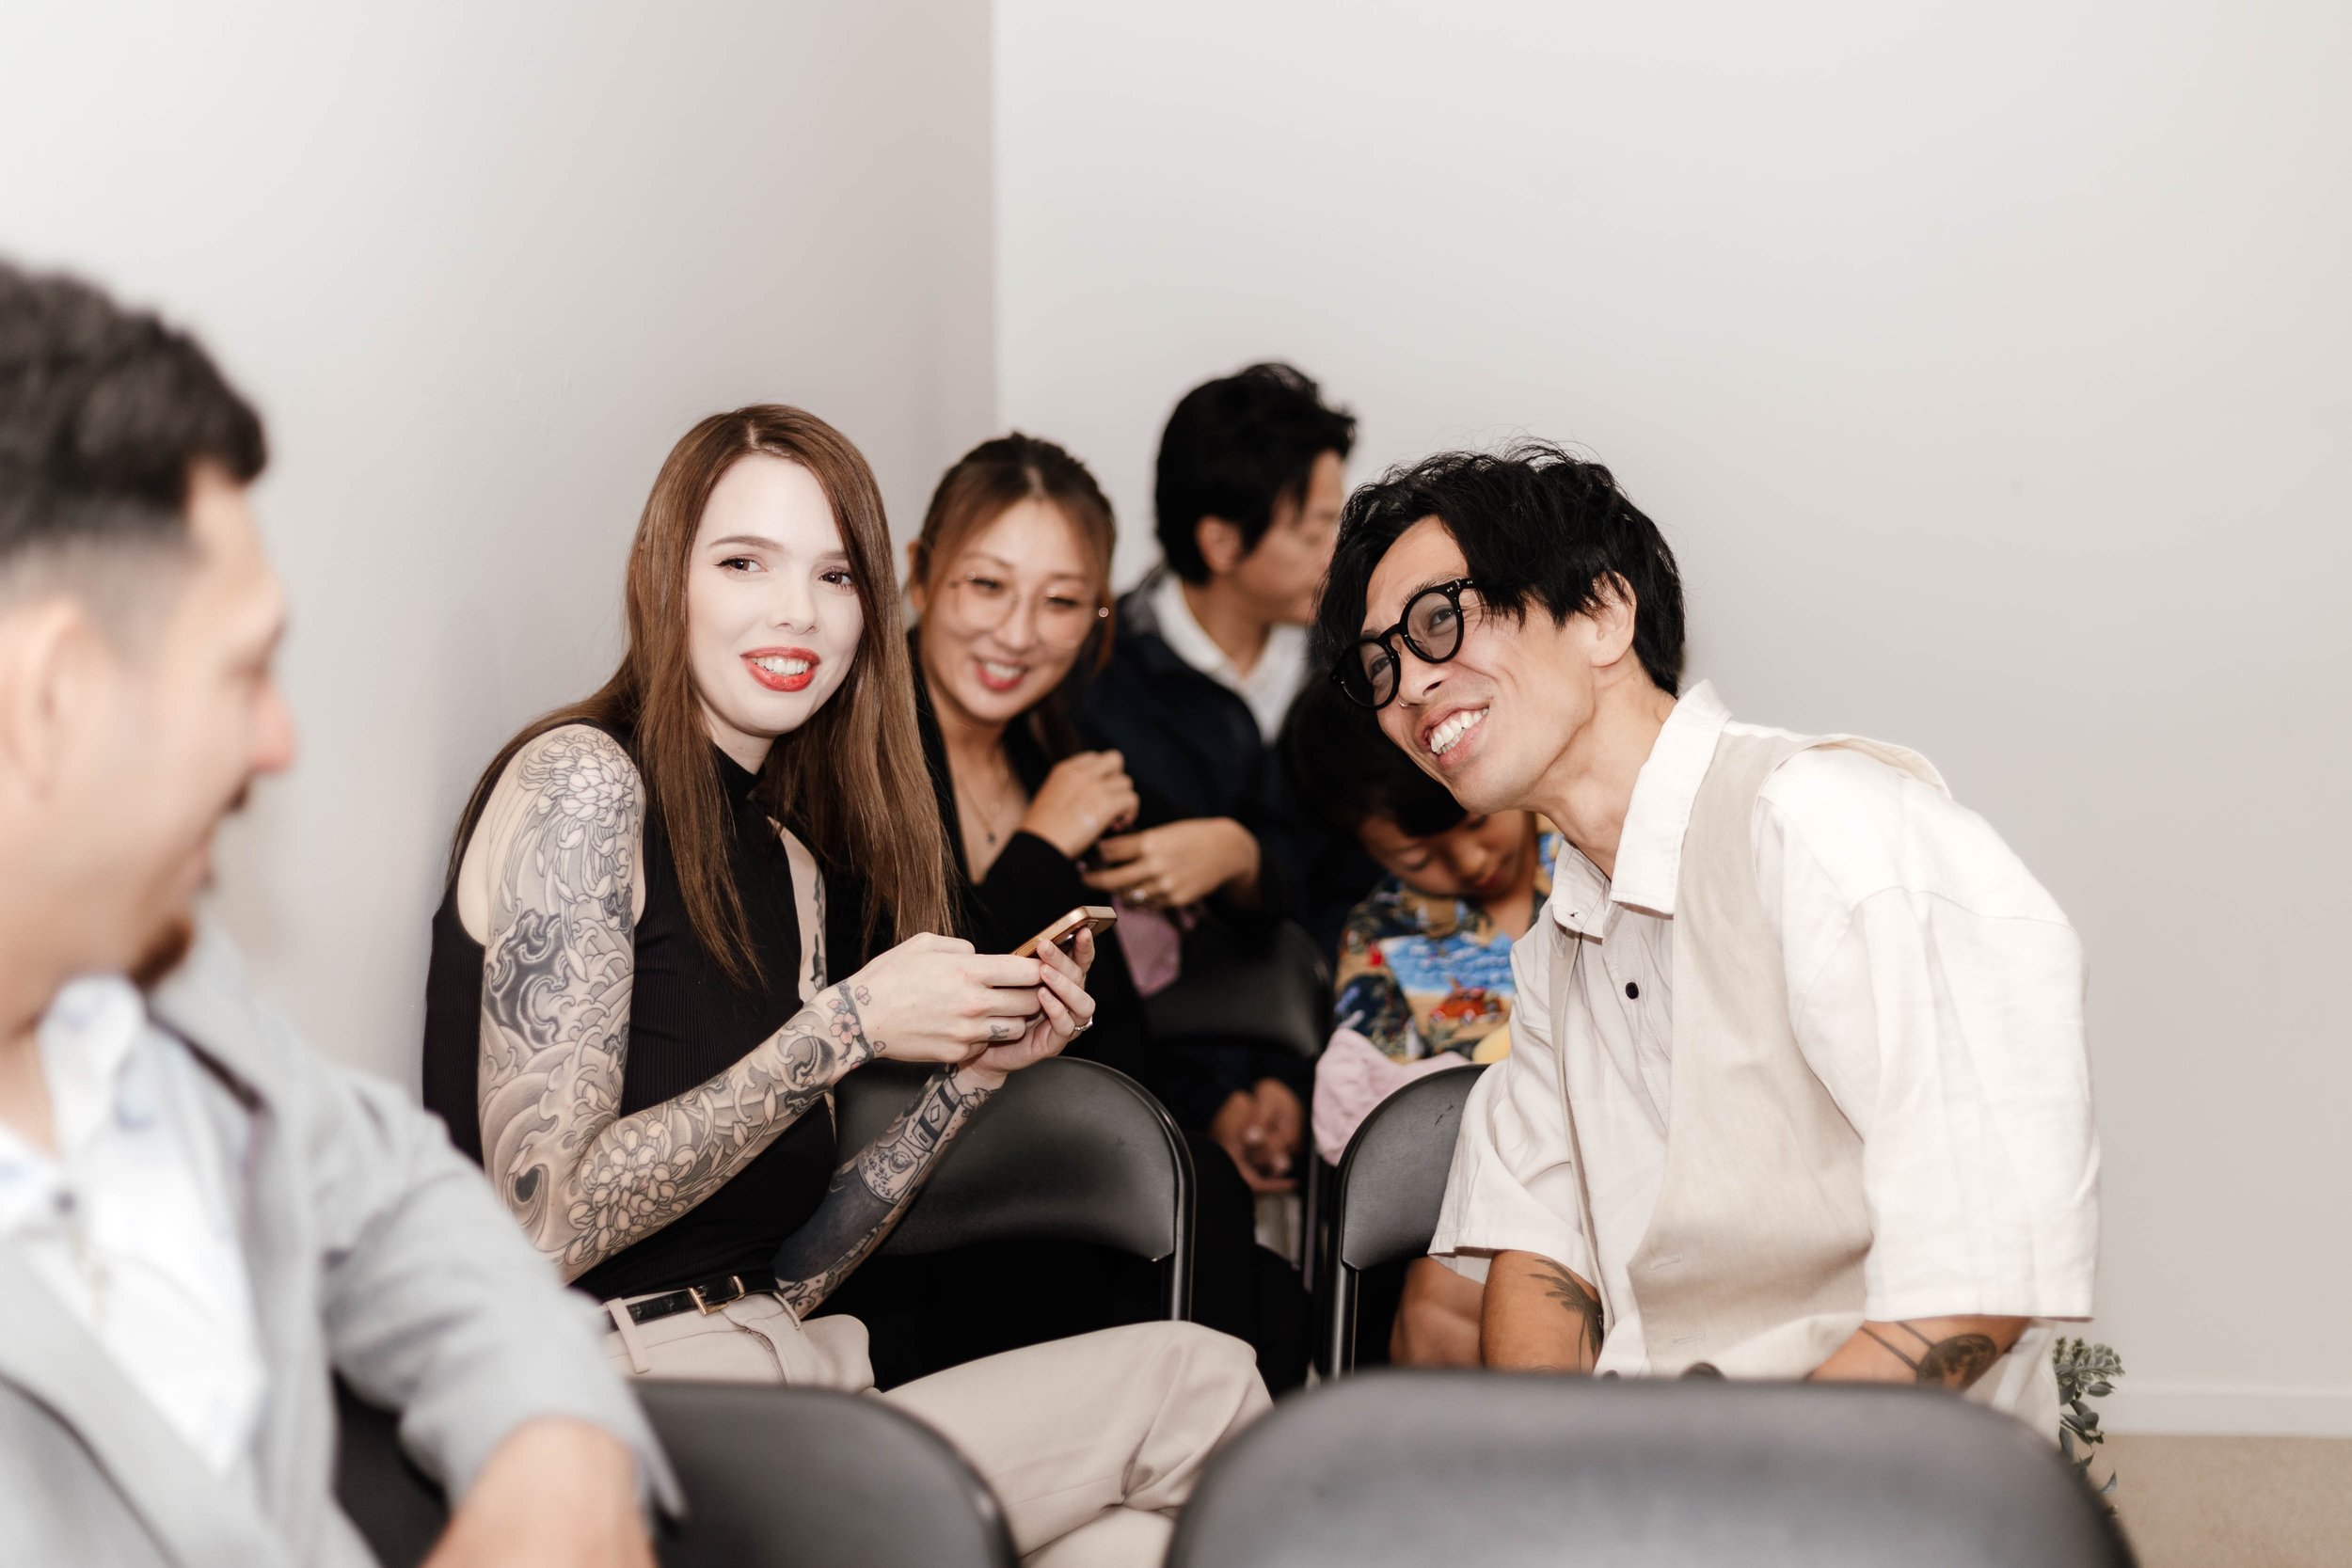
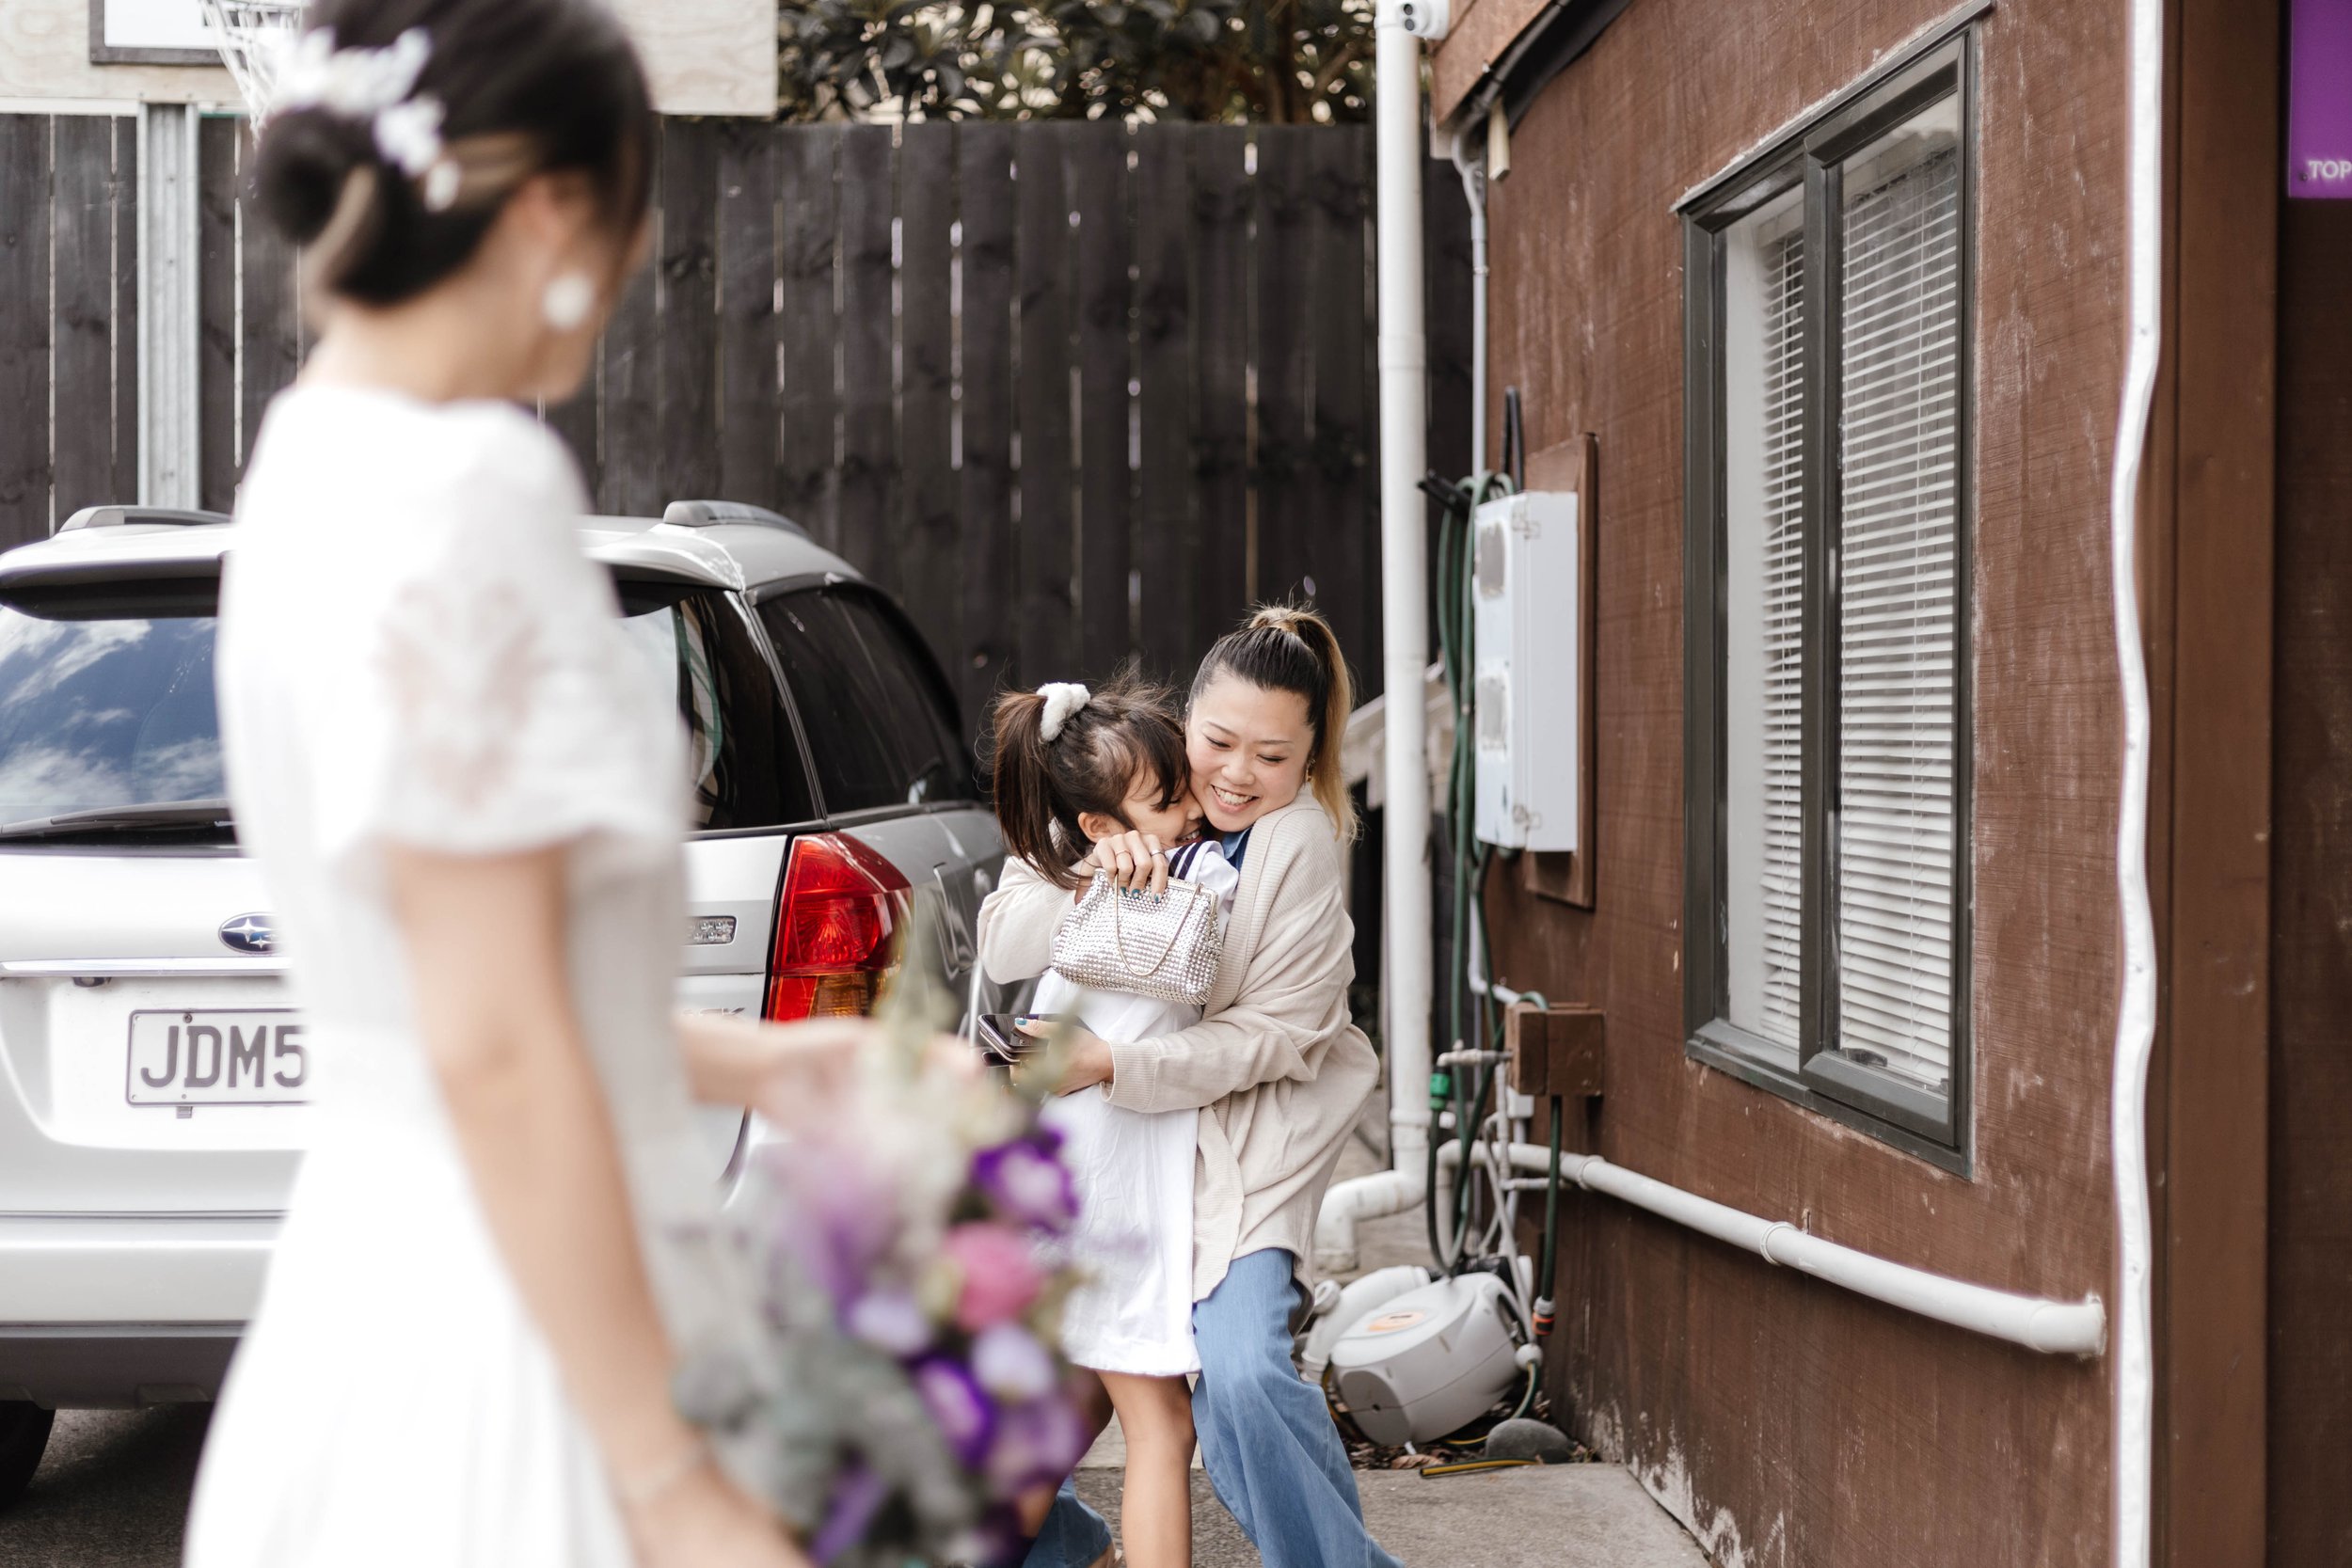
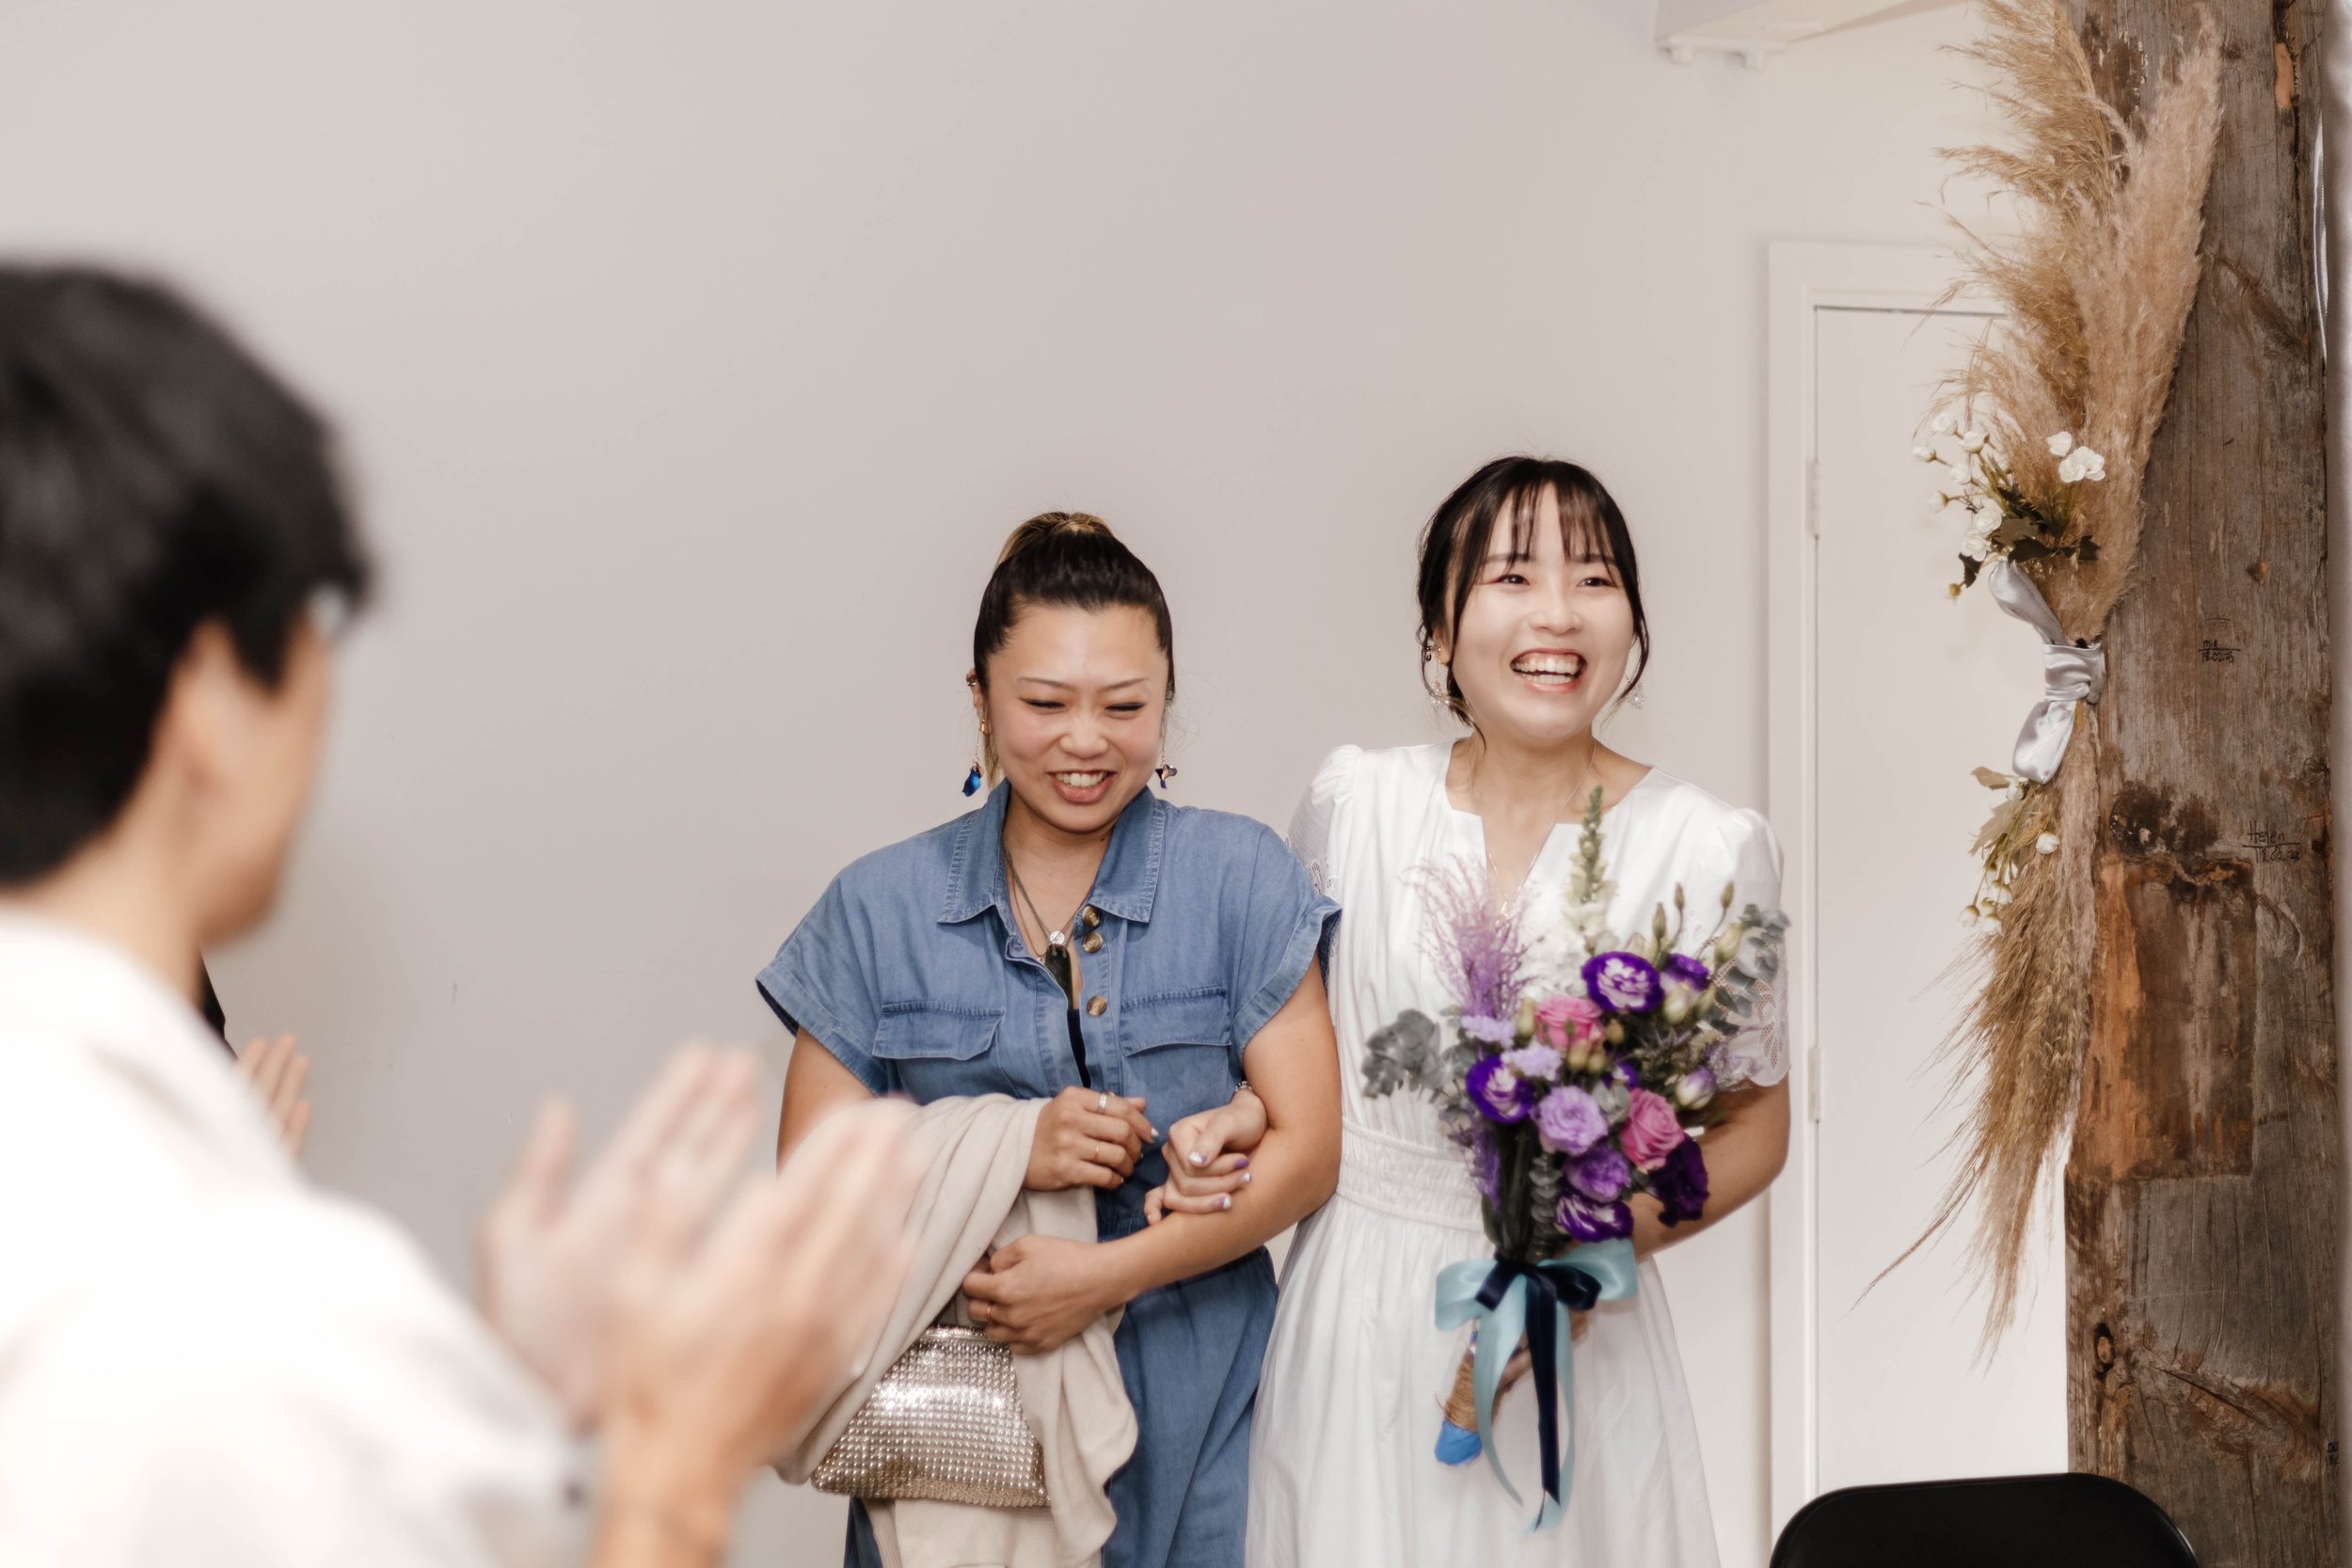
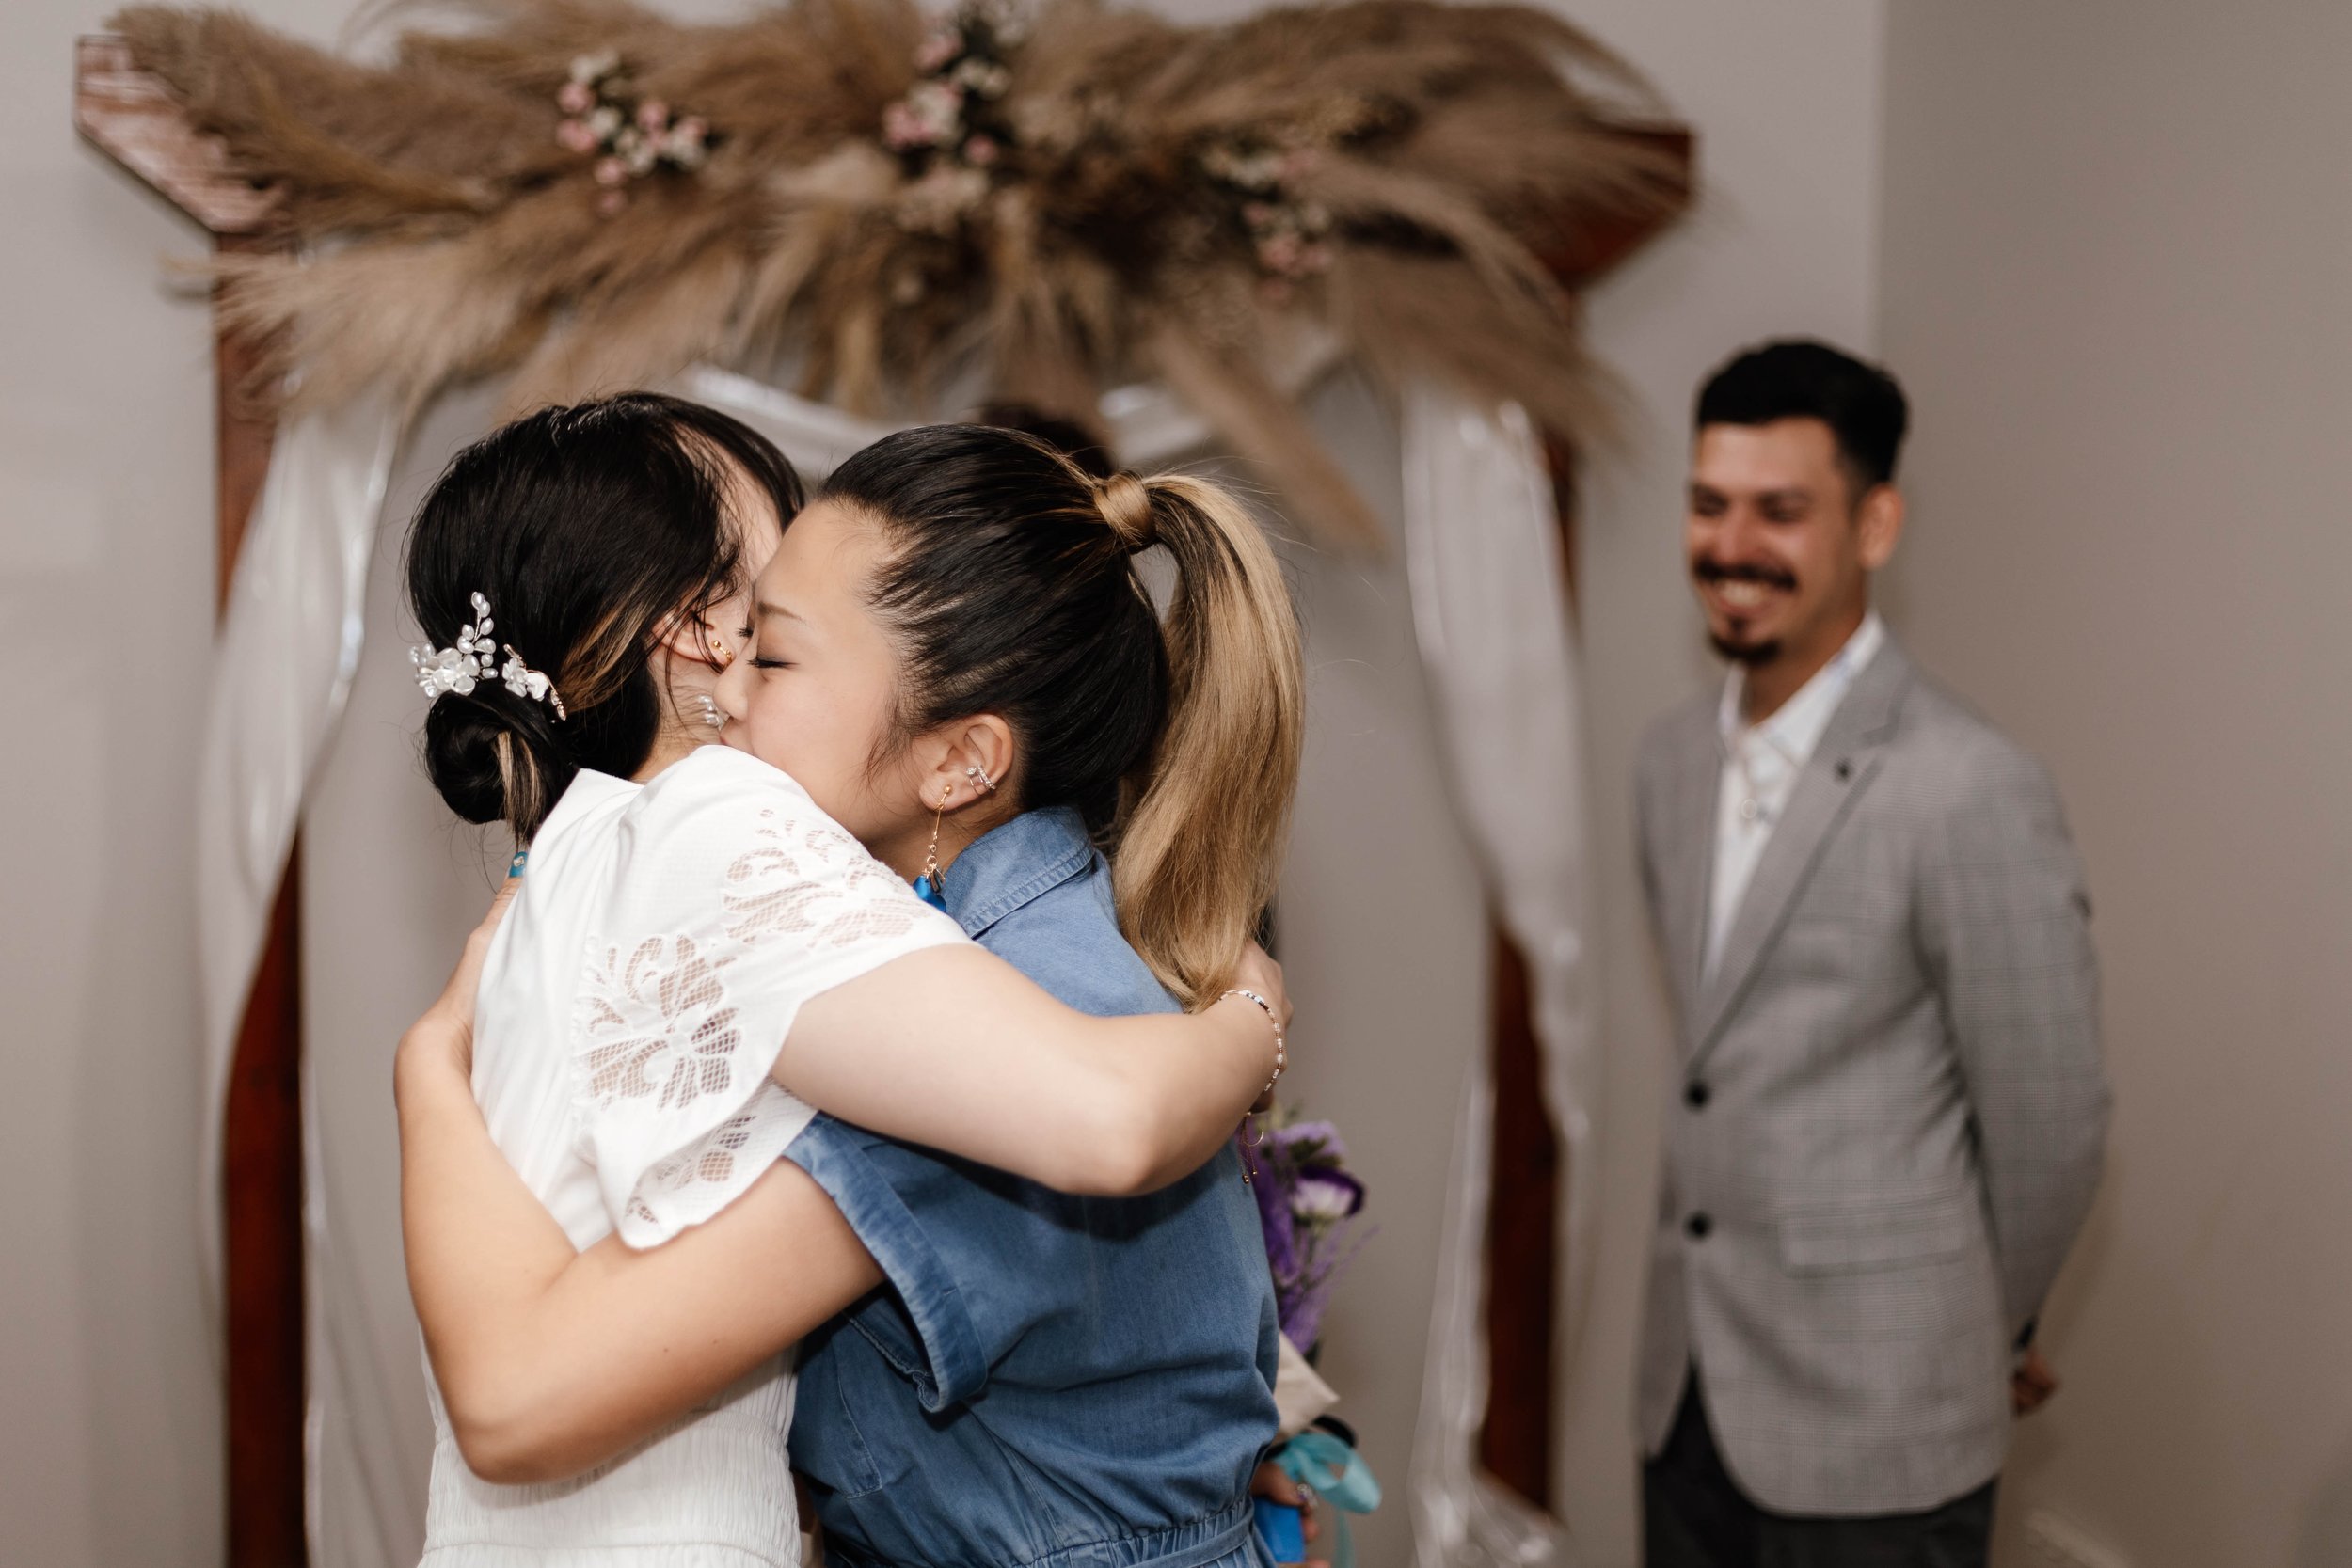
Nozomi & Suguru

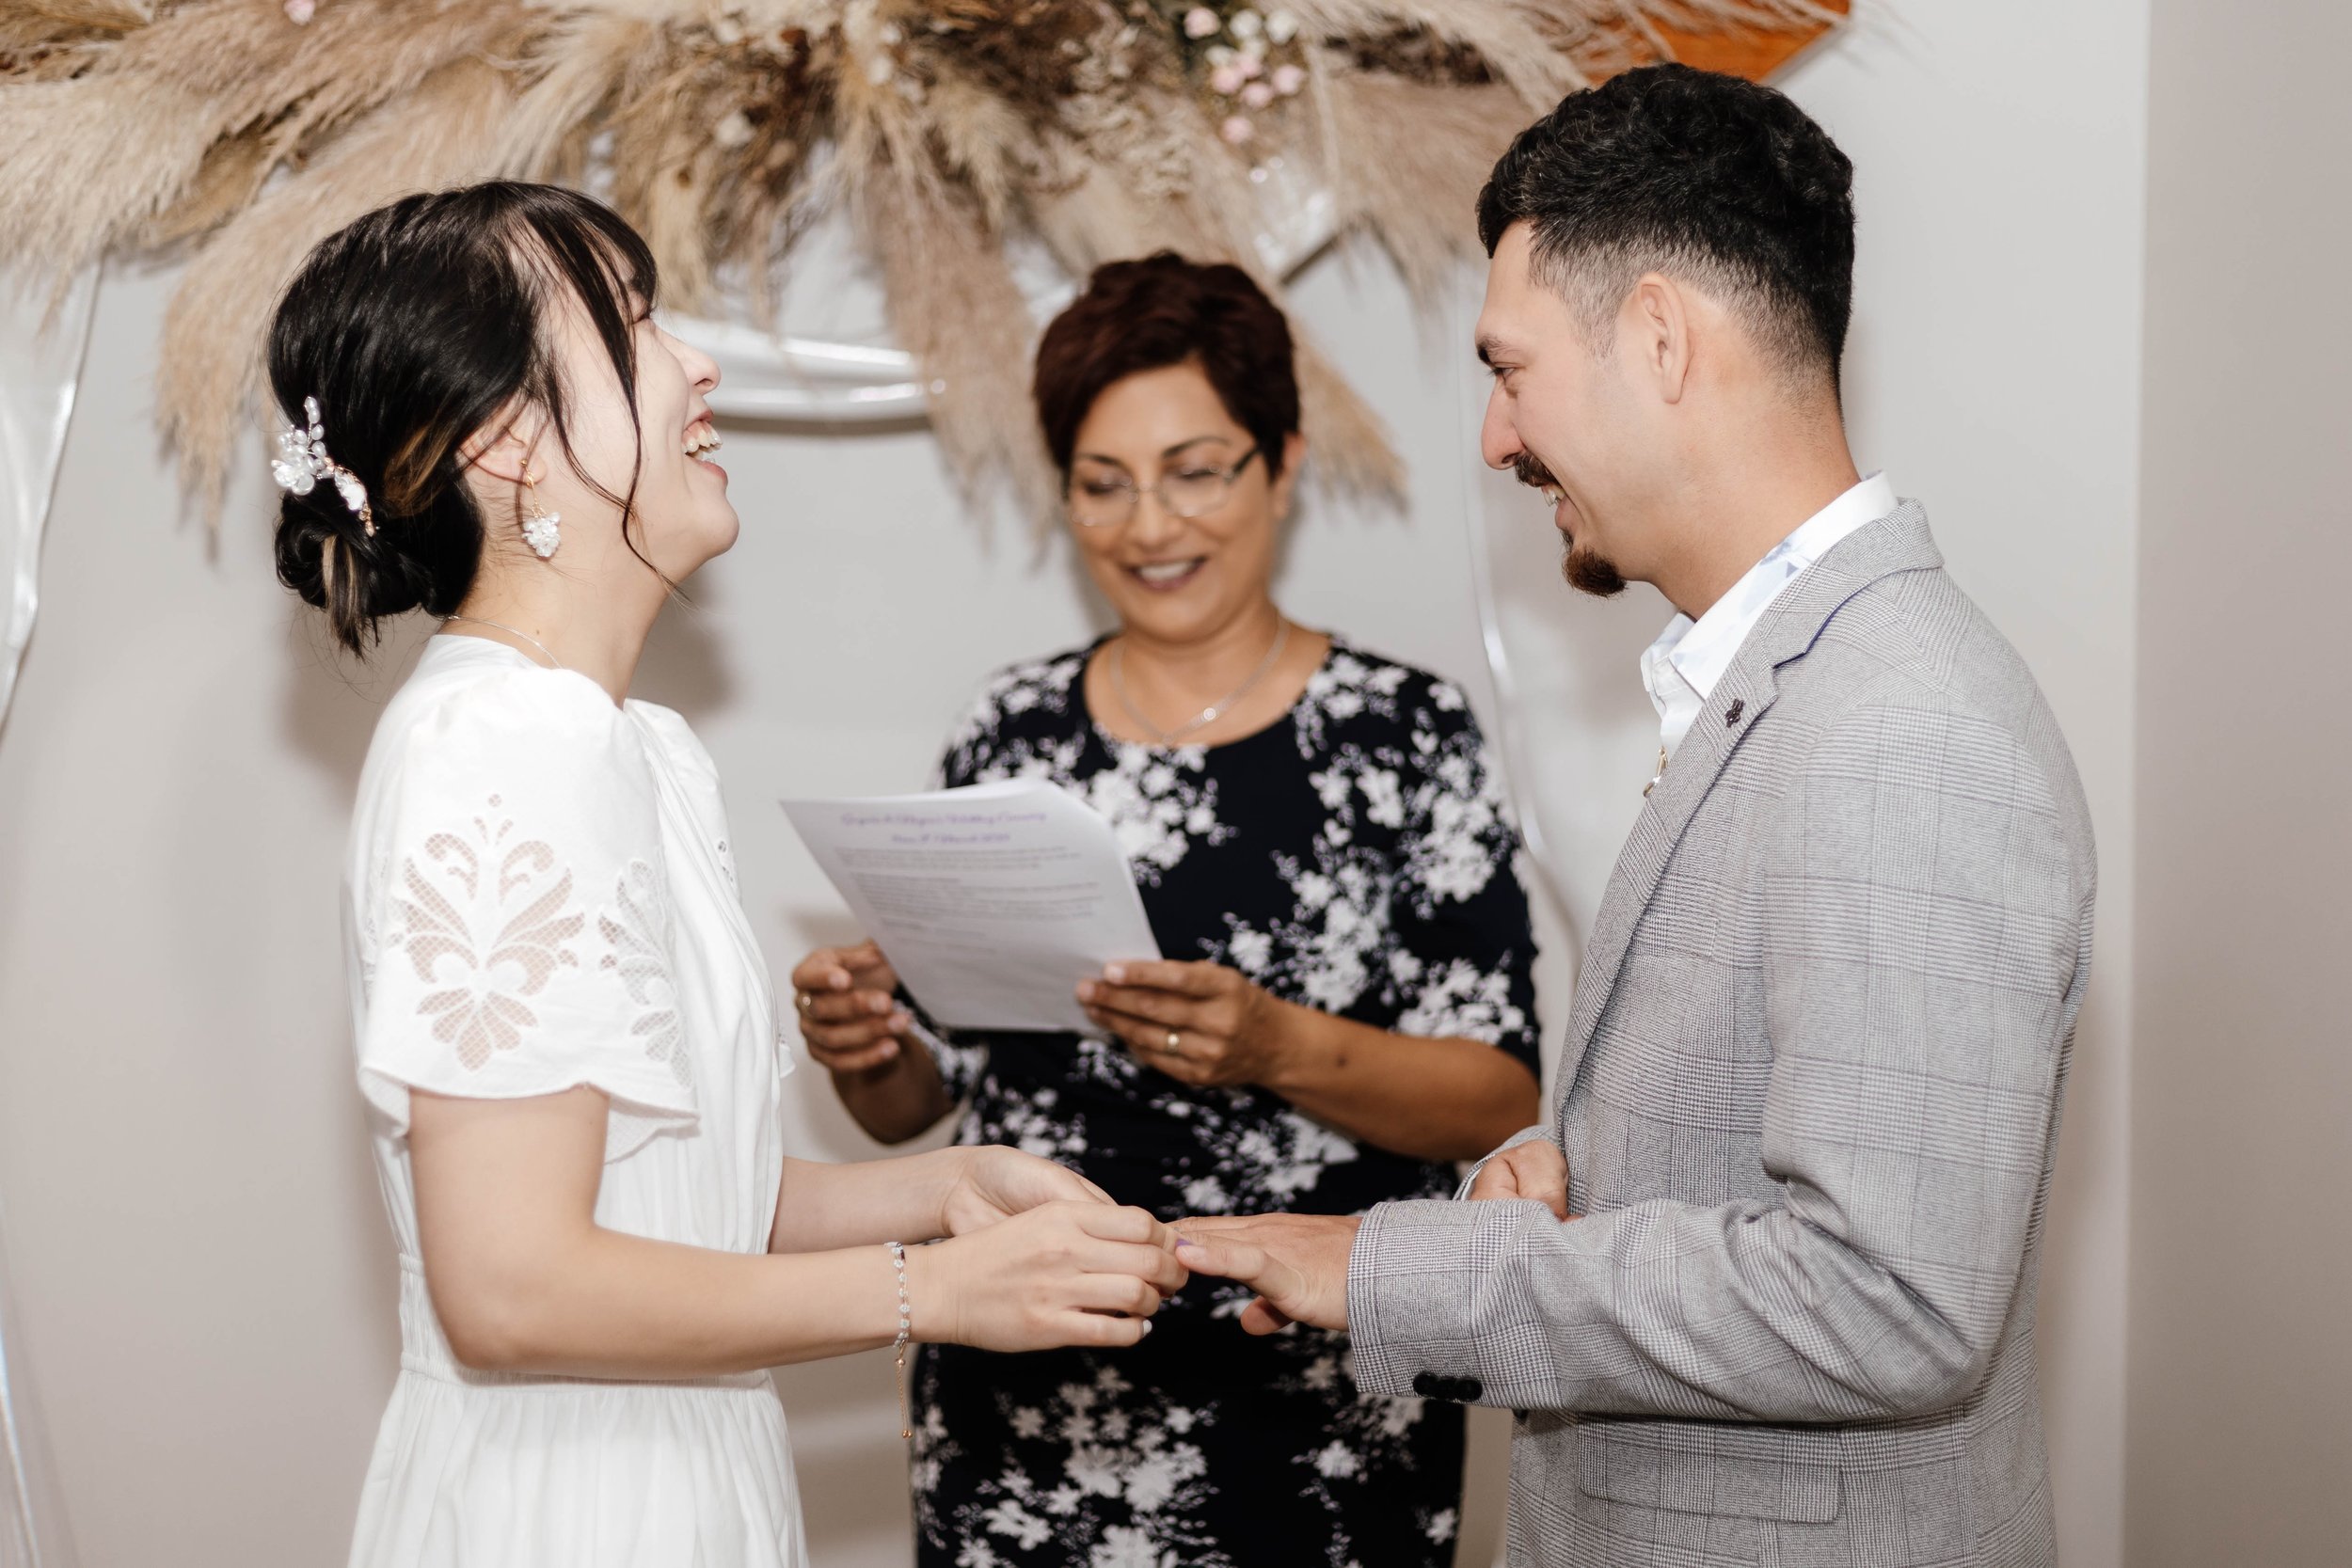
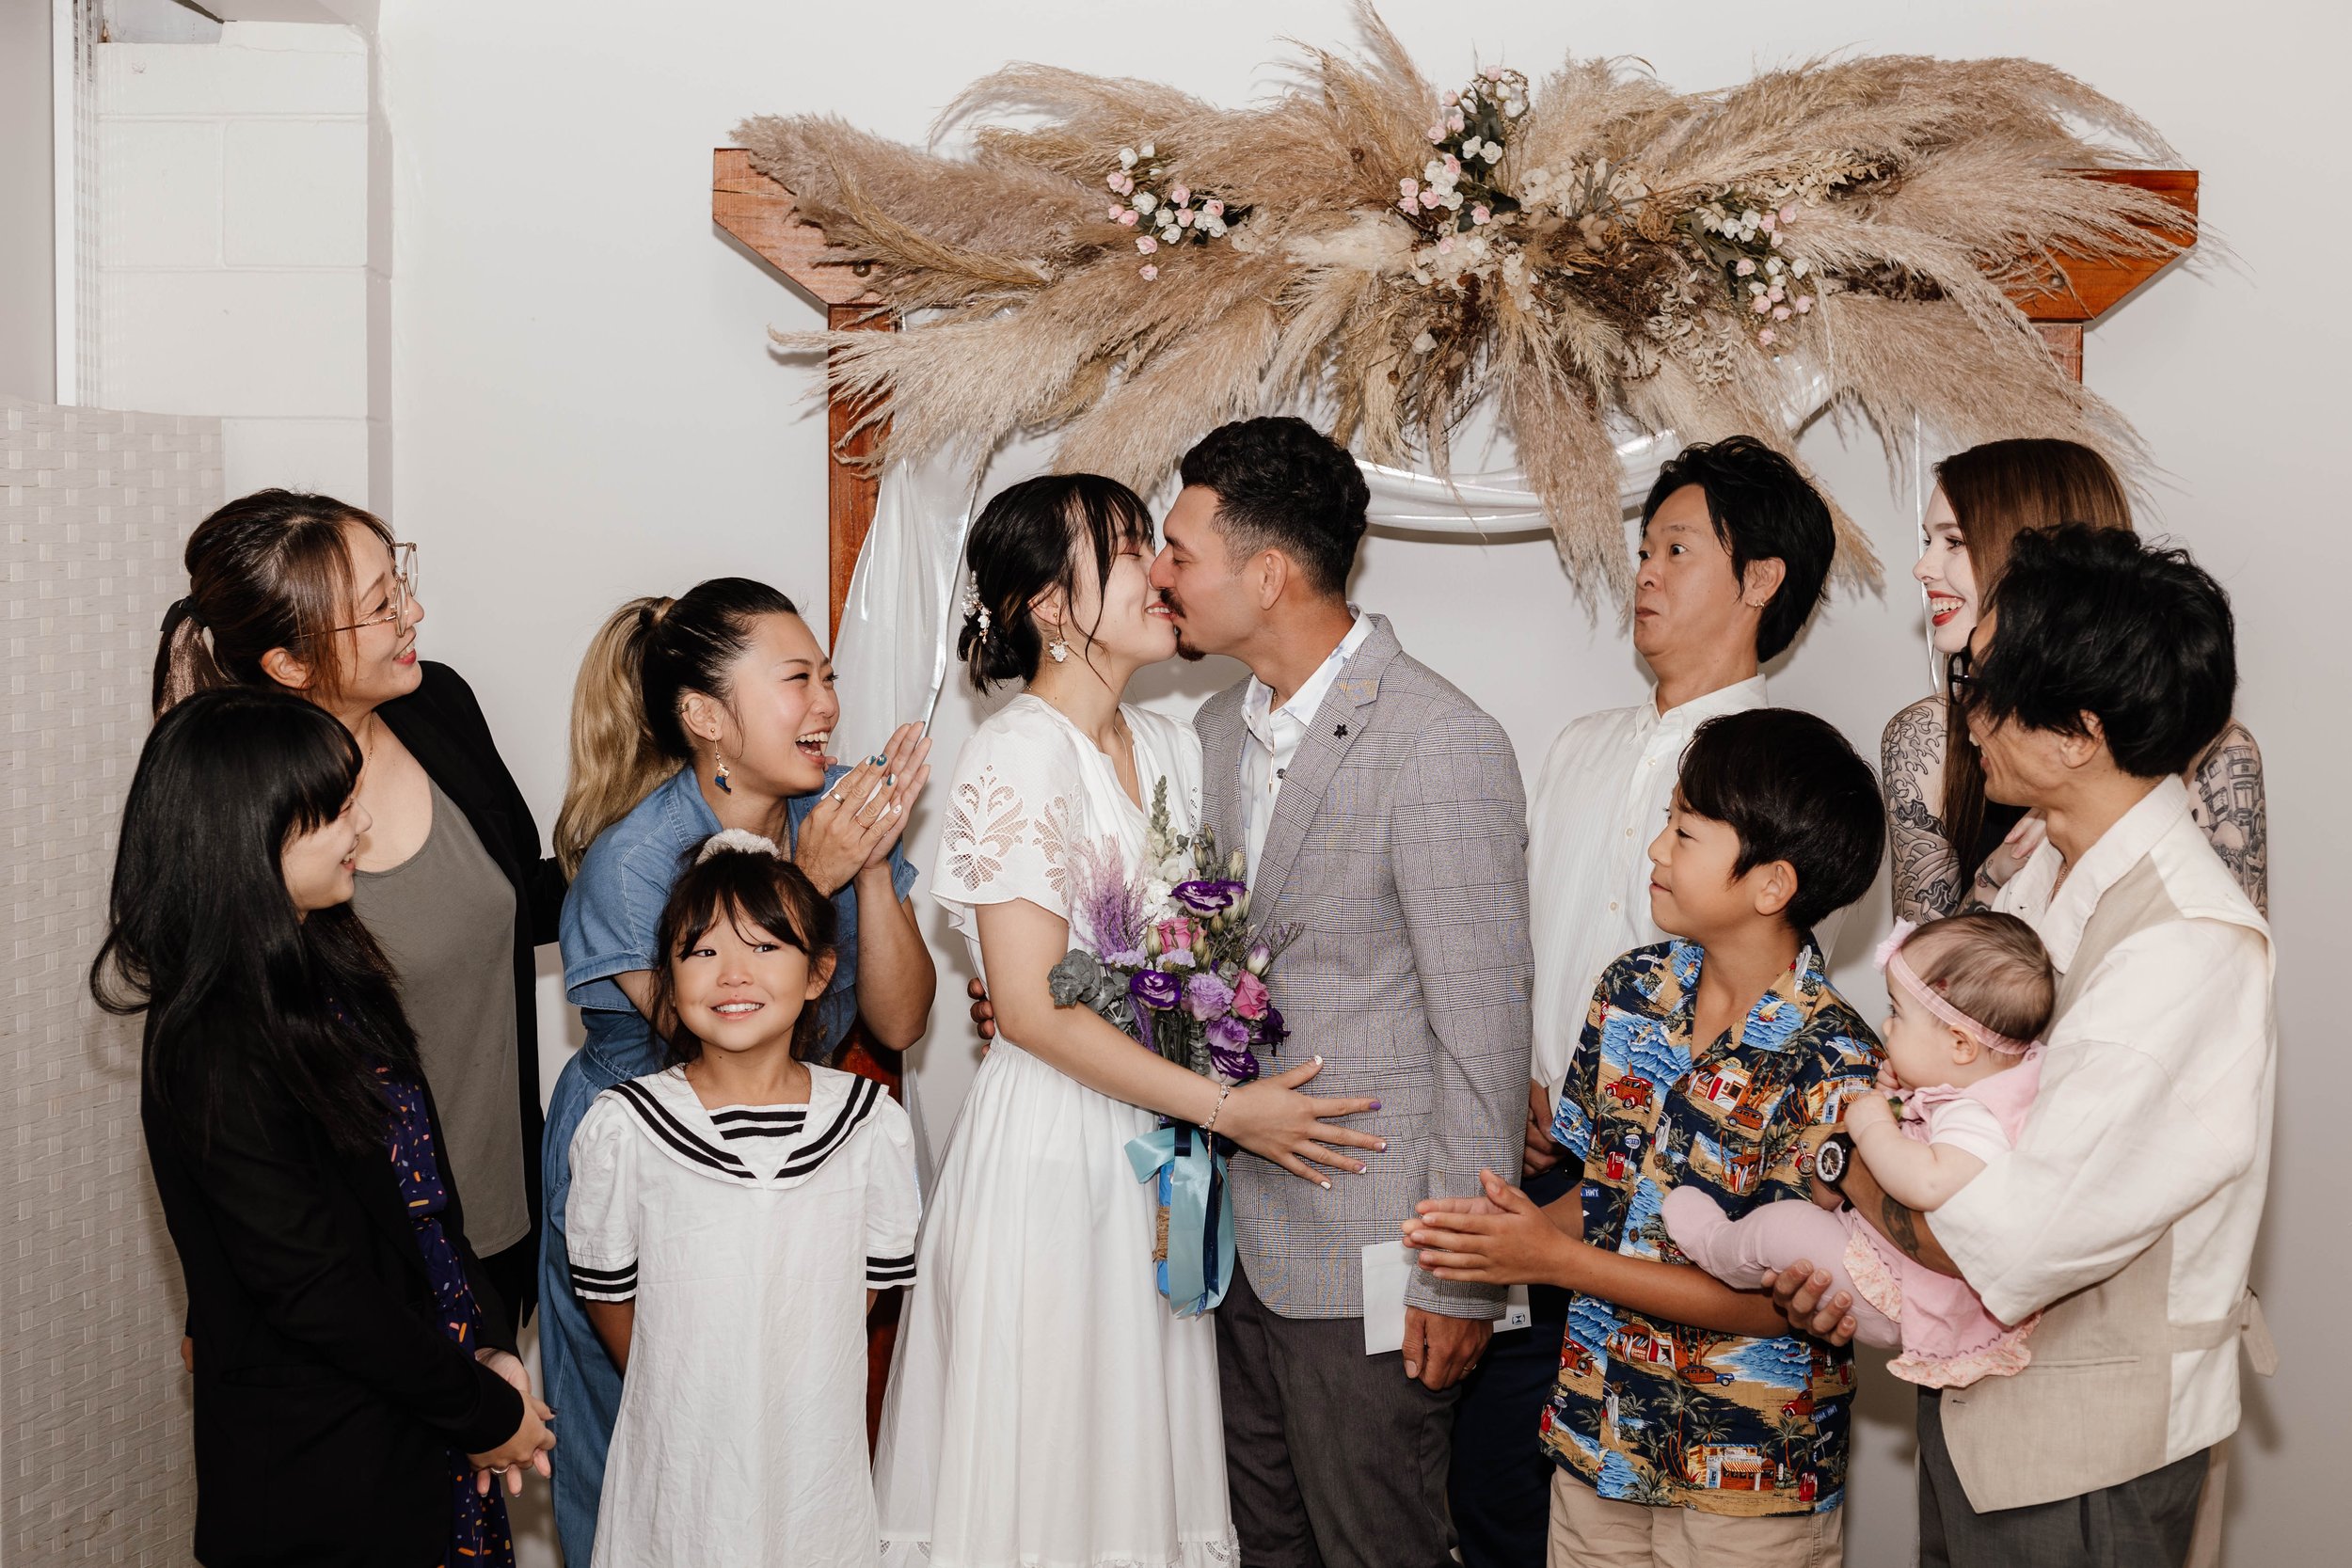
As a wedding photographer in Auckland, New Zealand, I found myself immersed in the enchanting love story of Nozomi and Suguru. The vibrant city served as the perfect canvas for capturing their intimate moments, and the beauty of Auckland became an integral part of their wedding narrative.

Nestled within the heart of this picturesque city, Nozomi and Suguru's choice of a small, intimate venue showcased Auckland's diverse charm. The scenic landscapes, from the iconic skyline to the lush parks, provided a stunning backdrop for their love story to unfold through my lens.

Being a wedding photographer in Auckland, I am constantly inspired by the unique love stories that emerge against this backdrop. Nozomi and Suguru's celebration was a testament to the city's ability to enhance the romance and authenticity of a wedding day.

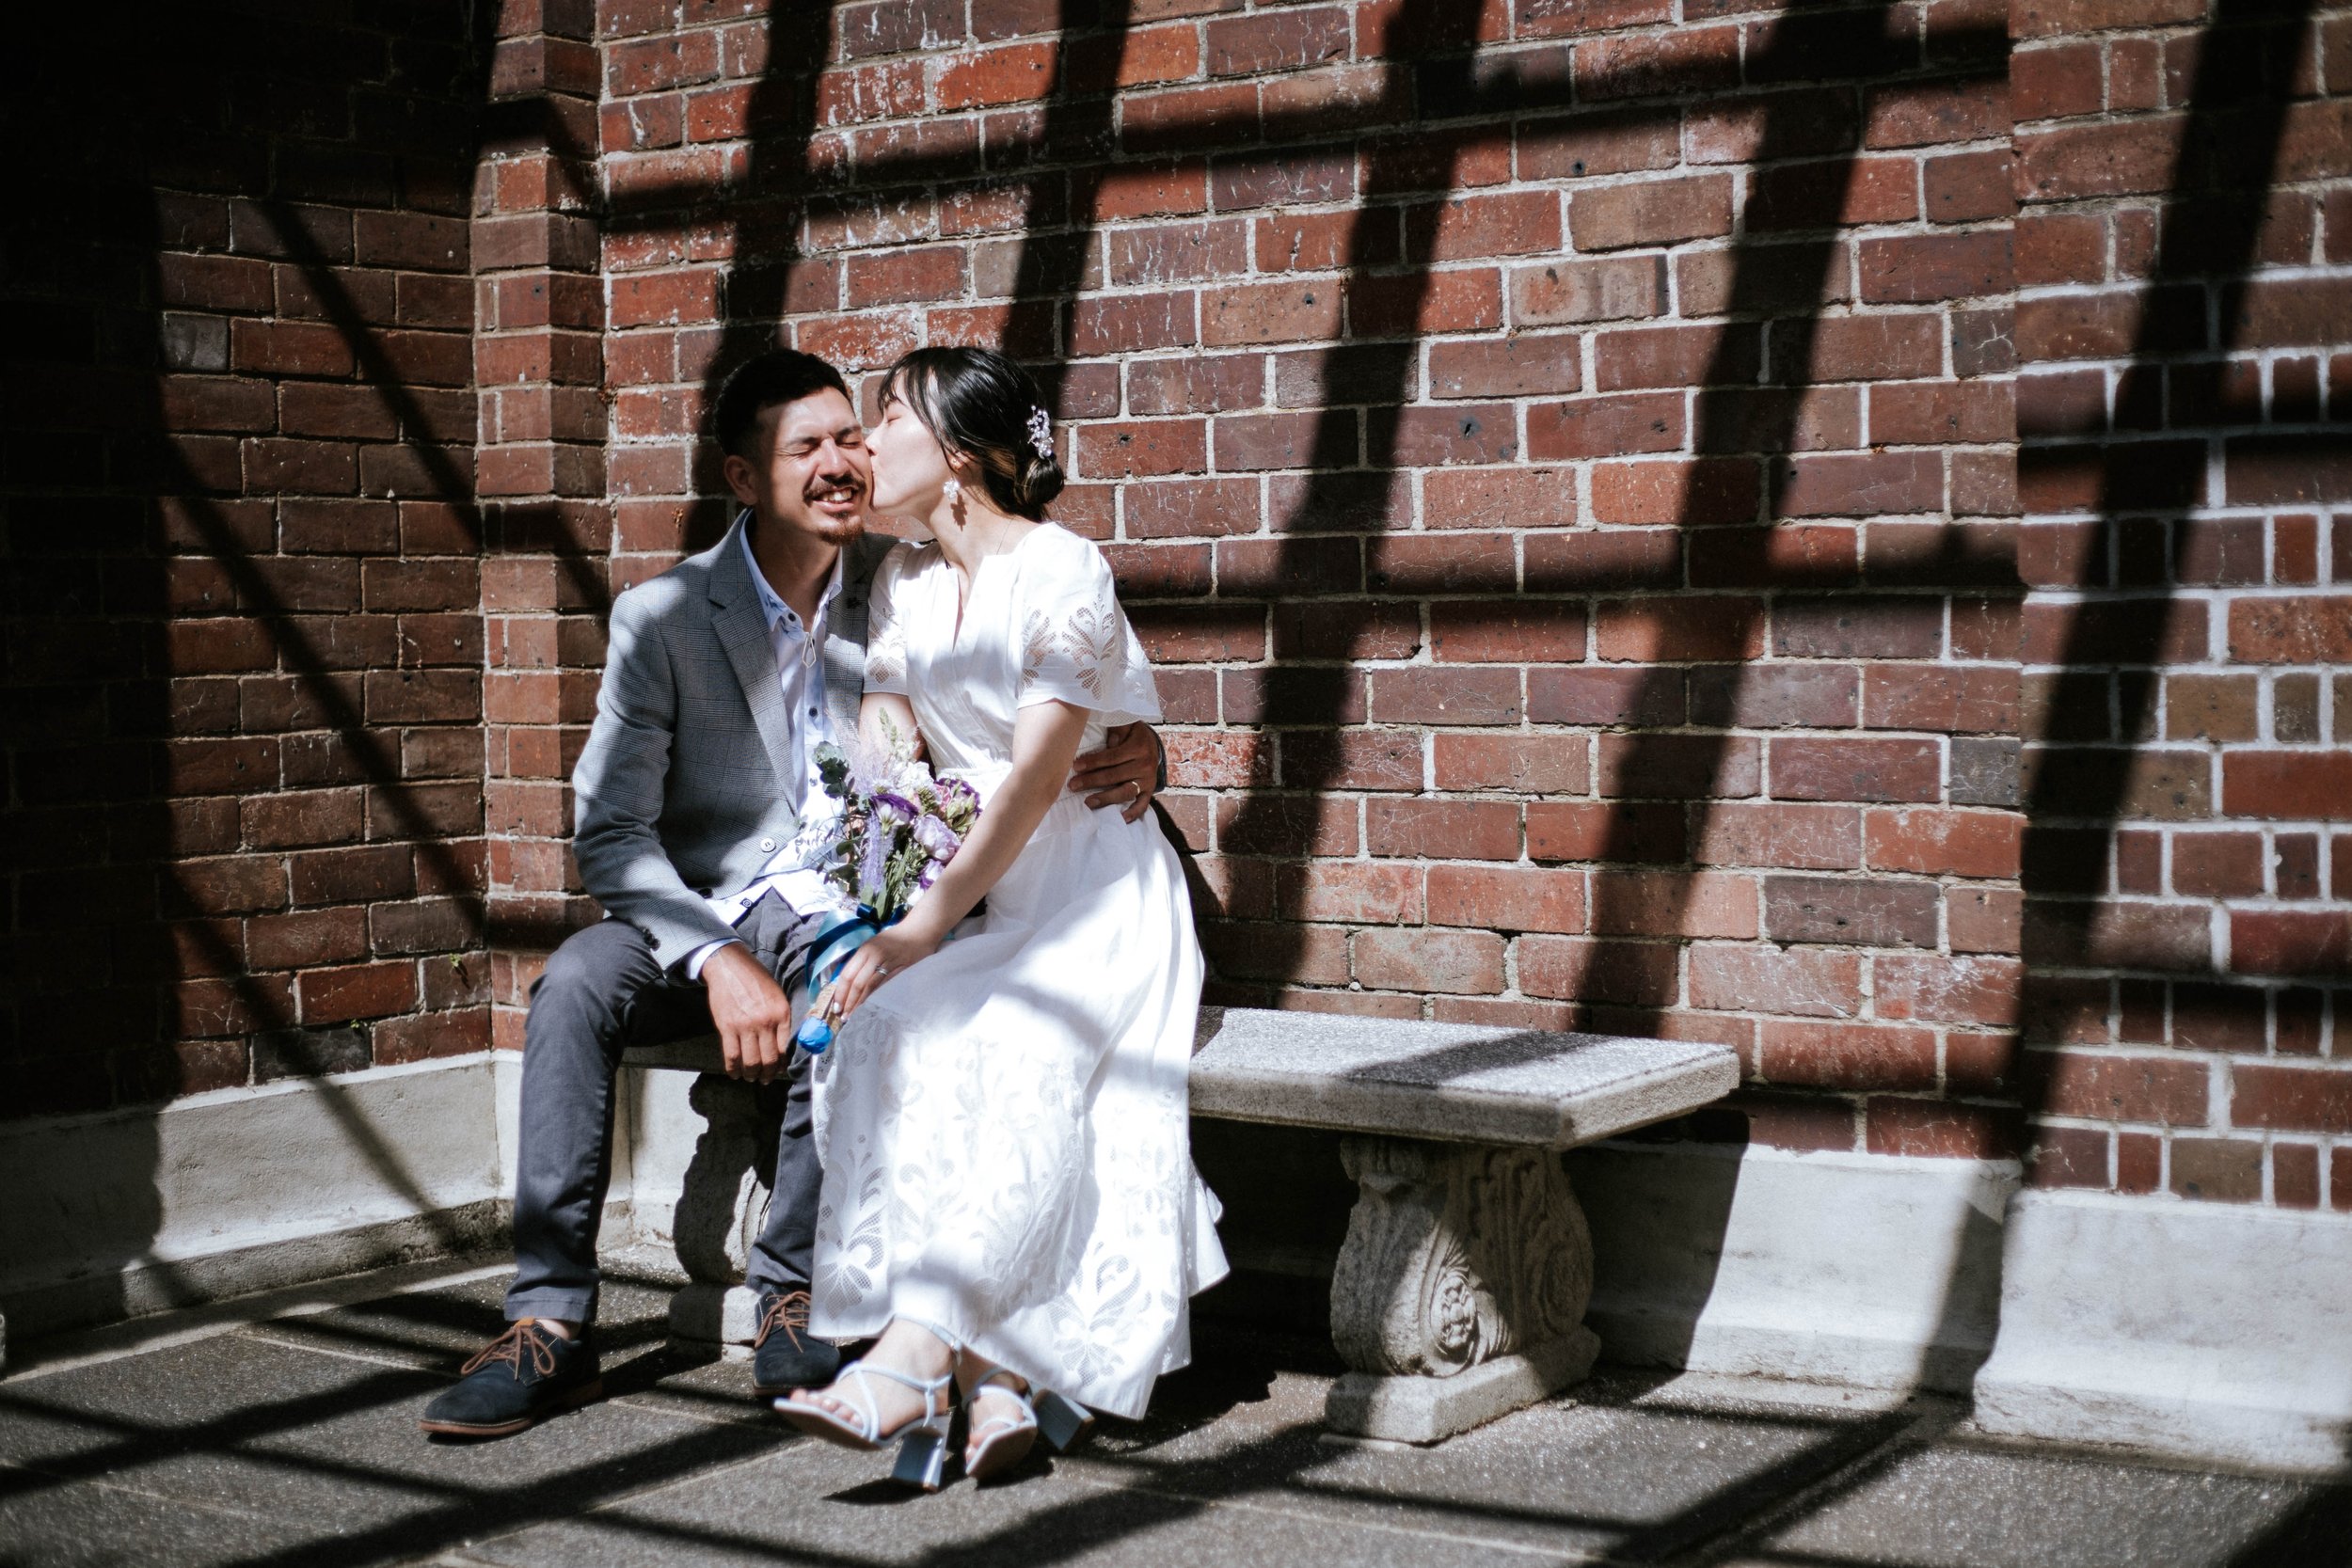
Nozomi and Suguru, lifelong friends turned life partners, epitomized the genuine connections I strive to capture as a wedding photographer. Their laughter, stolen glances, and heartfelt exchanges were a testament to the deep bond that had blossomed over the years.

In documenting their candid moments, I aimed to weave a visual narrative that not only encapsulated the essence of their love but also showcased the vibrant energy of Auckland. From the pre-ceremony jitters to the emotional speeches, every photograph sought to reflect the genuine emotions that unfolded in this unique city.

Nozomi and Suguru's wedding, with its emphasis on simplicity and meaningful details, aligns with the trend I've observed among Auckland couples. More and more, I see couples choosing authenticity over extravagance, creating an intimate atmosphere that allows for a deeper connection between themselves and their loved ones.

In conclusion, as a wedding photographer in Auckland, I am continually humbled by the opportunity to capture the love stories that unfold against the backdrop of this vibrant city. Nozomi and Suguru's celebration was not just a union of two souls but a testament to the beauty that emerges when love and Auckland's charm intertwine. May their journey as life partners continue to be filled with laughter, joy, and the unique magic that Auckland imparts to all who choose it as their wedding canvas.