>>> Contact the best Food Photographer in Auckland
Auckland Restaurant Photos: The Secret to Making Your Food Look Irresistible
As a foodie, you know that a great meal is not just about the taste, but also about the presentation. And when it comes to capturing the perfect shot of your restaurant's dishes, you need a photographer who knows the city like the back of their hand. That's where I come in – Paka's Le Photographe, the best food photographer in Auckland.

Getting Started with Auckland Restaurant Photos
Let's face it, taking great photos of food can be intimidating, especially if you're not a professional photographer. But don't worry, I'm here to guide you through the process. First, you need to understand that the key to capturing stunning Auckland restaurant photos is to focus on the details.
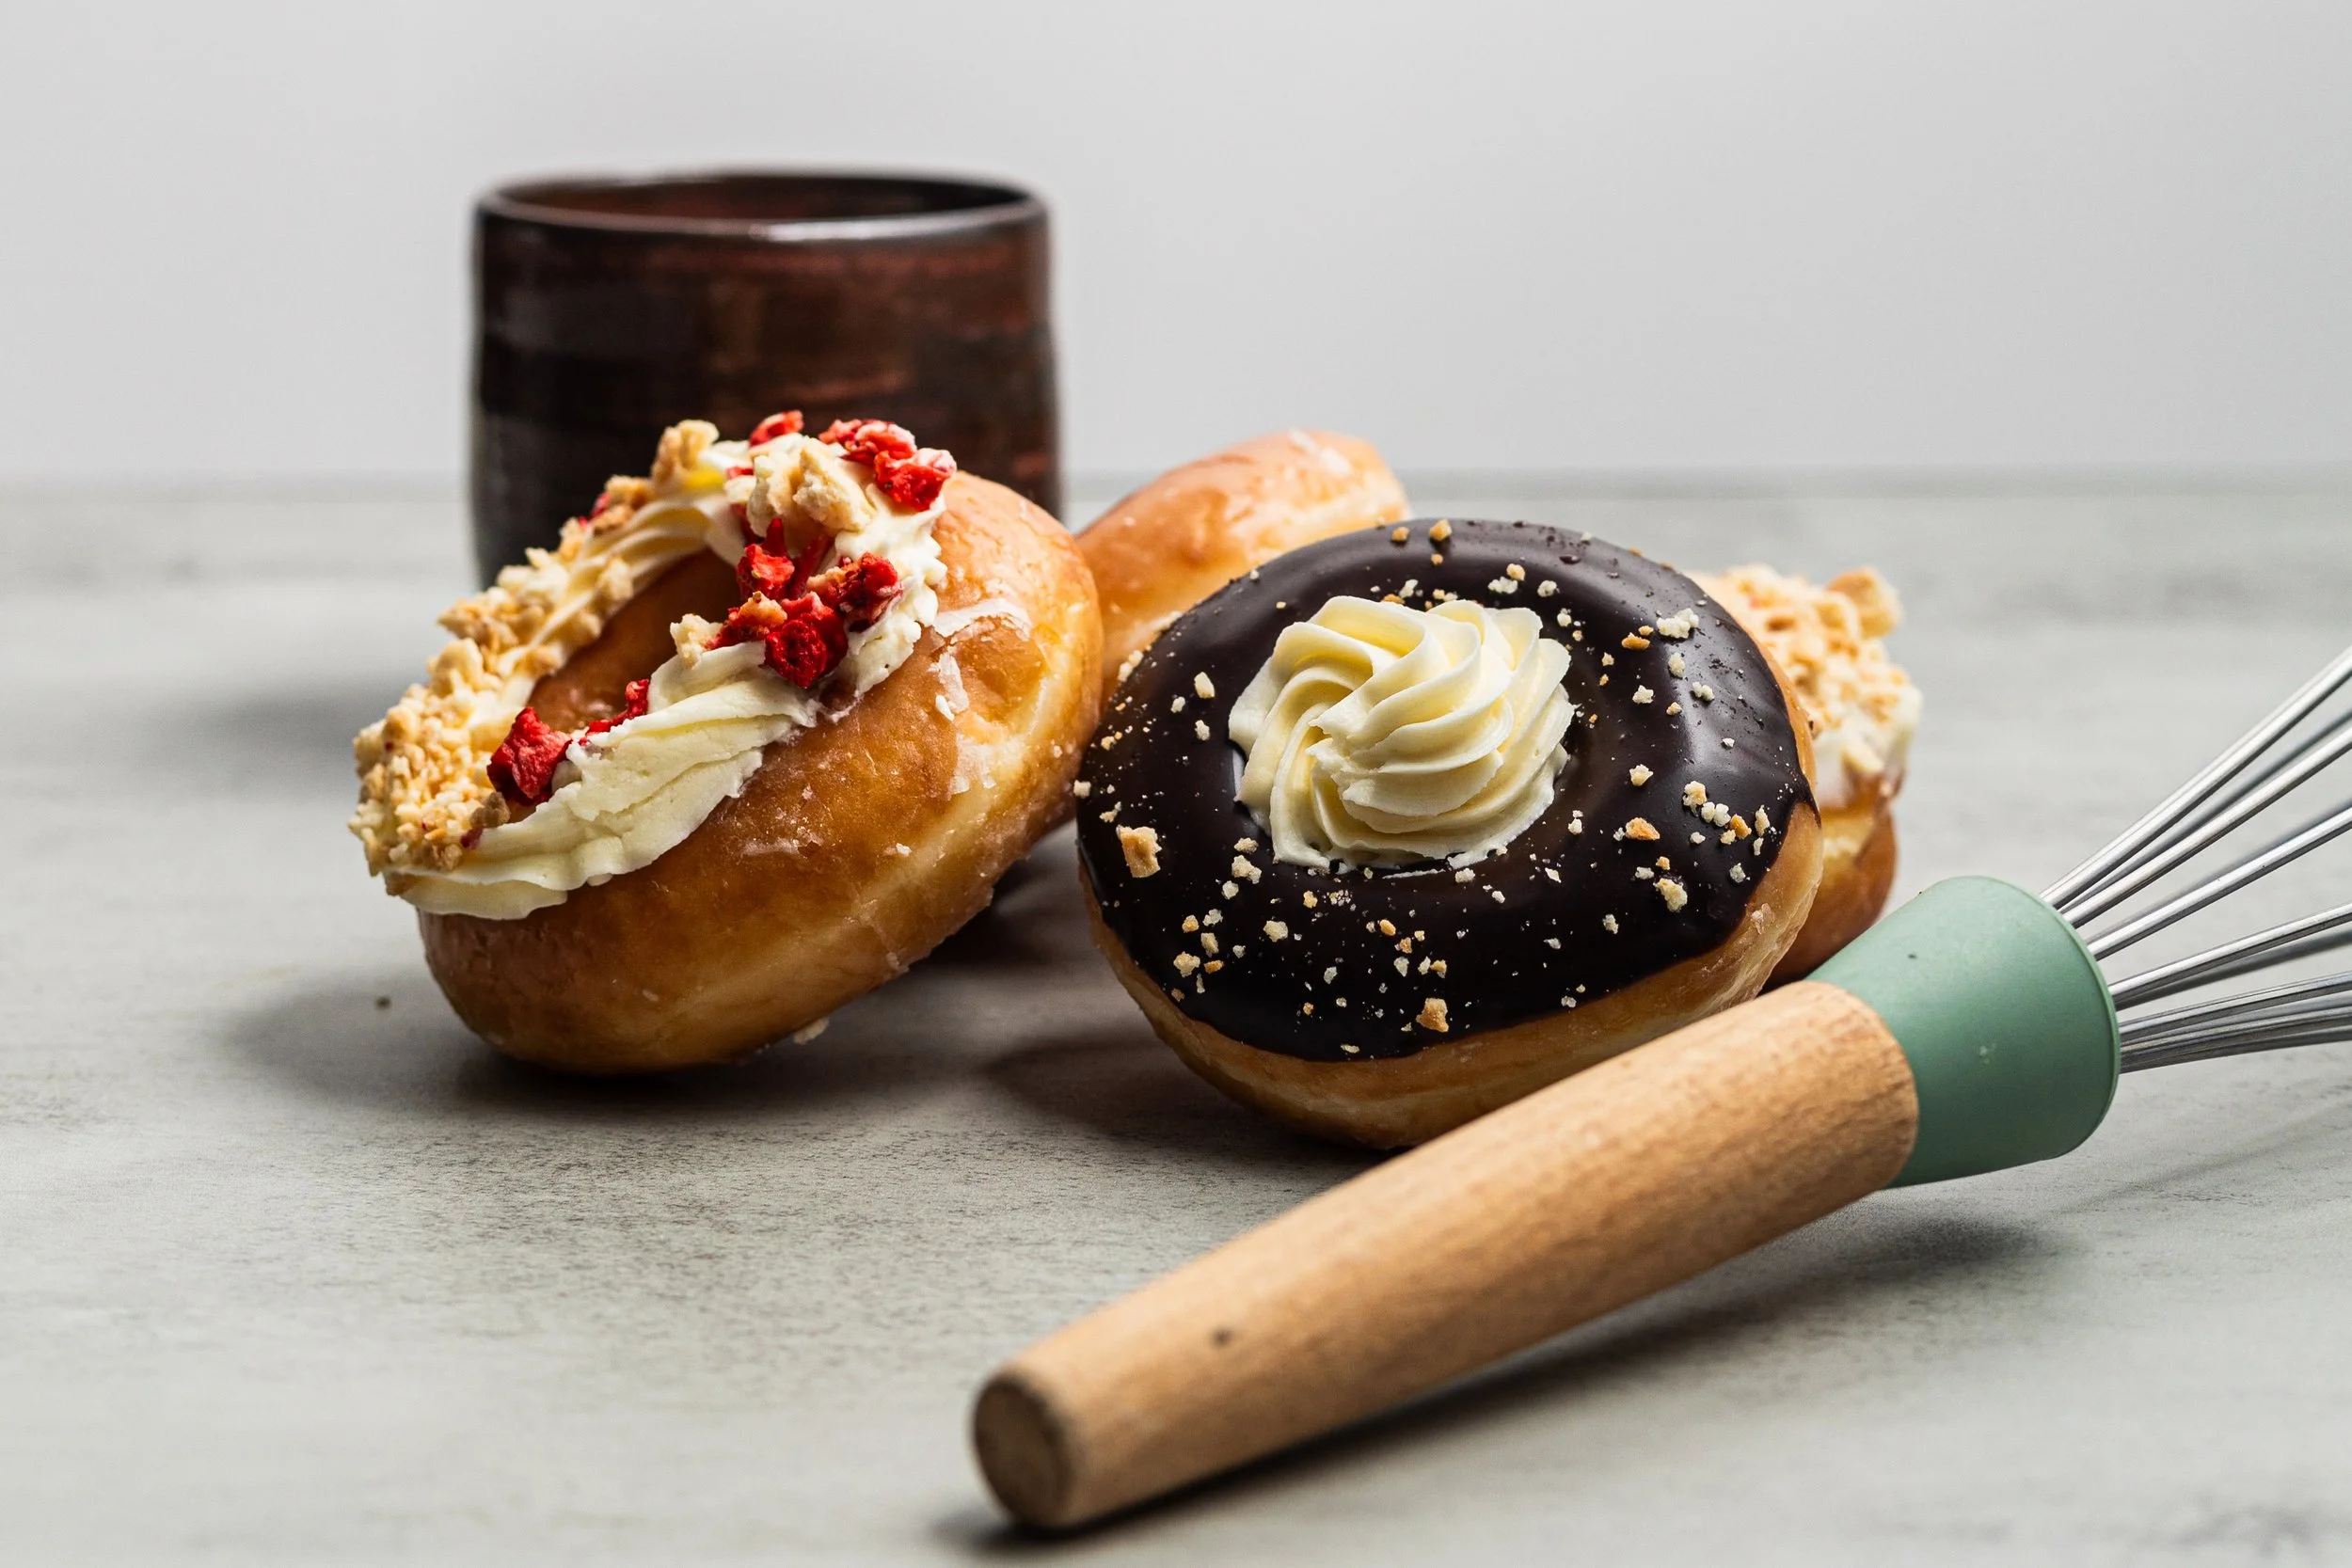
When I'm shooting for a restaurant in Auckland, I always make sure to capture the textures, colors, and presentation of the dish. I want to make sure that the photo looks appetizing and inviting, so that when people see it, they'll want to come and try it out.
>>> Contact the best Food Photographer in Auckland
The Importance of Lighting in Auckland Restaurant Photos
Lighting is one of the most critical elements of food photography. It can make or break the photo, and it's essential to get it right. When shooting in Auckland, I always look for natural light, whether it's through a window or outside. But if that's not possible, I use artificial light to create a warm and inviting atmosphere.
Tips for Taking Great Auckland Restaurant Photos
Here are some tips to help you take great Auckland restaurant photos:
Use a tripod: A tripod will help you stabilize the camera and prevent blurry photos.
Experiment with angles: Don't be afraid to get creative with your angles. Shoot from above, below, or at an angle to add some visual interest to the photo.
Pay attention to background: Make sure the background is clean and clutter-free. You can use a plain colored background or a natural setting like a park or a beach.
Use a shallow depth of field: A shallow depth of field will help blur the background and make the subject stand out.
Shoot in RAW: Shooting in RAW will give you more flexibility when editing the photo.

Auckland Restaurant Photos: The Best of the Best
When it comes to Auckland restaurant photos, I've seen it all. From the best restaurants in Auckland CBD to the hidden gems in the suburbs, I've captured it all. And let me tell you, it's not just about taking a pretty picture. It's about telling a story and making the viewer hungry.
Auckland Restaurant Photos: The Secret to Making Your Food Look Irresistible
As a foodie, you know that a great meal is not just about the taste, but also about the presentation. And when it comes to capturing the perfect shot of your restaurant's dishes, you need a photographer who knows the city like the back of their hand. That's where I come in – Paka's Le Photographe, the best food photographer in Auckland.
>>> Contact the best Food Photographer in Auckland
Auckland Restaurant Photos: The Secret to Making Your Food Look Irresistible
Capturing the Perfect Shot: Tips and Tricks for Auckland Restaurant Photos
Now that we've covered the basics of Auckland restaurant photos, let's dive deeper into some advanced tips and tricks to help you capture the perfect shot.
Understanding the Power of Composition in Auckland Restaurant Photos
Composition is key to creating visually appealing Auckland restaurant photos. It's not just about pointing the camera at the food and clicking the shutter. You need to think about the composition of the shot, including the placement of the food, the background, and the lighting.
Here are some composition tips to keep in mind:
Rule of thirds: Divide the image into thirds both horizontally and vertically. Place the food or main subject along one of these lines or at their intersections.
Leading lines: Look for leading lines in the scene, such as a plate or a tablecloth, to lead the viewer's eye to the food.
Symmetry: Use symmetry to create a sense of order and balance in the image.
Negative space: Don't be afraid to use negative space to create a clean and minimalist look.

The Art of Styling in Auckland Restaurant Photos
Styling is a crucial aspect of Auckland restaurant photos. It's not just about presenting the food in a visually appealing way, but also about creating a story and atmosphere around the dish.
Here are some styling tips to keep in mind:
Use props: Add props such as linens, cutlery, and glassware to create a warm and inviting atmosphere.
Play with textures: Mix different textures such as smooth, rough, and soft to add depth and interest to the image.
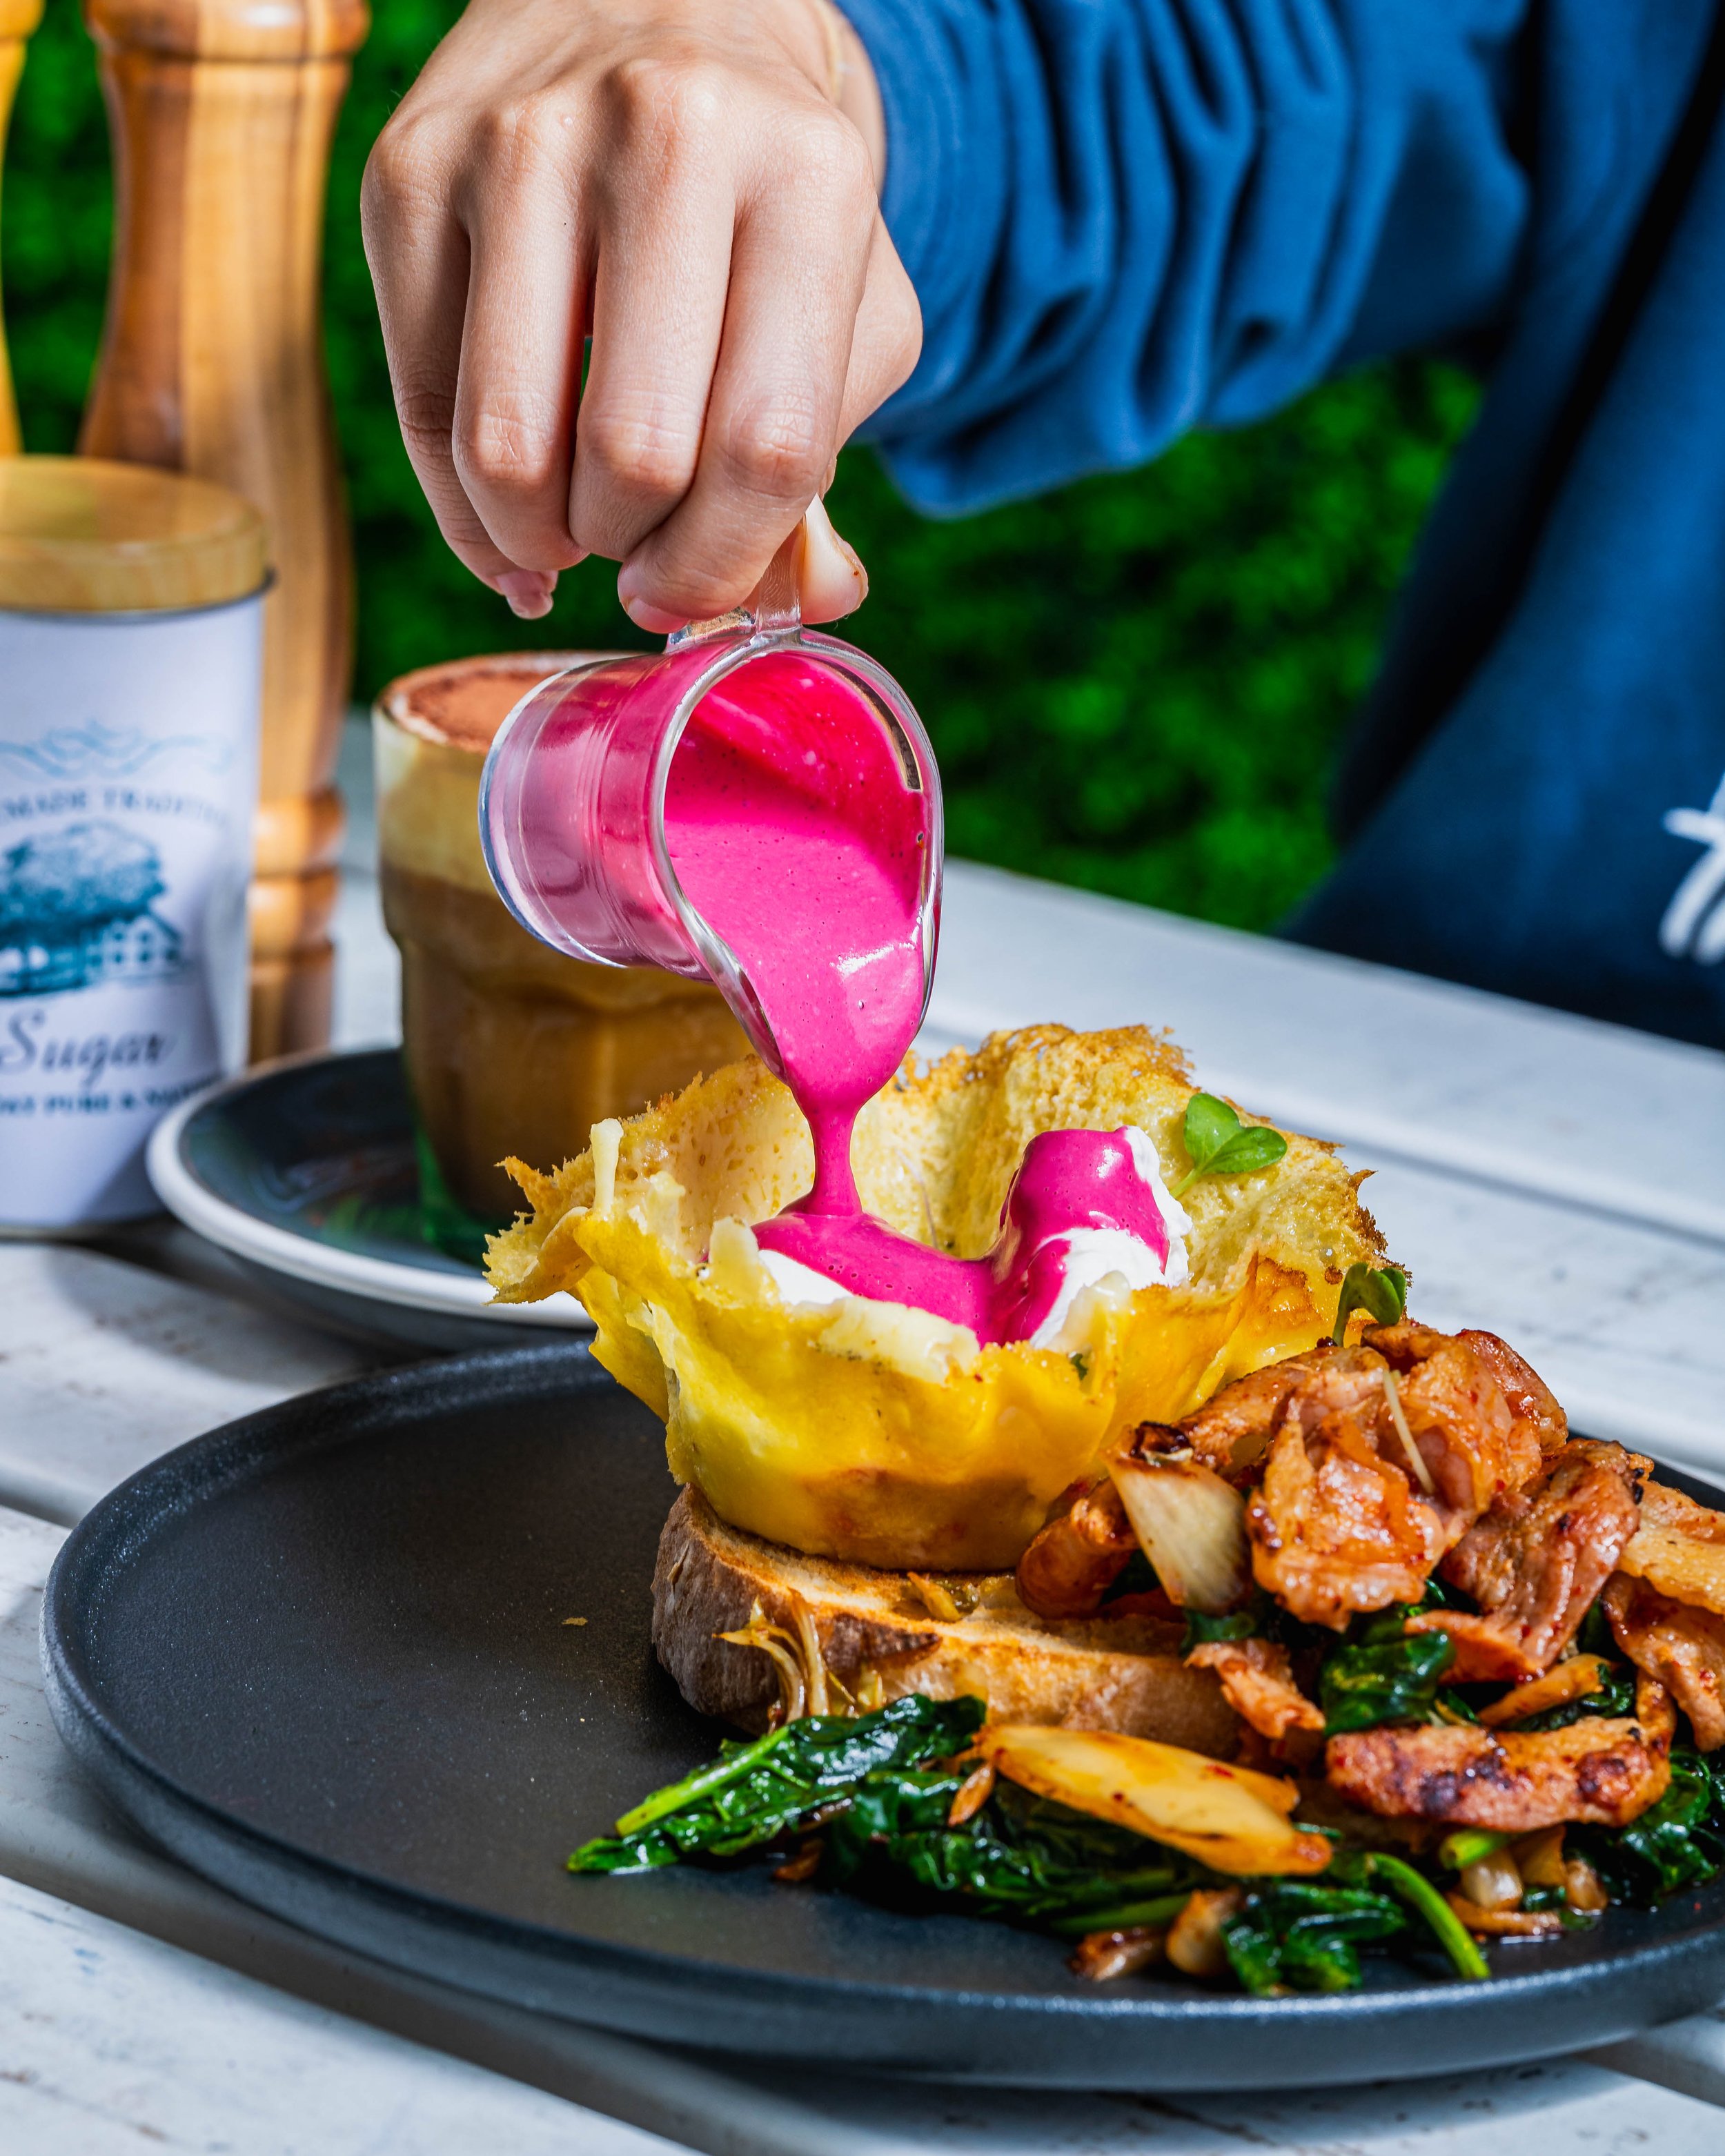
Experiment with colors: Use colors to create a mood and atmosphere around the dish. For example, a bright and bold color can create a fun and playful atmosphere.
Don't over-accessorize: Remember, the food is the star of the show. Don't over-accessorize the plate or the background, as it can distract from the main subject.
Auckland Restaurant Photos: The Best of the Best
When it comes to Auckland restaurant photos, I've seen it all. From the best restaurants in Auckland CBD to the hidden gems in the suburbs, I've captured it all. And let me tell you, it's not just about taking a pretty picture. It's about telling a story and making the viewer hungry.
>>> Contact the best Food Photographer in Auckland
Common Mistakes to Avoid in Auckland Restaurant Photos
As a food photographer, I've seen many common mistakes that can make or break a photo. Here are some mistakes to avoid:
Poor lighting: Lighting is one of the most critical elements of food photography. Avoid using harsh or unflattering light, and opt for natural light or softbox lights instead.
Blurry photos: Make sure to use a tripod and a fast shutter speed to avoid blurry photos.
Over-processing: Don't over-process the image, as it can make it look unnatural and unappetizing.
Ignoring the background: Make sure to pay attention to the background and remove any distractions or clutter.
Auckland Restaurant Photos: The Secret to Making Your Food Look Irresistible
As a foodie, you know that a great meal is not just about the taste, but also about the presentation. And when it comes to capturing the perfect shot of your restaurant's dishes, you need a photographer who knows the city like the back of their hand. That's where I come in – Paka's Le Photographe, the best food photographer in Auckland.