>>> Book the best Drink Photographer in Auckland.
How to Take Good Photos of Drinks
As a professional drink photographer, I've had my fair share of struggles when it comes to capturing the perfect shot of a drink. But over the years, I've learned a thing or two about what makes a great drink photo, and I'm excited to share my knowledge with you.

Understanding the Basics of Drink Photography
When it comes to drink photography, there are a few key things to keep in mind. First and foremost, you need to understand the basics of photography. This includes things like aperture, shutter speed, and ISO. But don't worry, I'm not going to get too technical here. Instead, let's focus on the practical aspects of drink photography.
>>> Book the best Drink Photographer in Auckland.
Camera Settings for Drink Photography
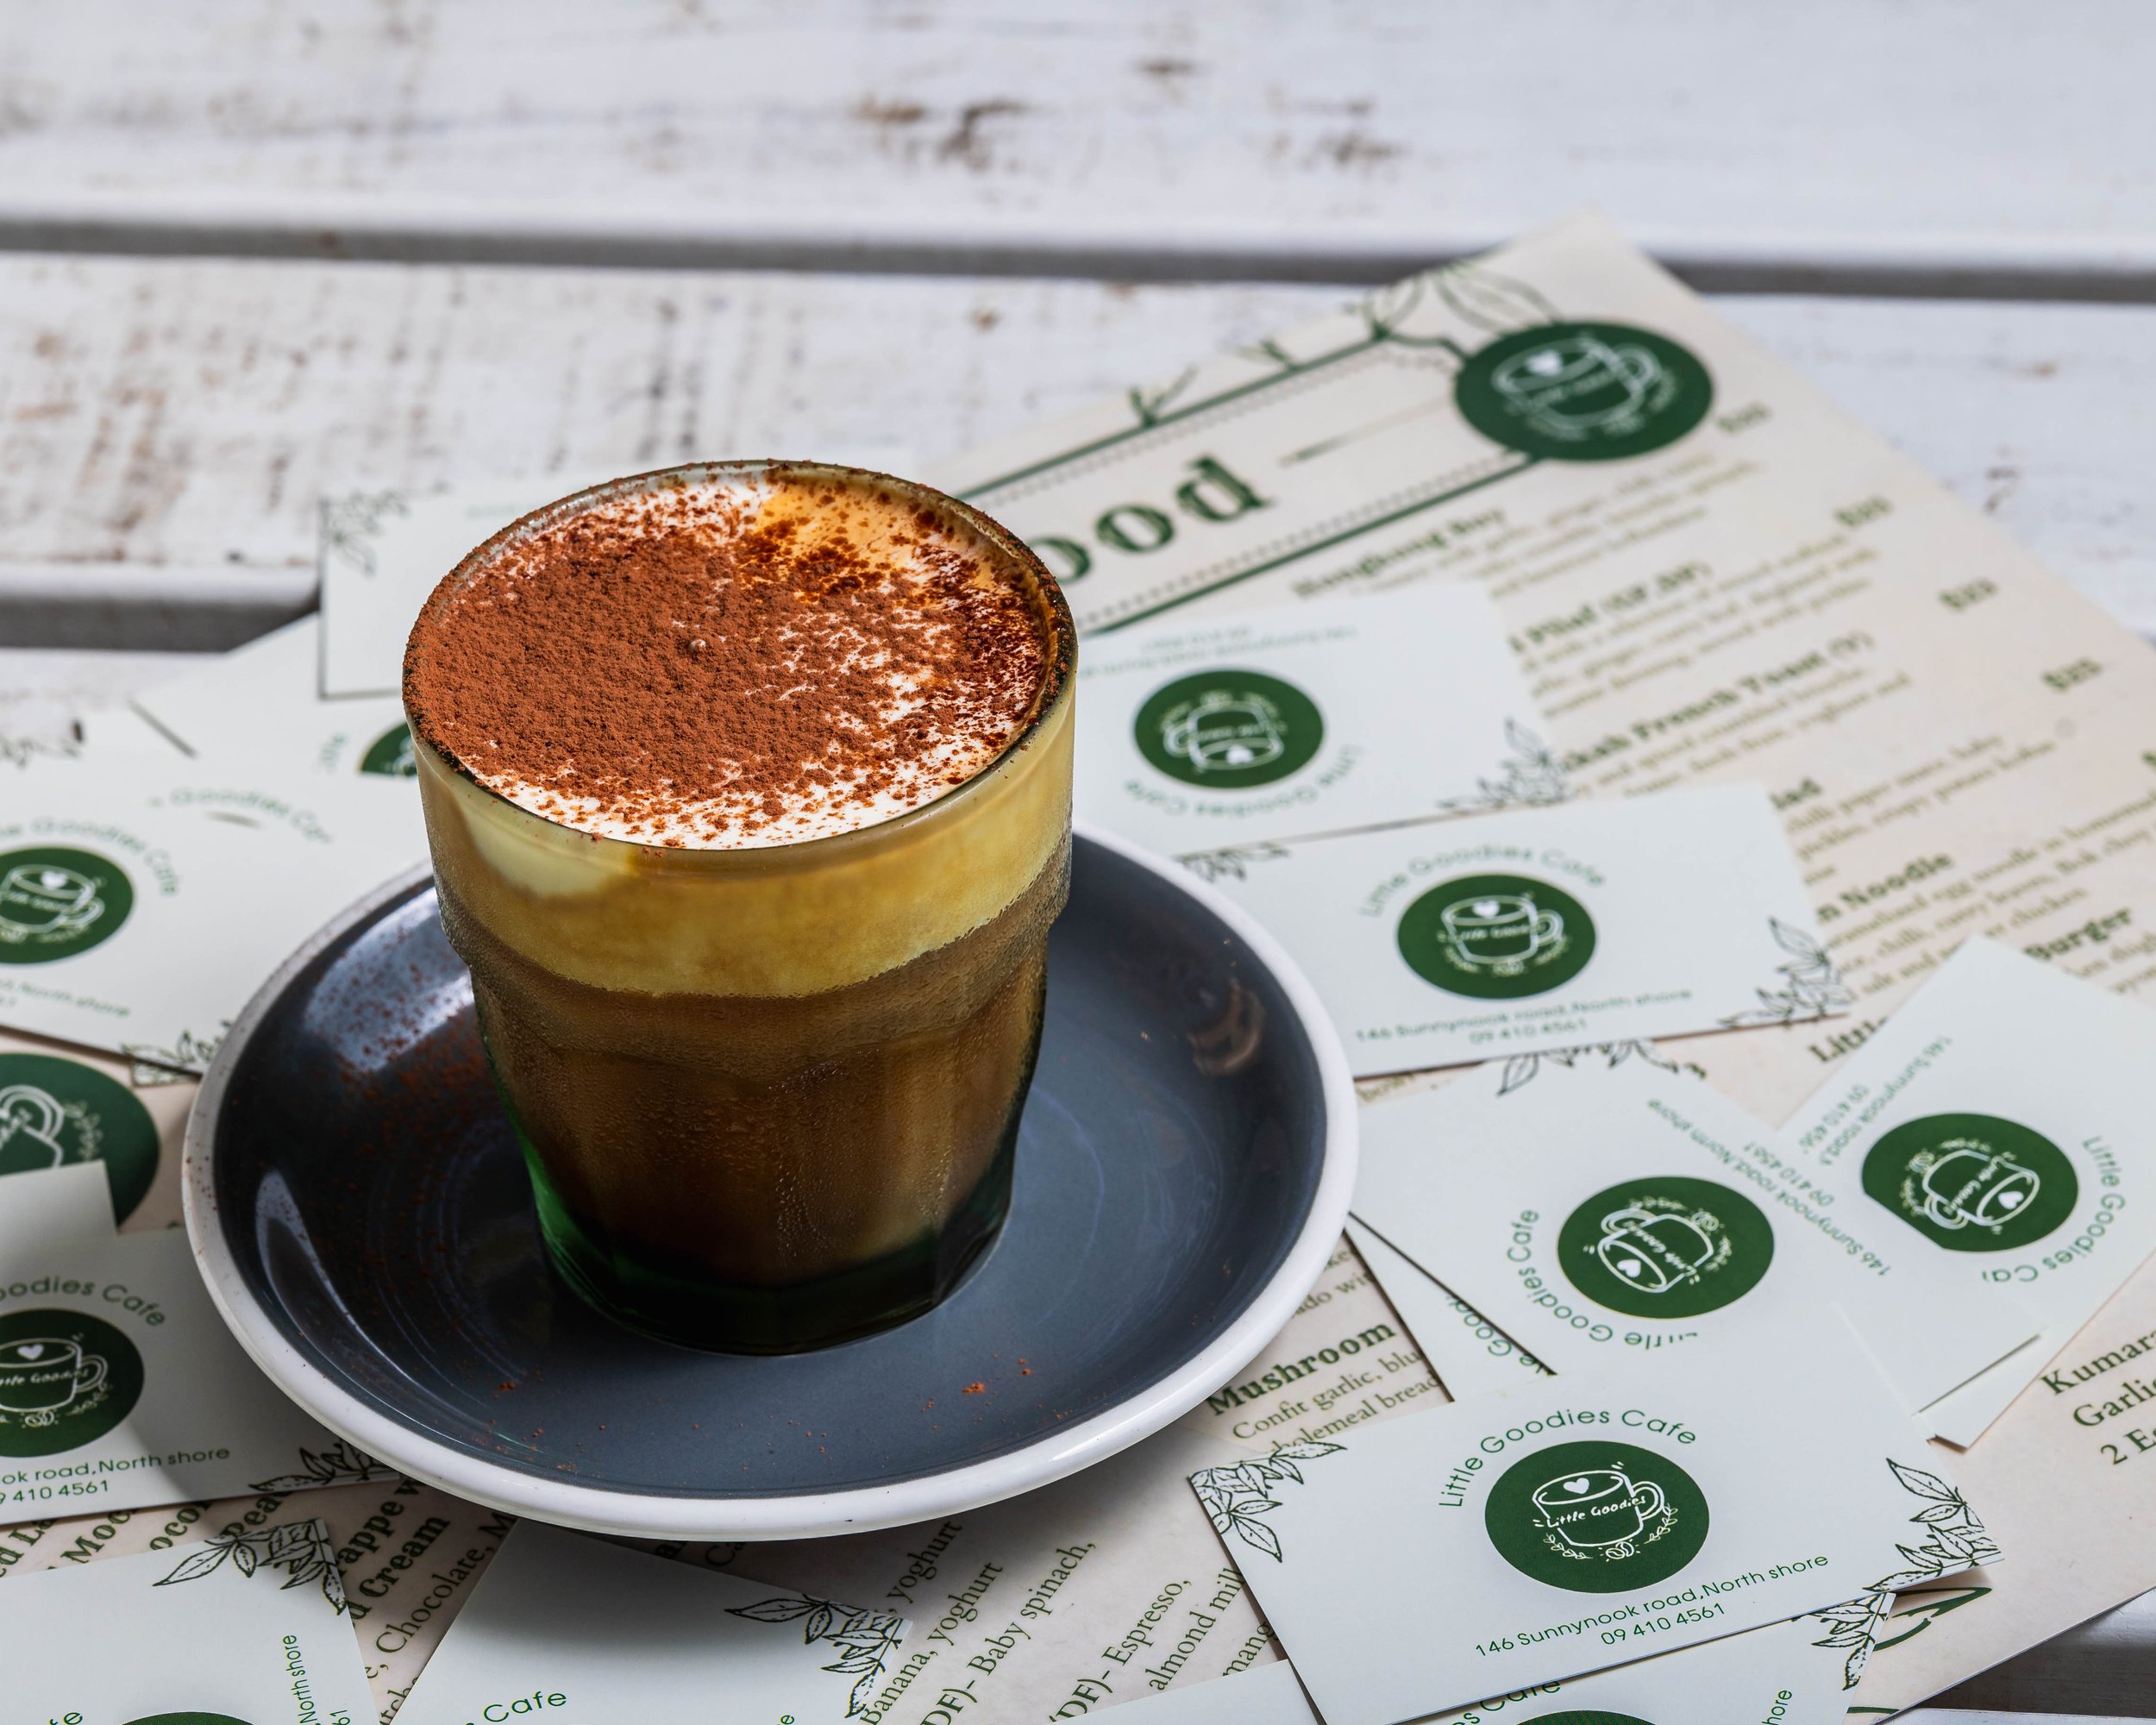
So, what are the best camera settings for drink photography? Well, it all depends on the type of drink you're photographing. For example, if you're photographing a clear drink like a cocktail, you'll want to use a higher aperture setting to ensure that the drink is in focus. On the other hand, if you're photographing a cloudy drink like a beer, you may want to use a lower aperture setting to capture the texture of the drink.
Here are some general guidelines to keep in mind:
Aperture: Use a high aperture setting (f/2.8 or higher) to ensure that the drink is in focus.
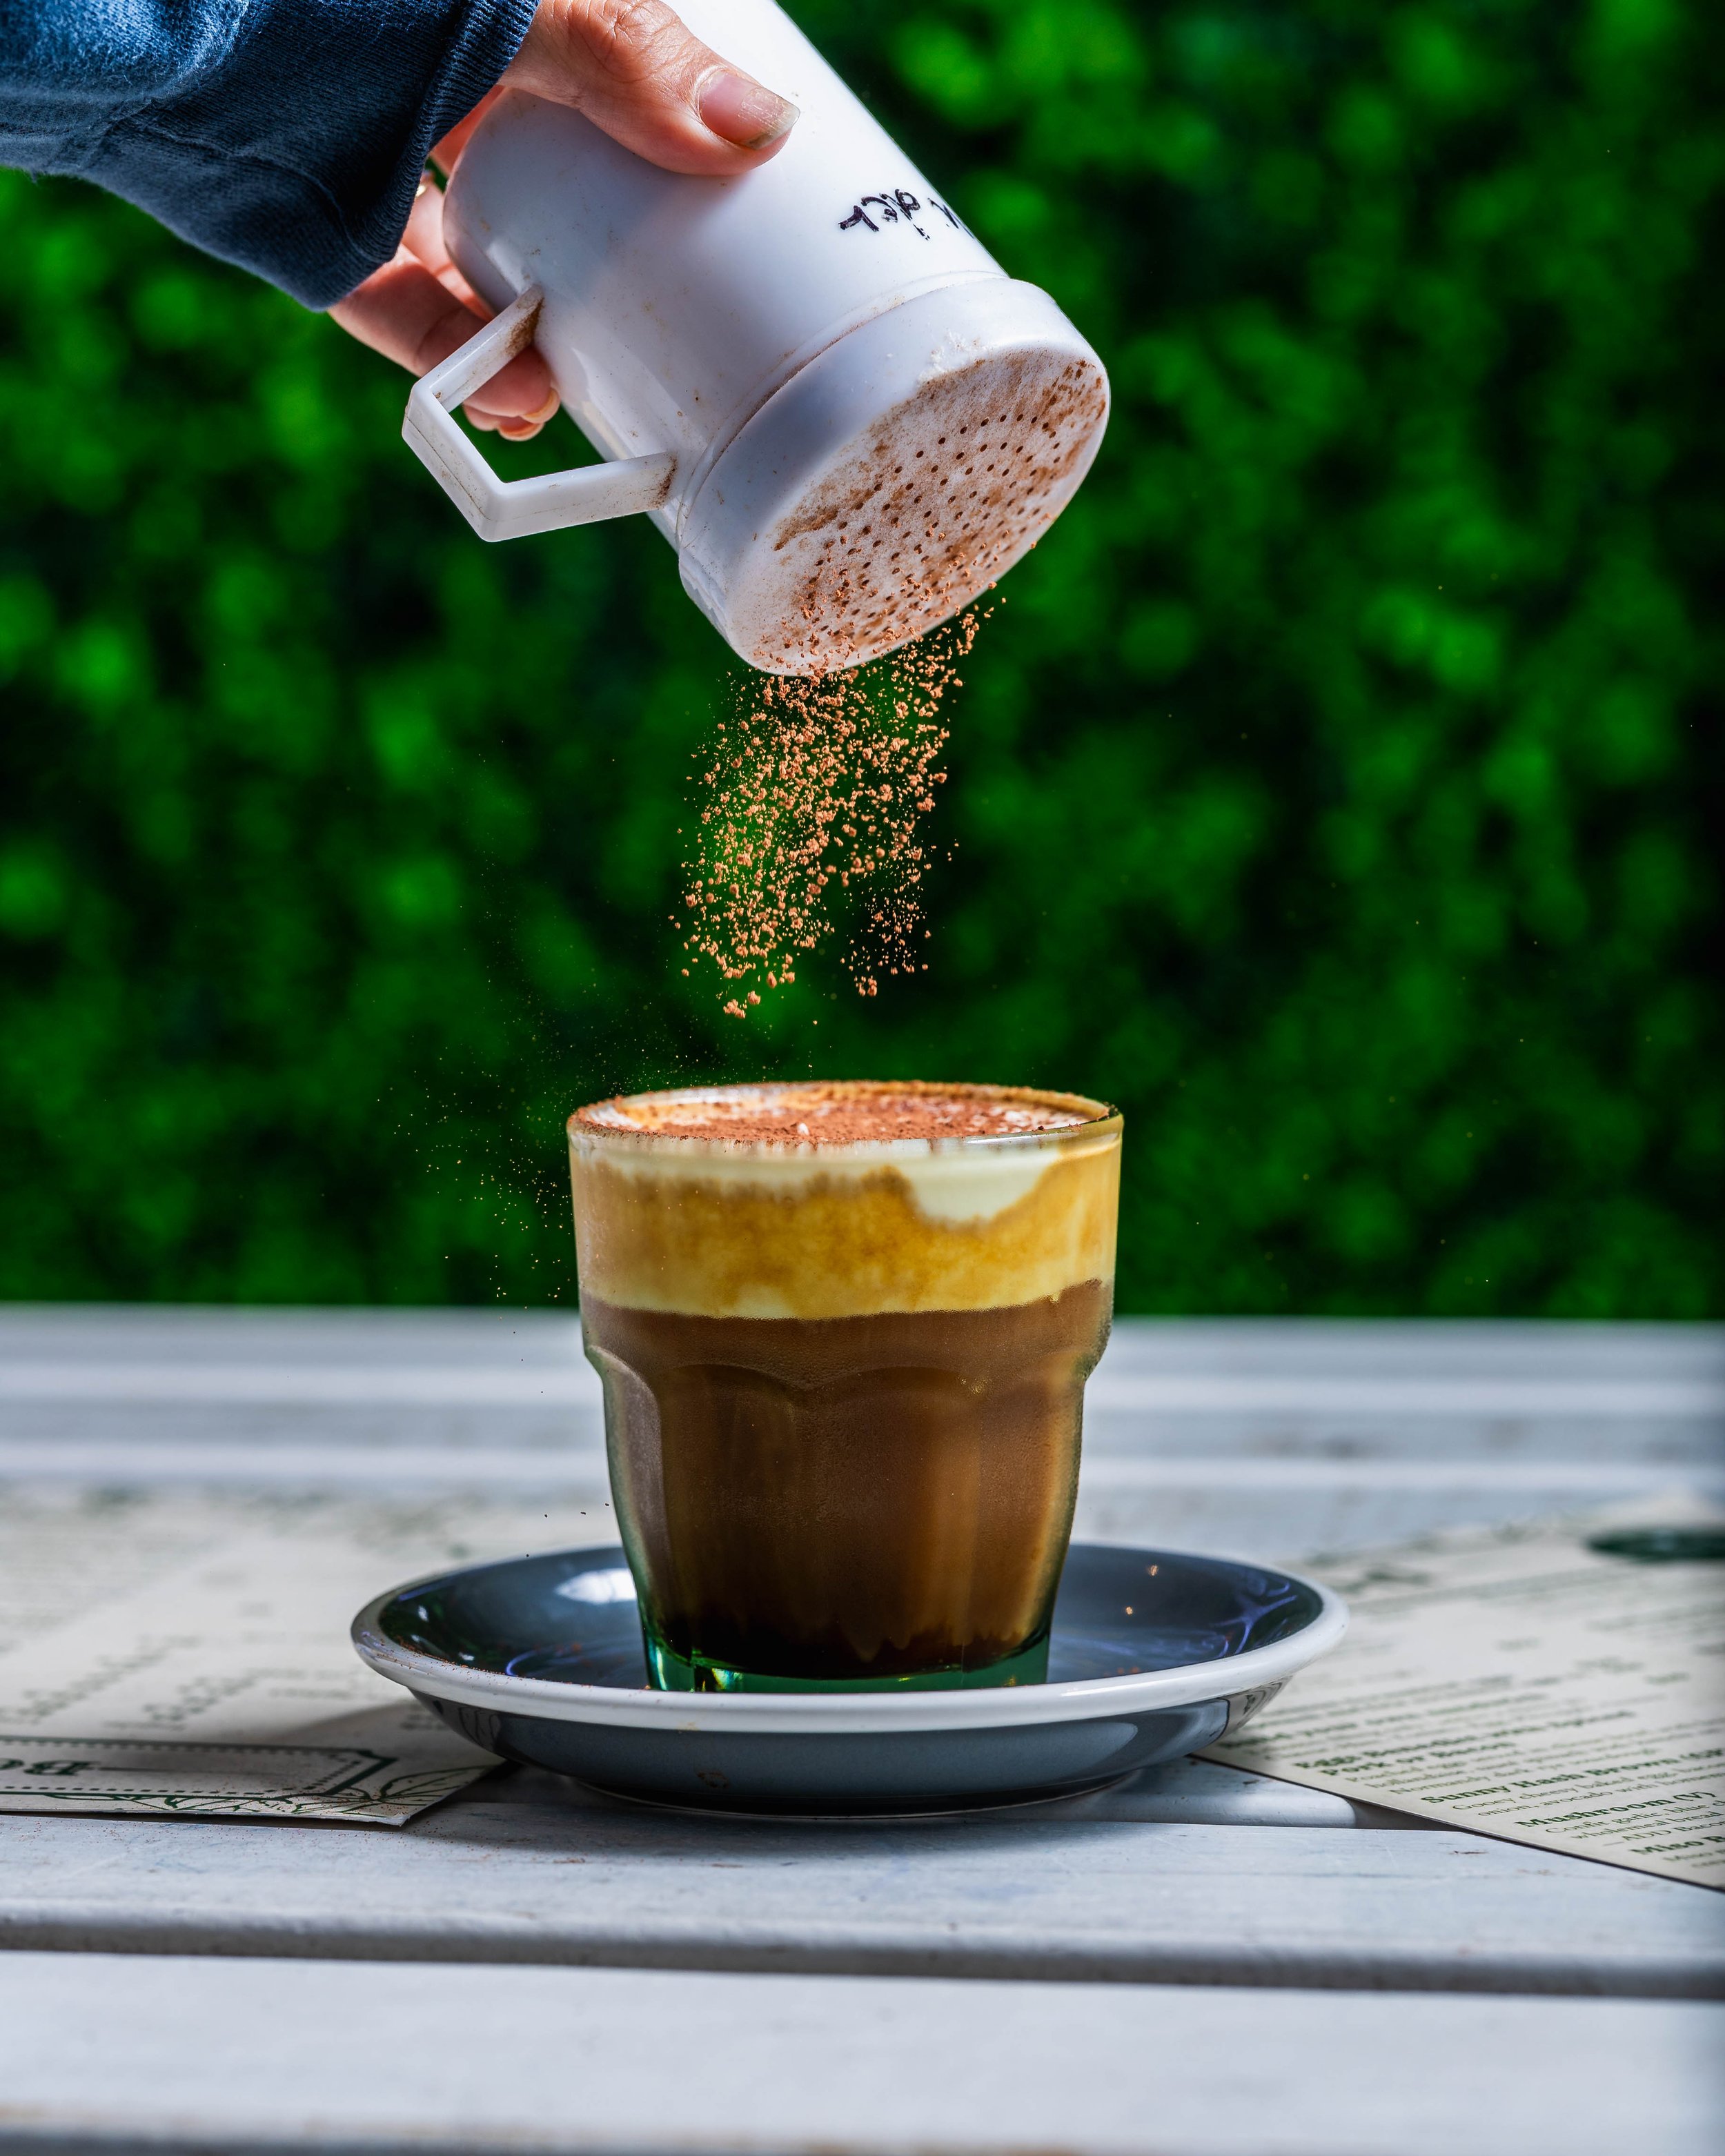
Shutter speed: Use a fast shutter speed (1/100th of a second or faster) to freeze the motion of the drink.
ISO: Use a low ISO setting (100 or lower) to minimize noise and ensure that the image is sharp.
Lighting Techniques for Drink Photography
Lighting is another crucial aspect of drink photography. You want to create a warm and inviting atmosphere that makes the drink look appealing. Here are some lighting techniques to try:
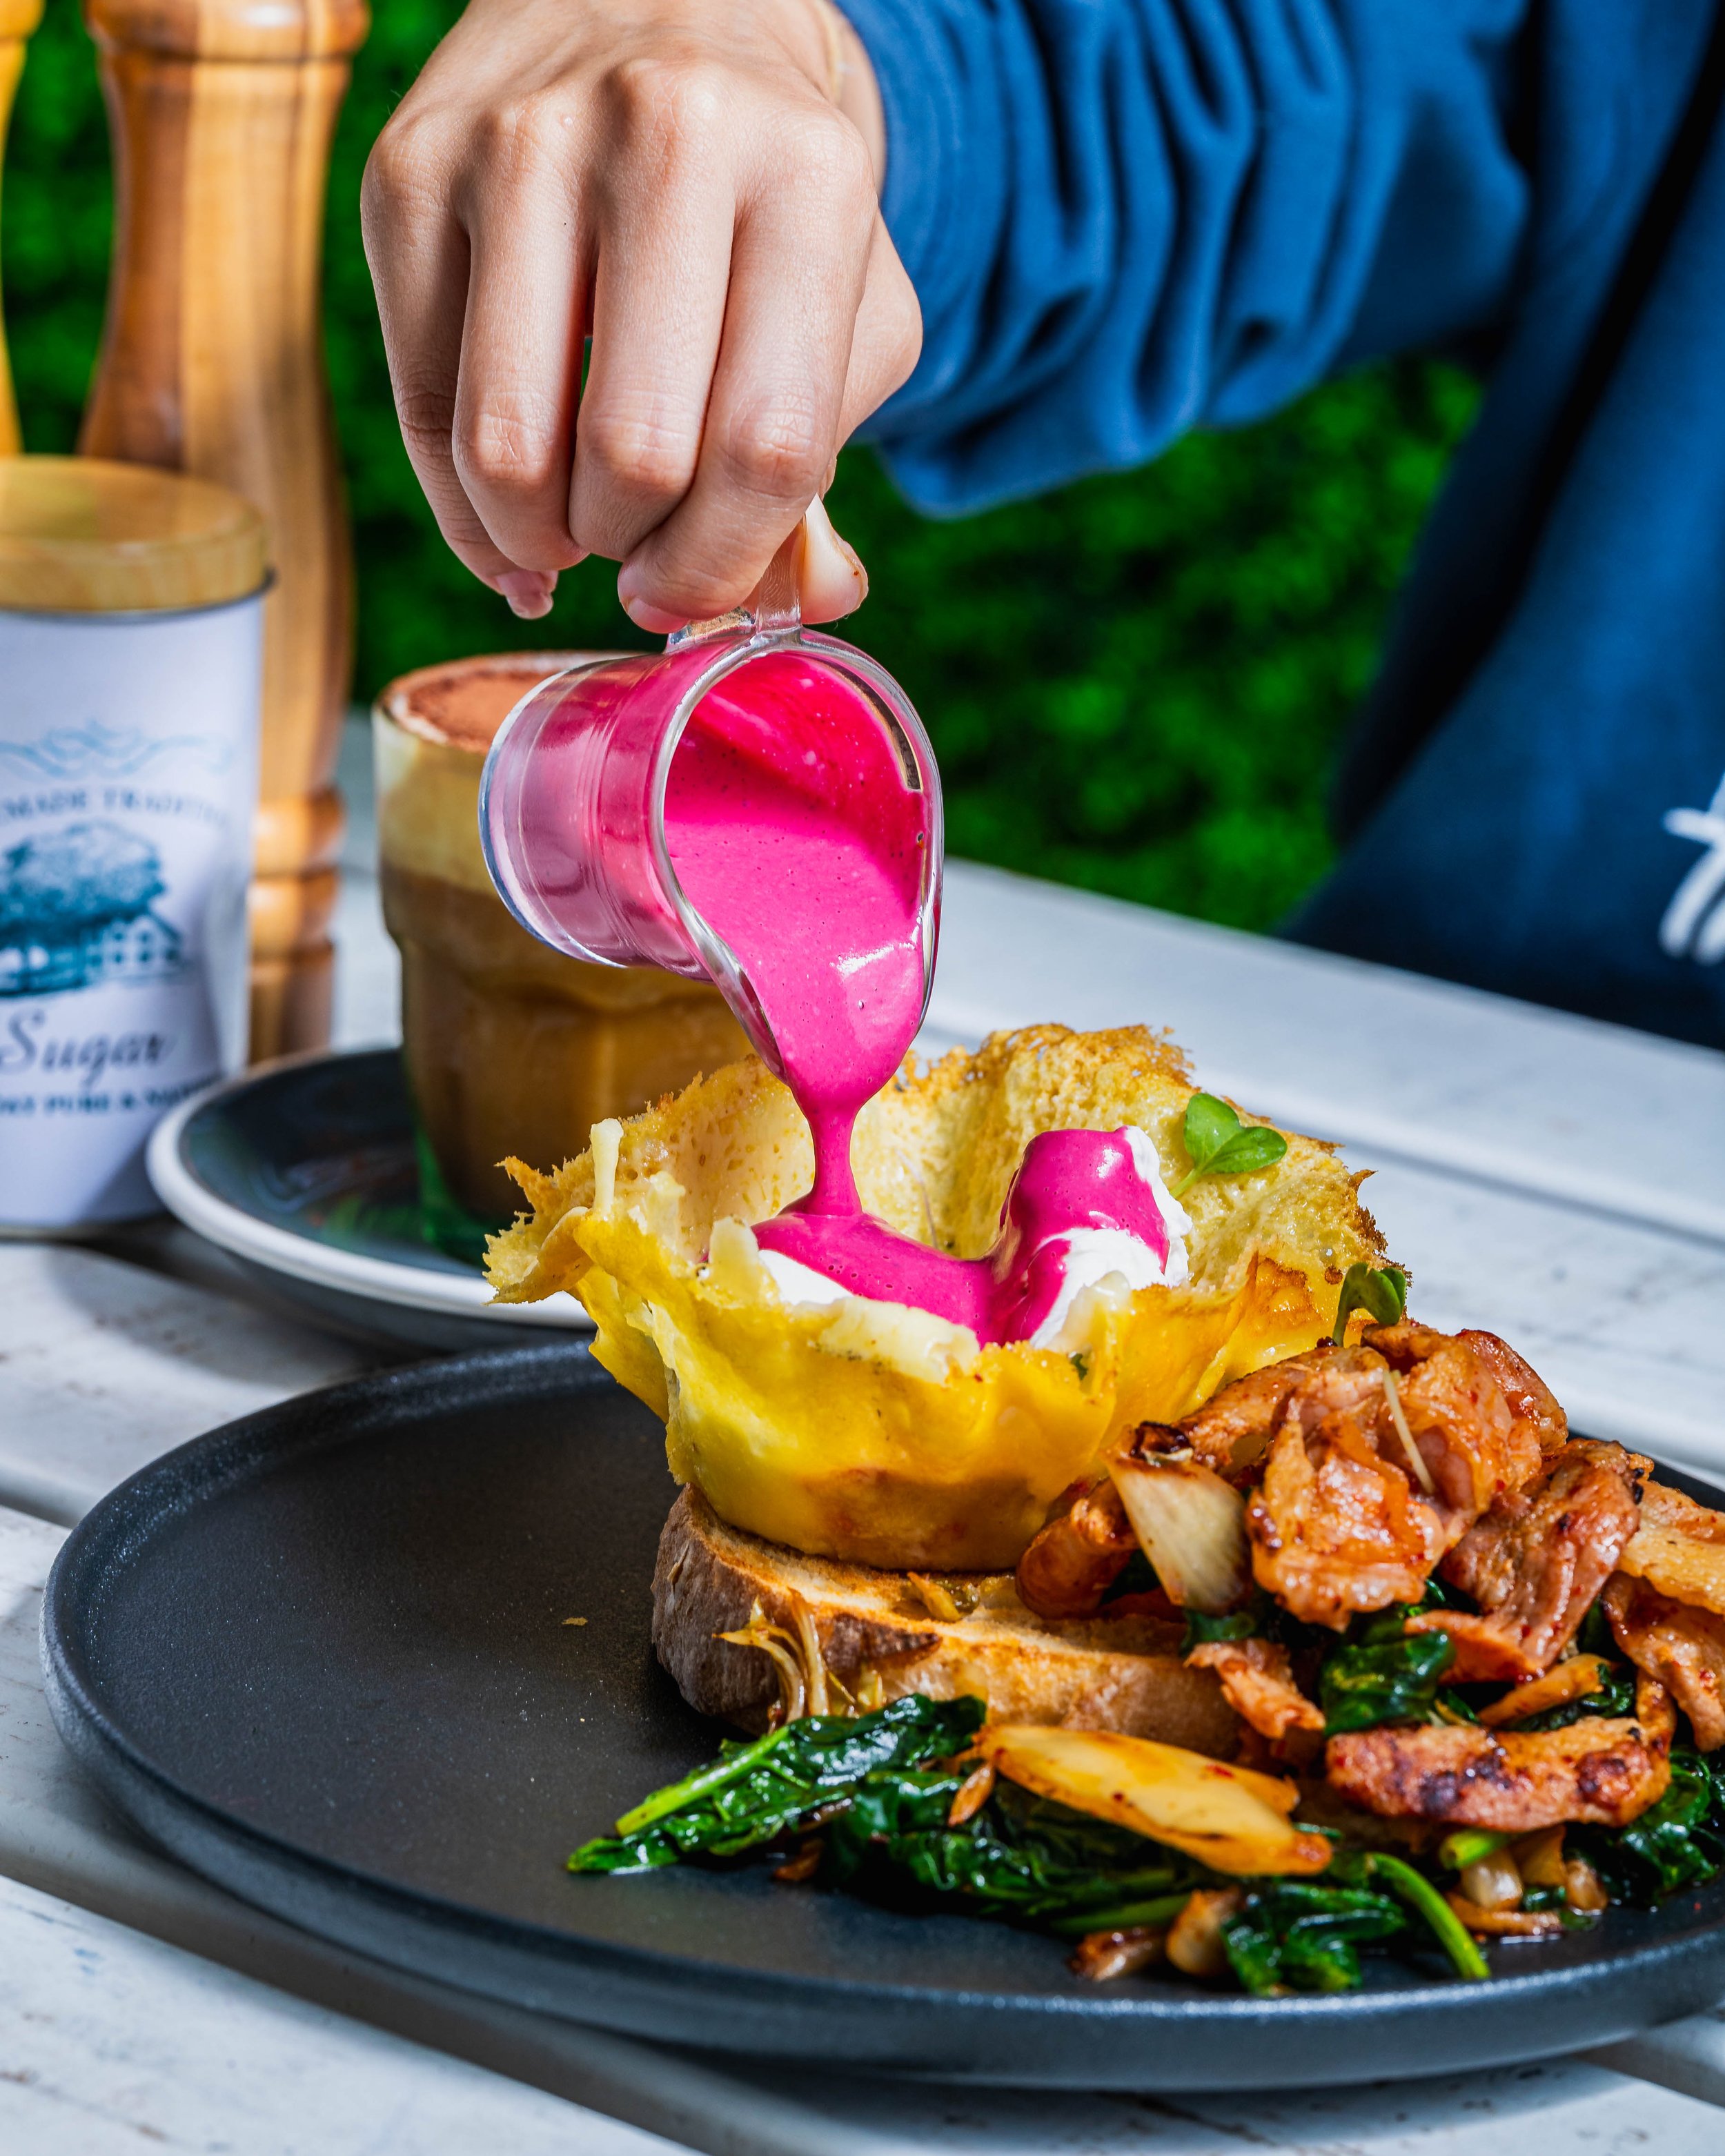
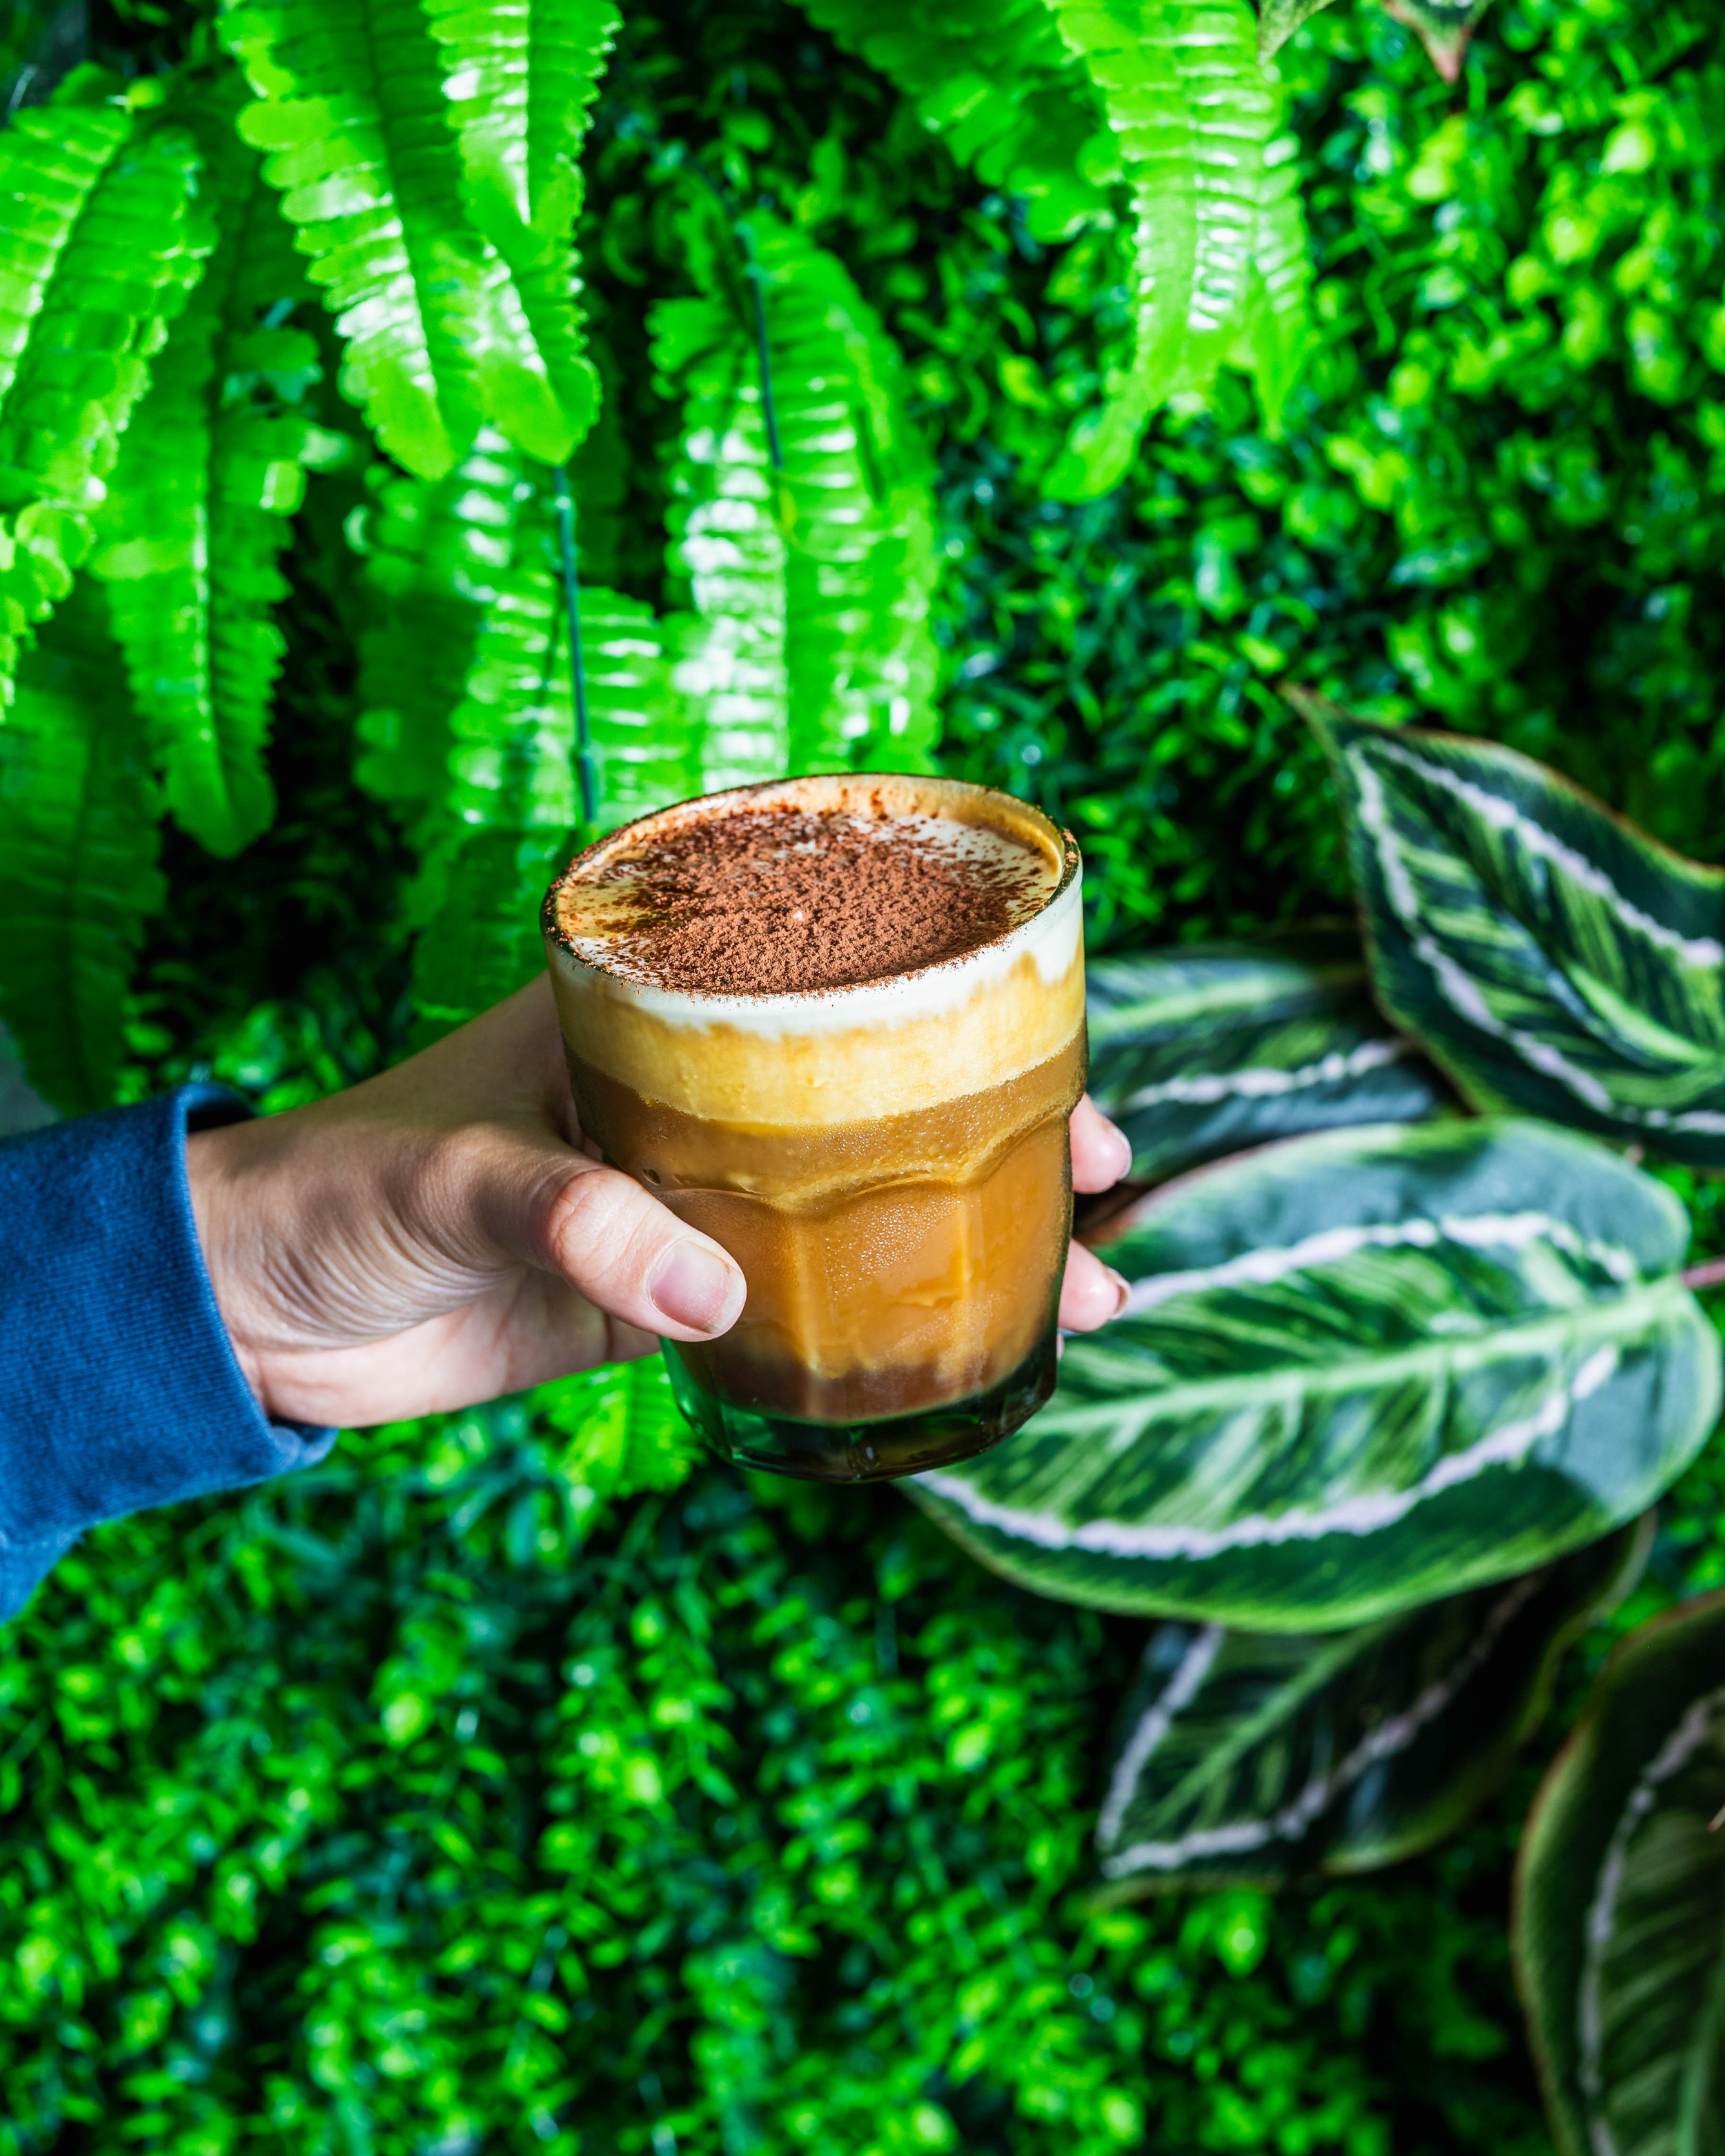
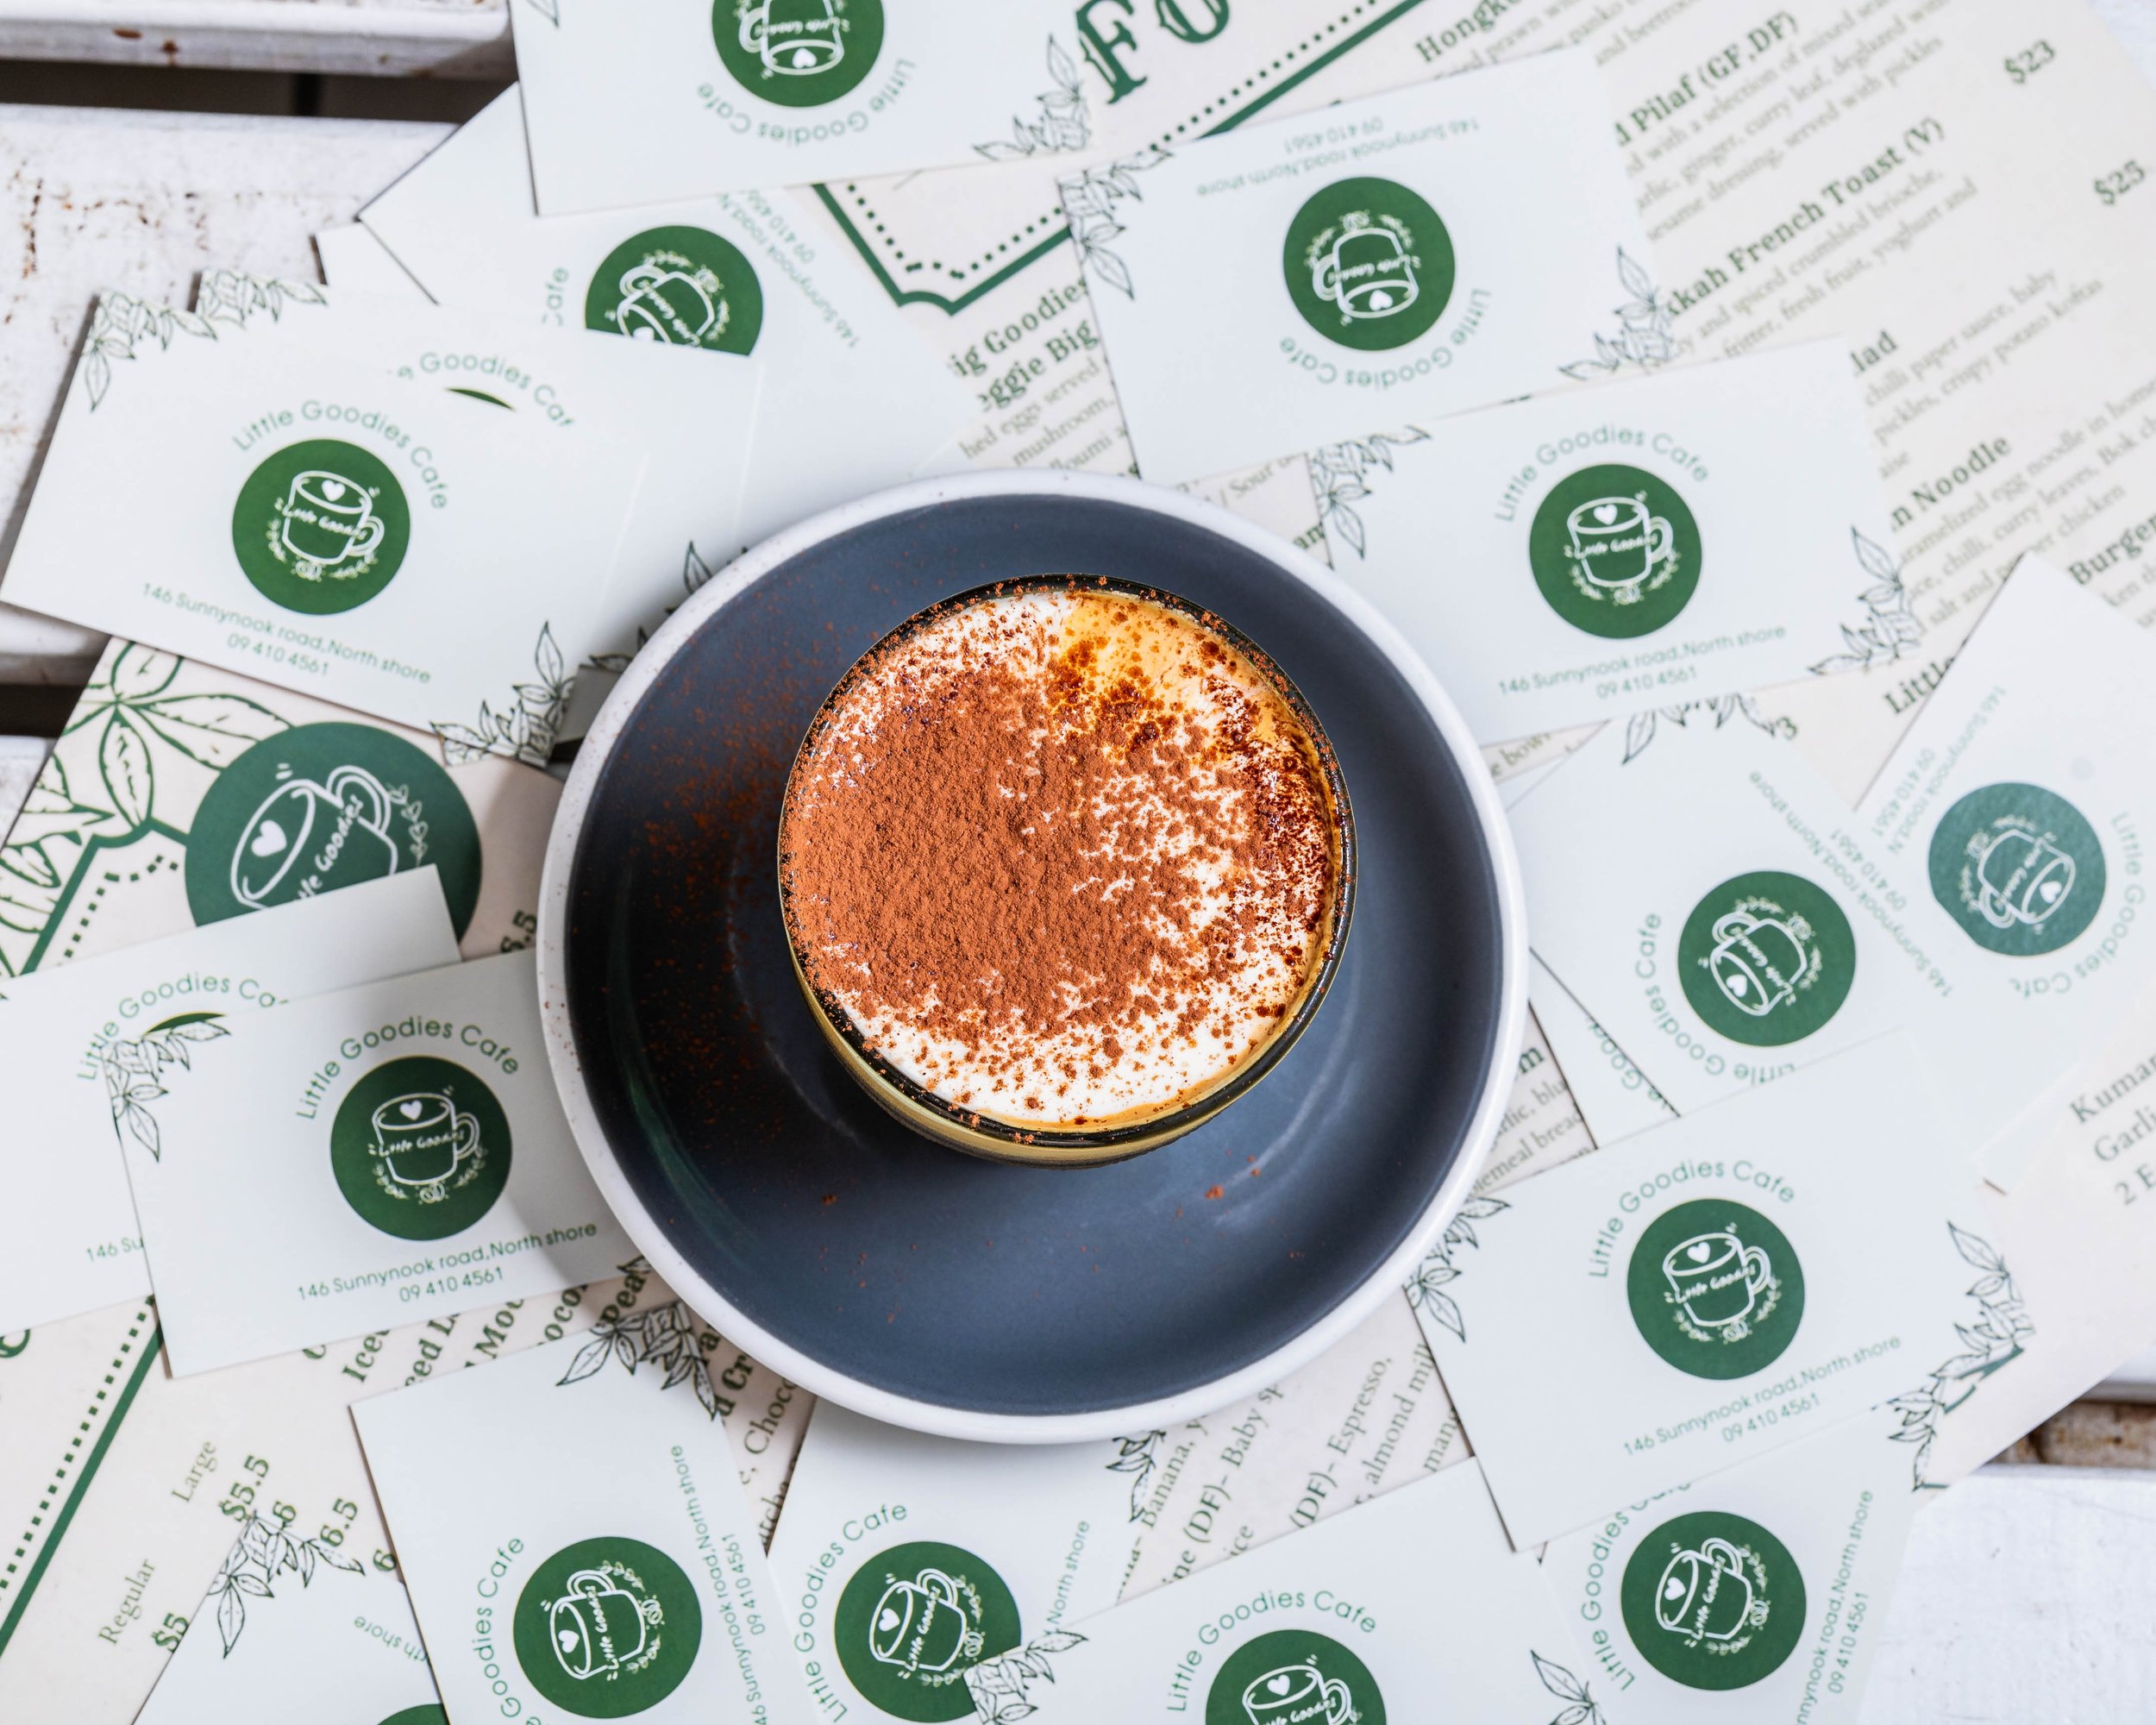
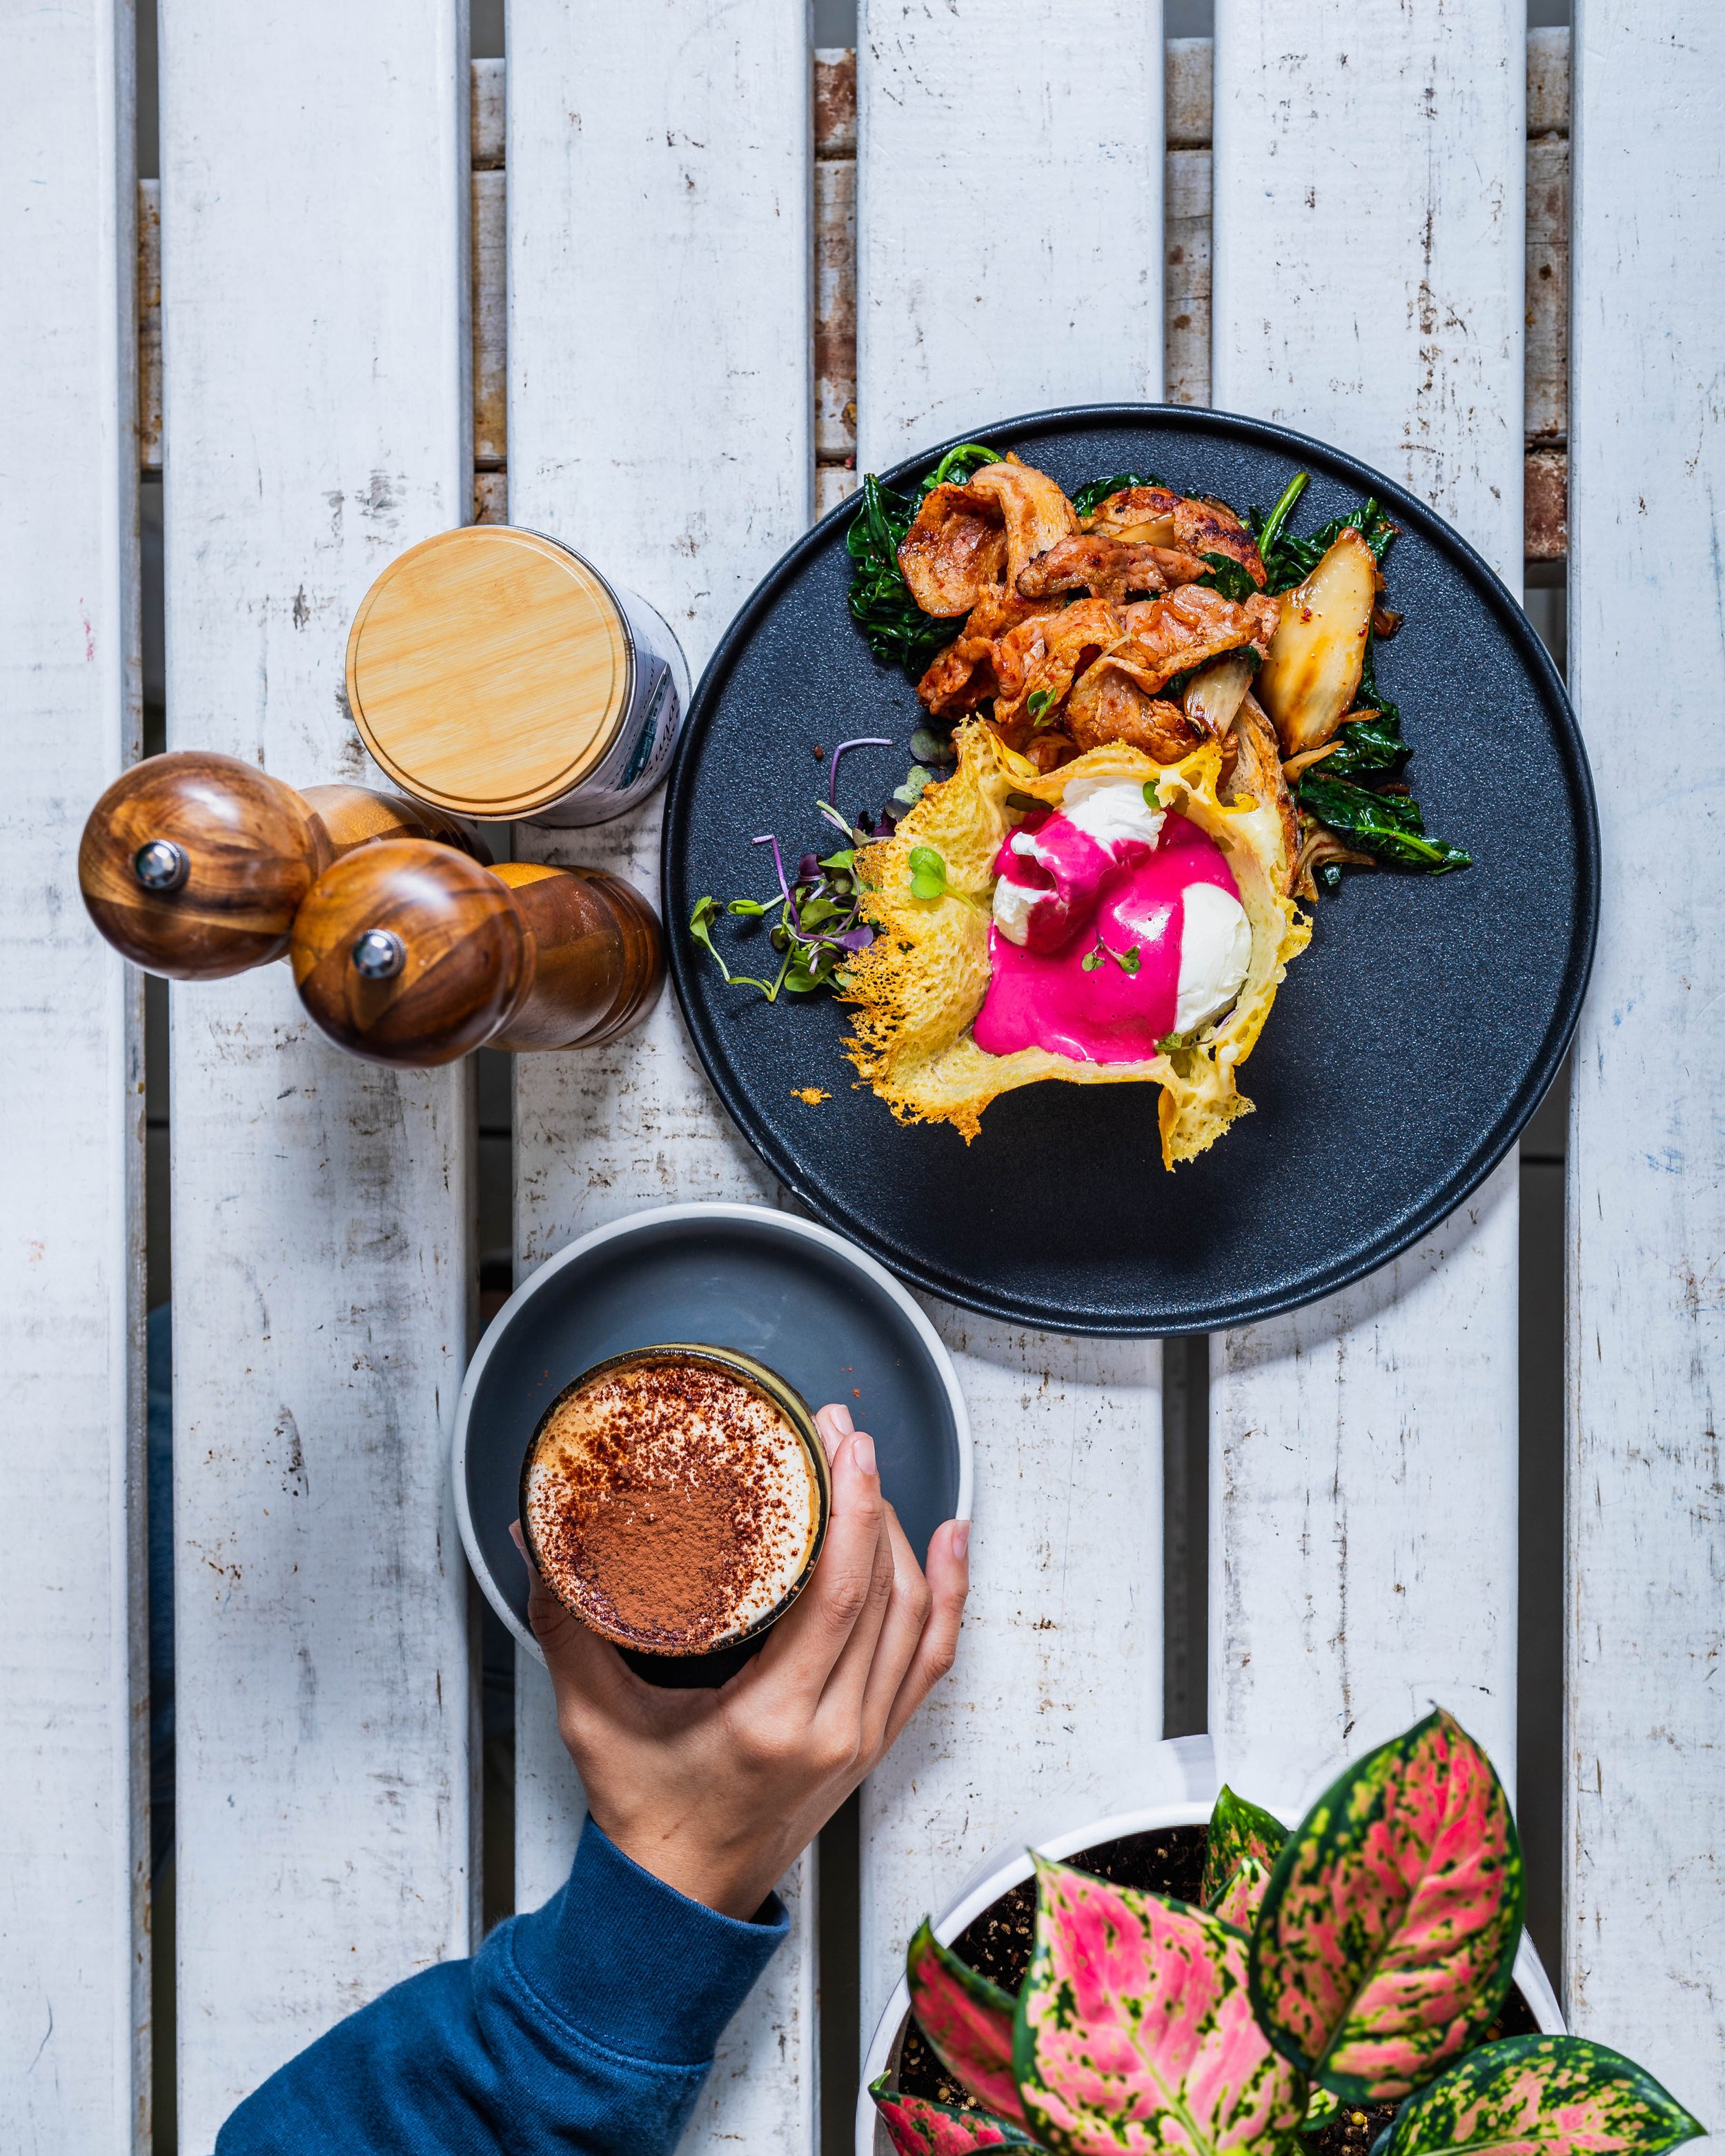
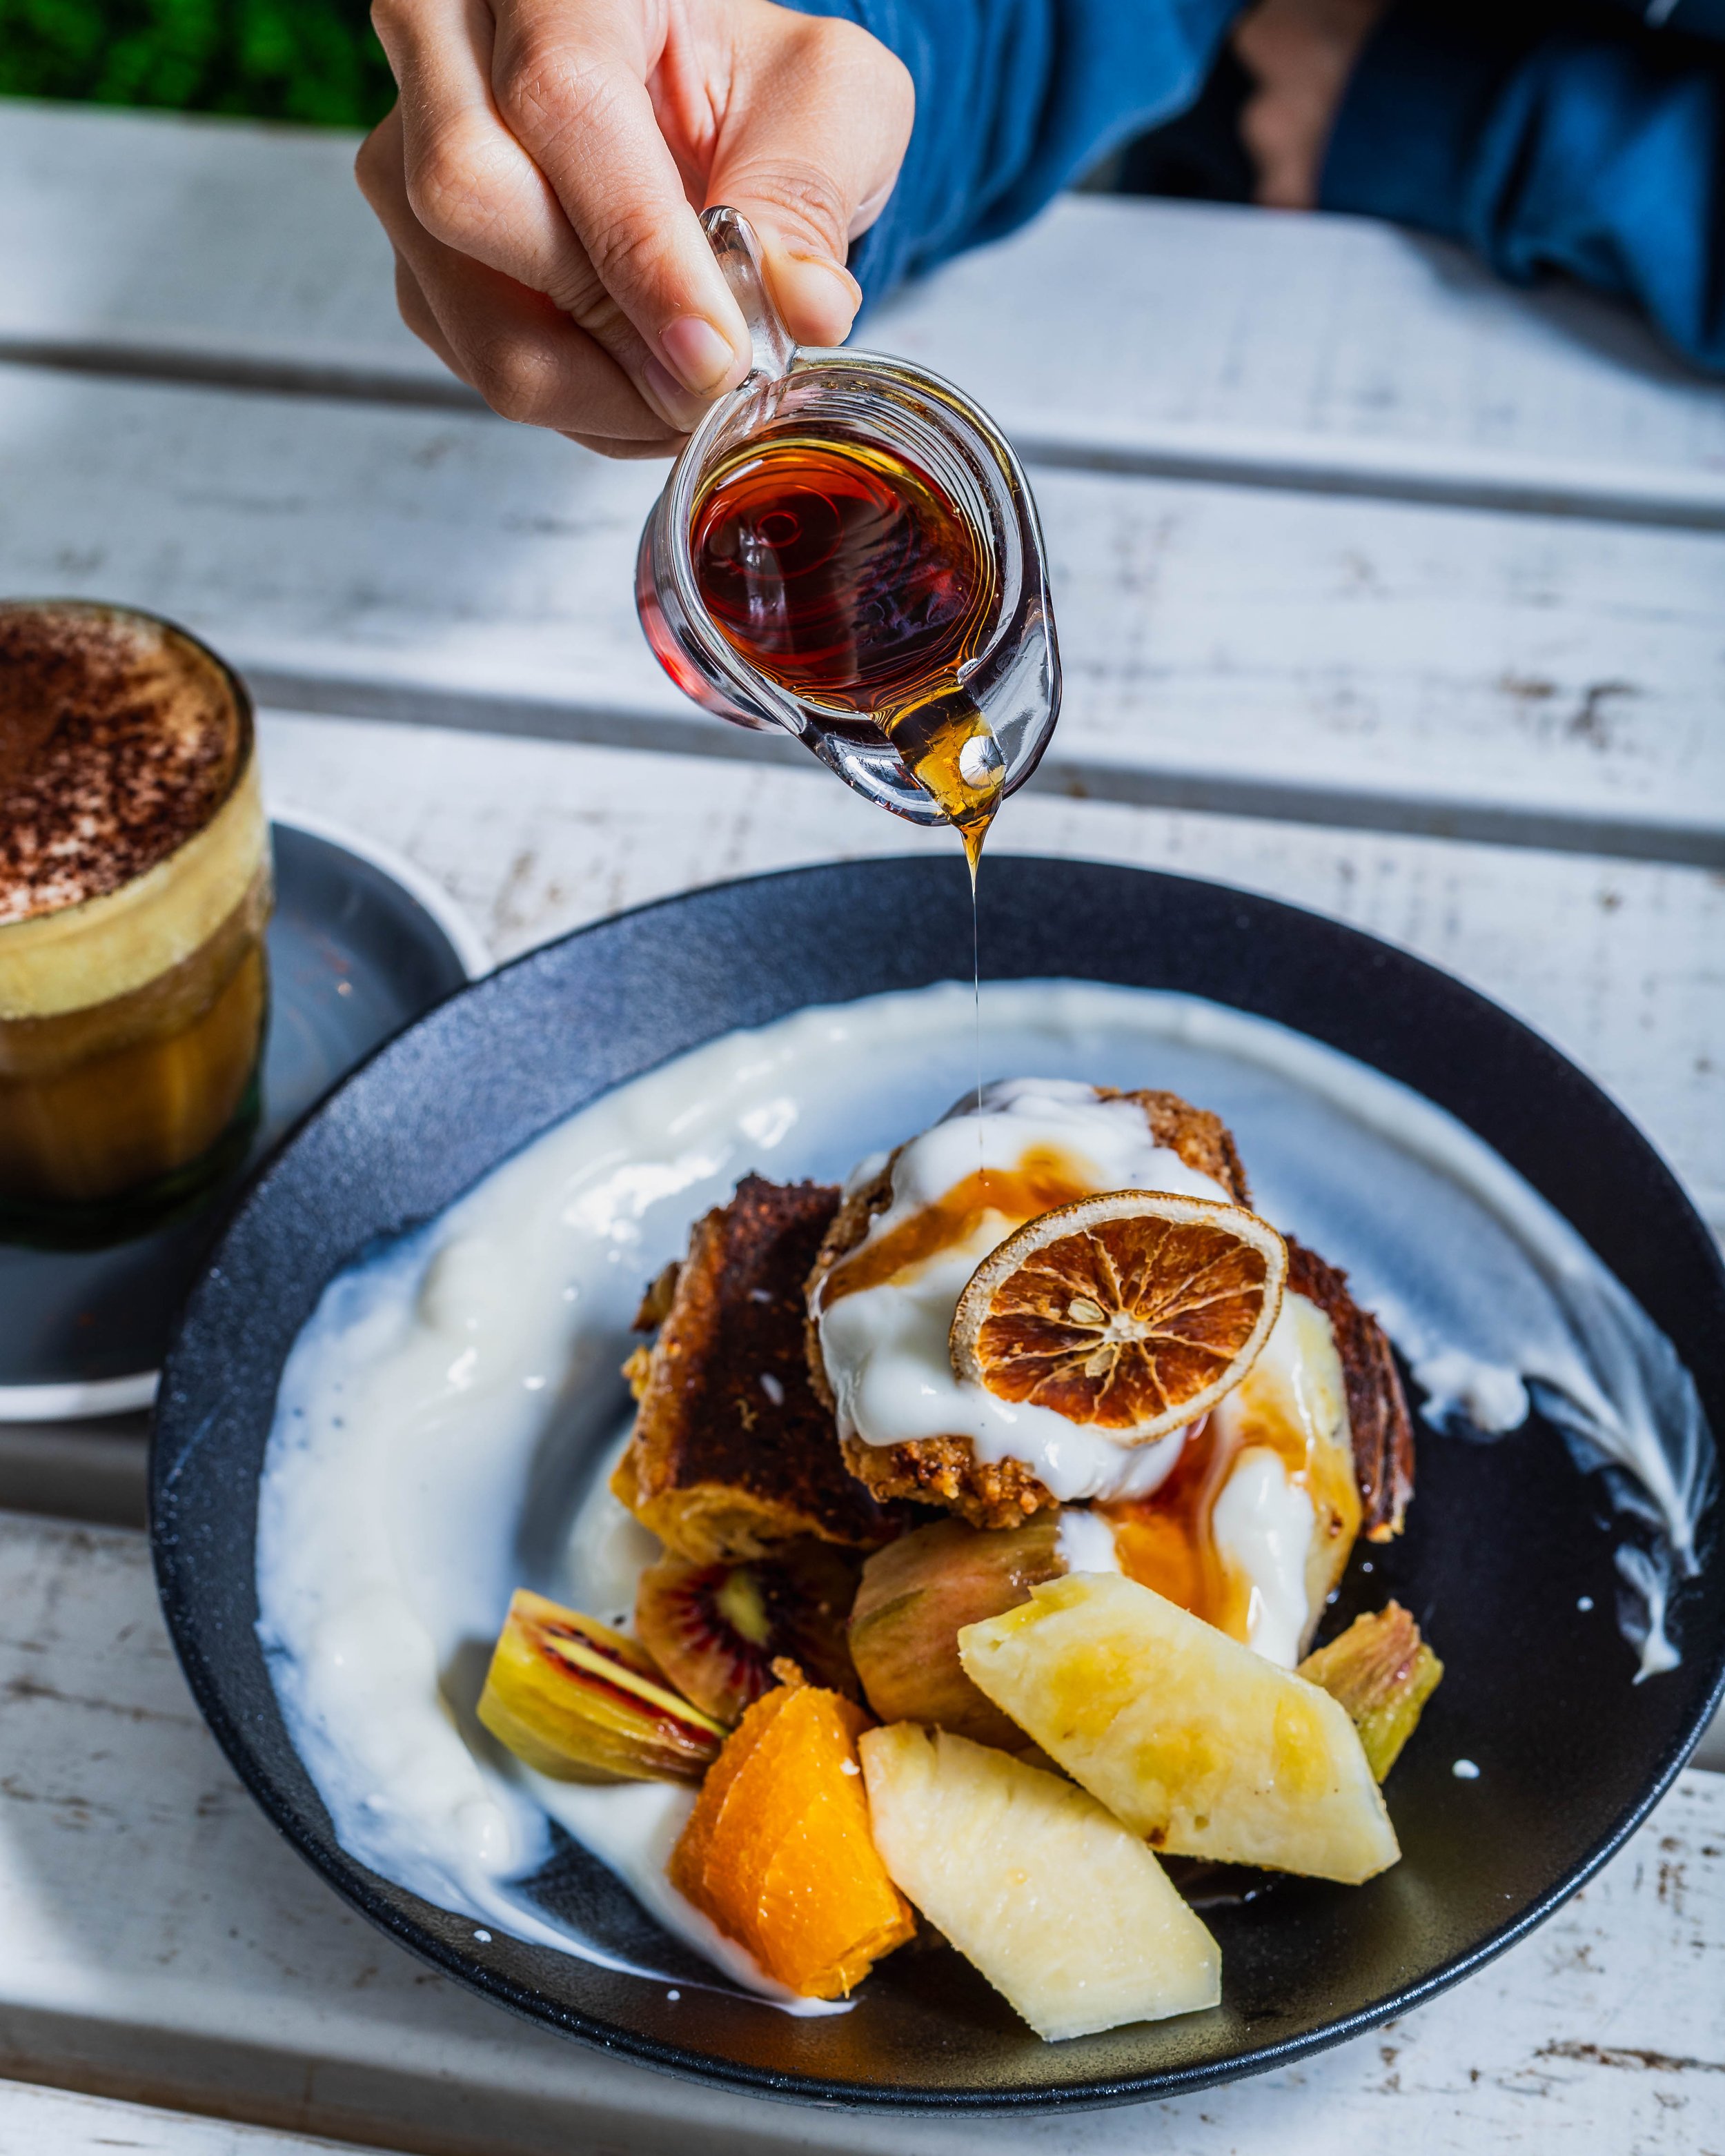
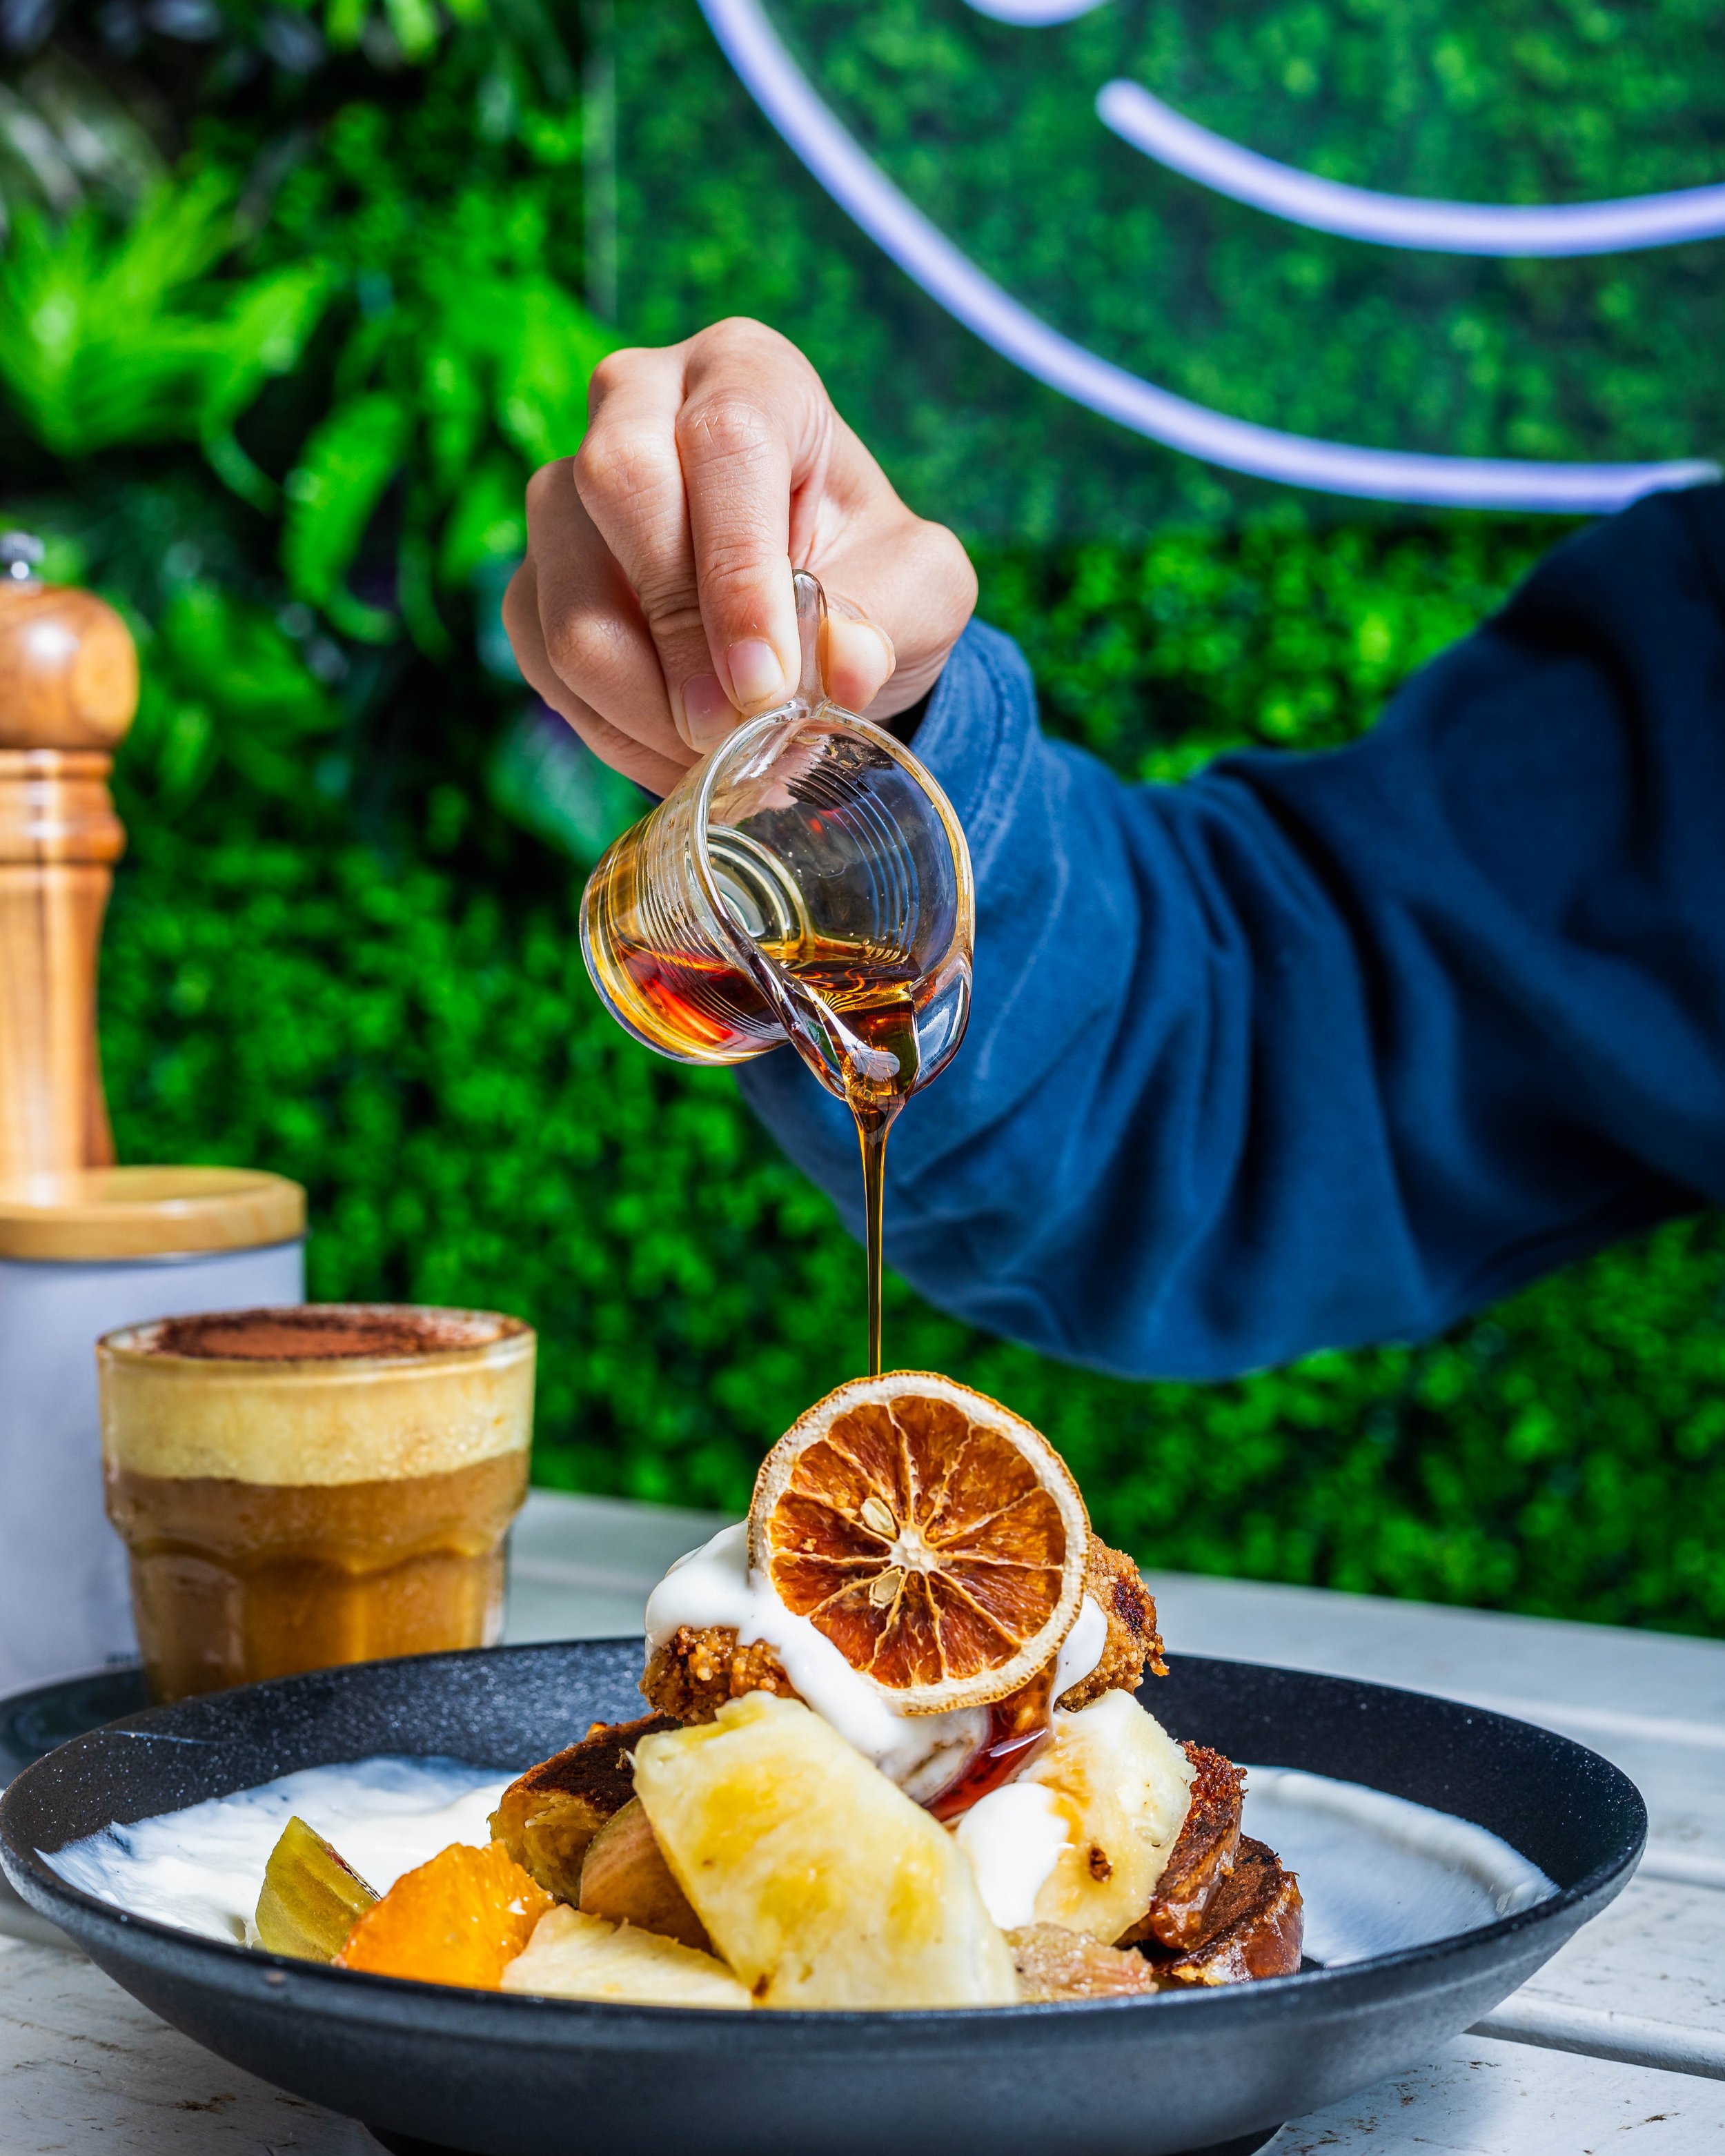
Natural light: Use natural light to create a warm and inviting atmosphere. This is especially effective for photographing drinks in a natural setting, like a outdoor cafe or a park.
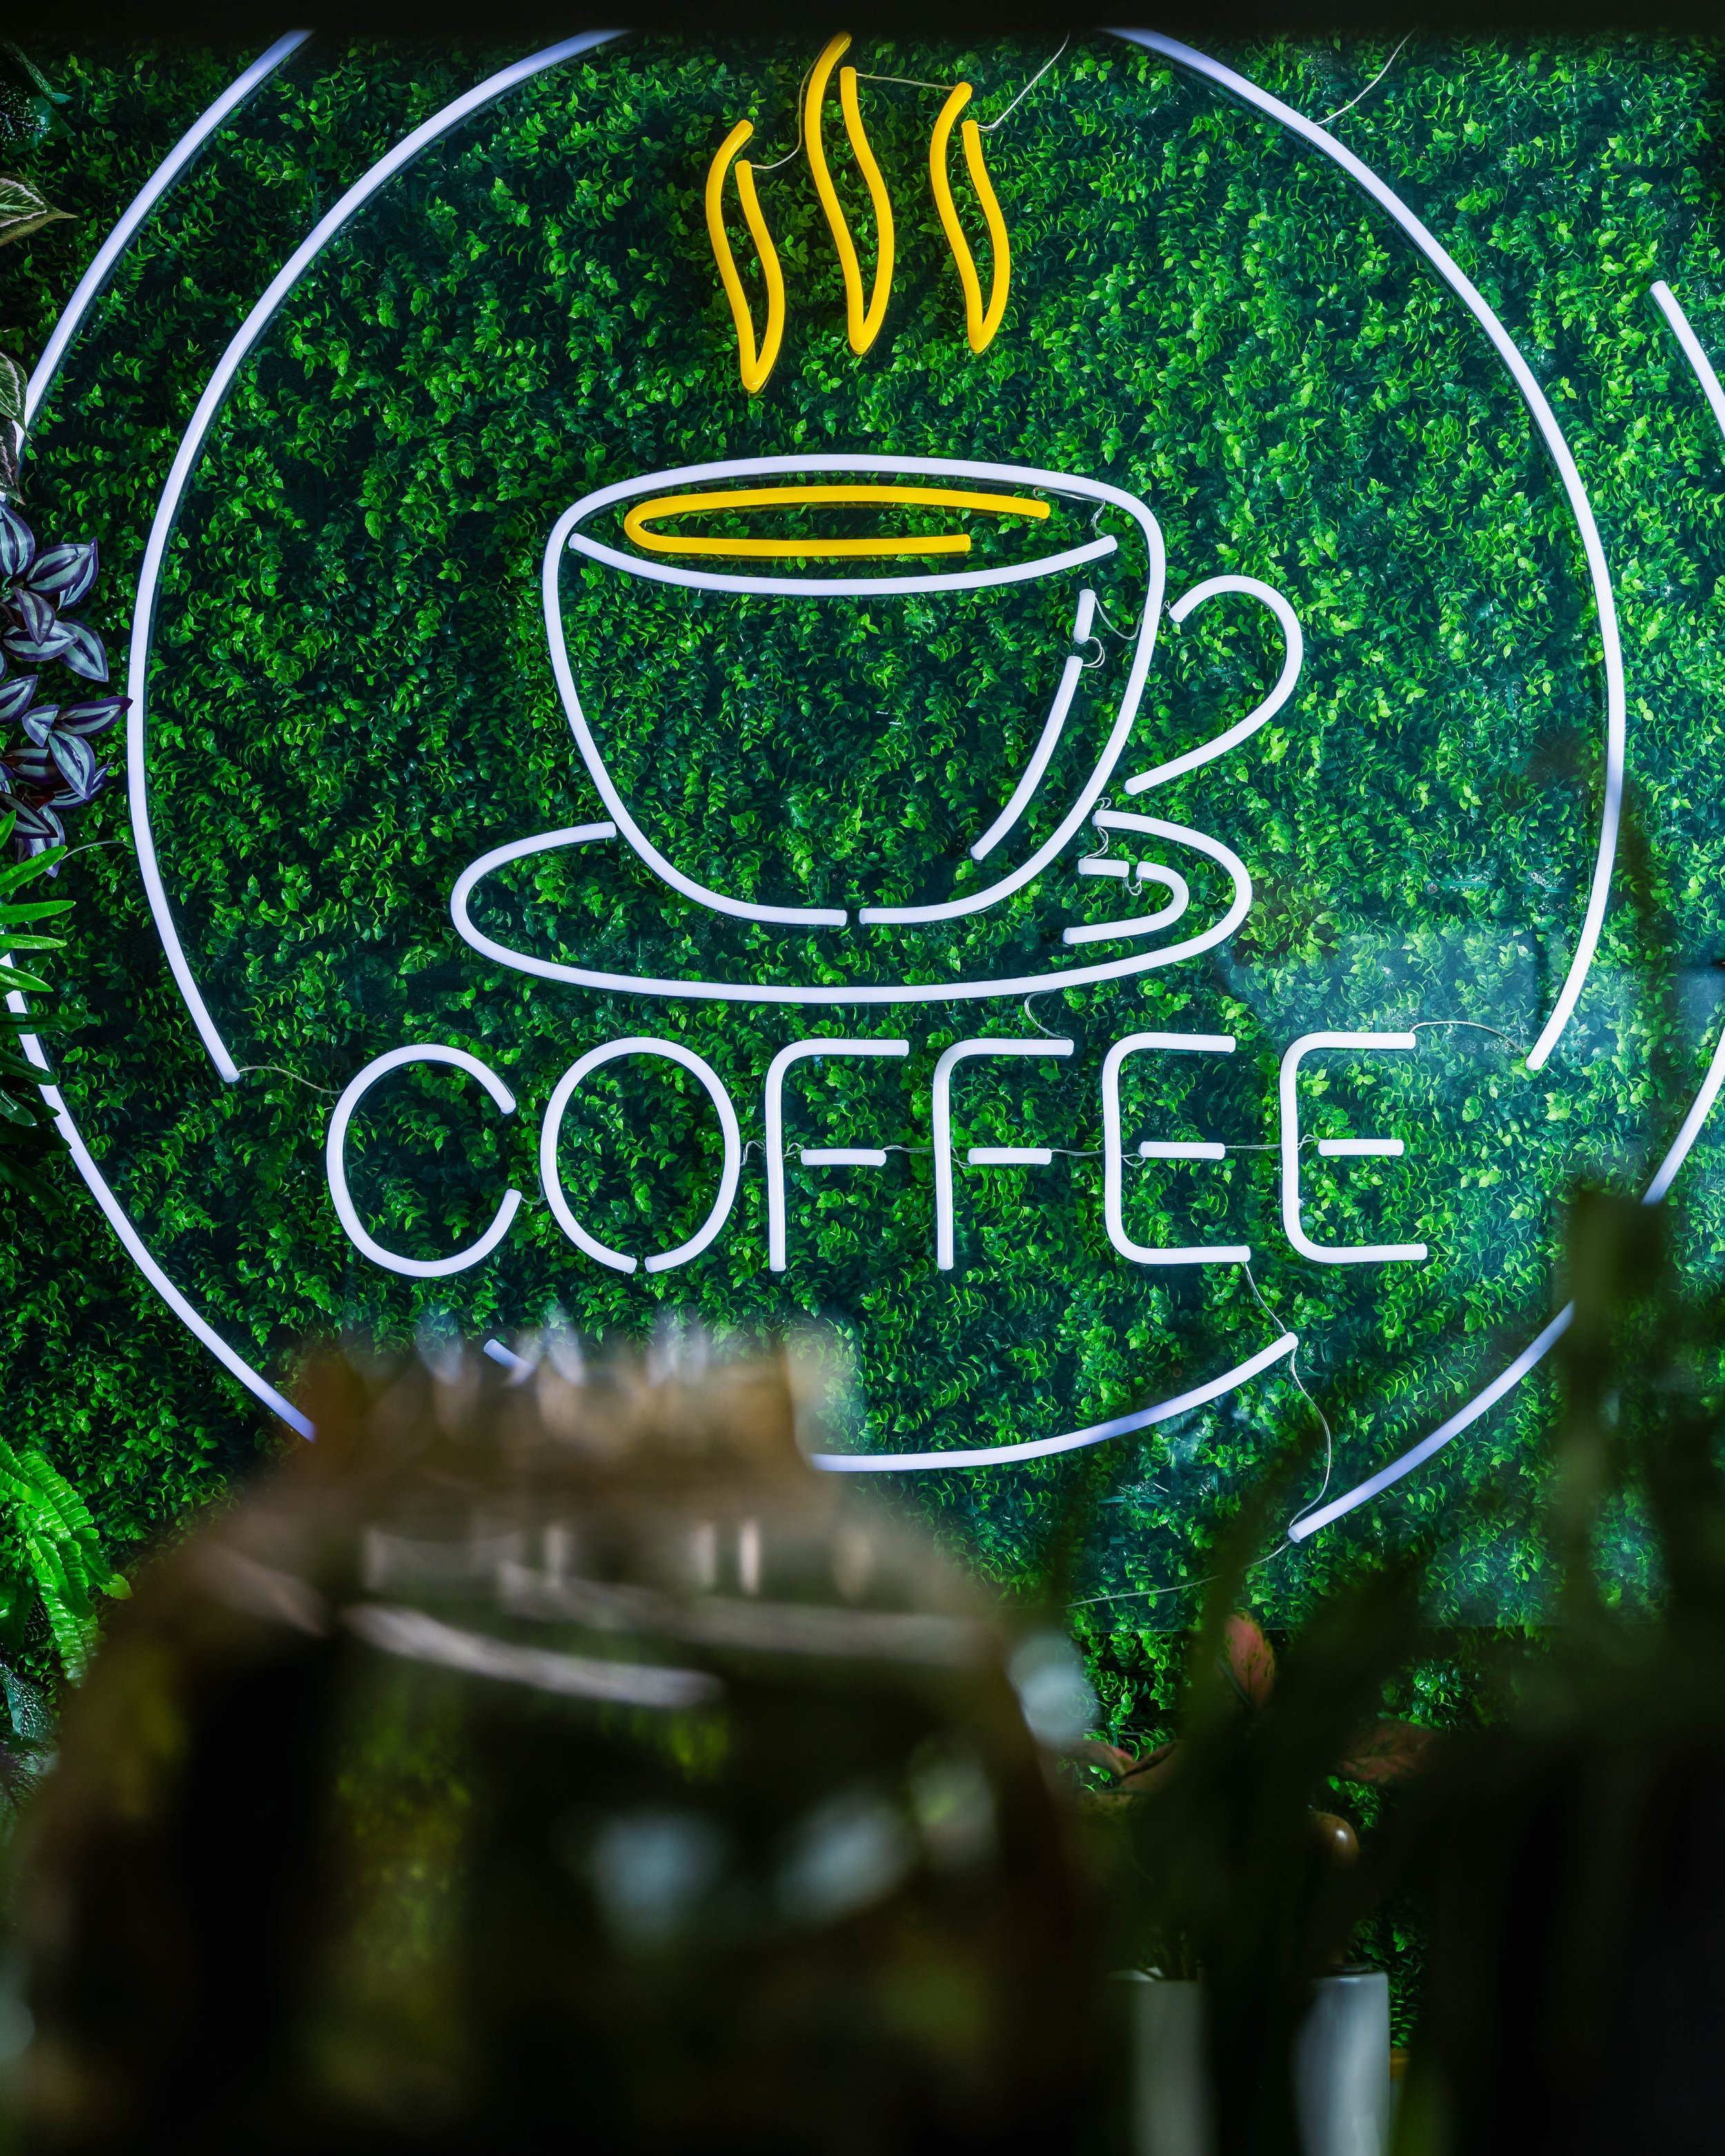
Artificial light: Use artificial light to create a more dramatic and moody atmosphere. This is especially effective for photographing drinks in a studio setting or a dark bar.
Softbox lighting: Use softbox lighting to create a soft and even light that minimizes shadows and highlights.
Styling Drinks for Photography
Styling drinks for photography is all about creating a visually appealing image that makes the drink look appealing. Here are some tips to try:
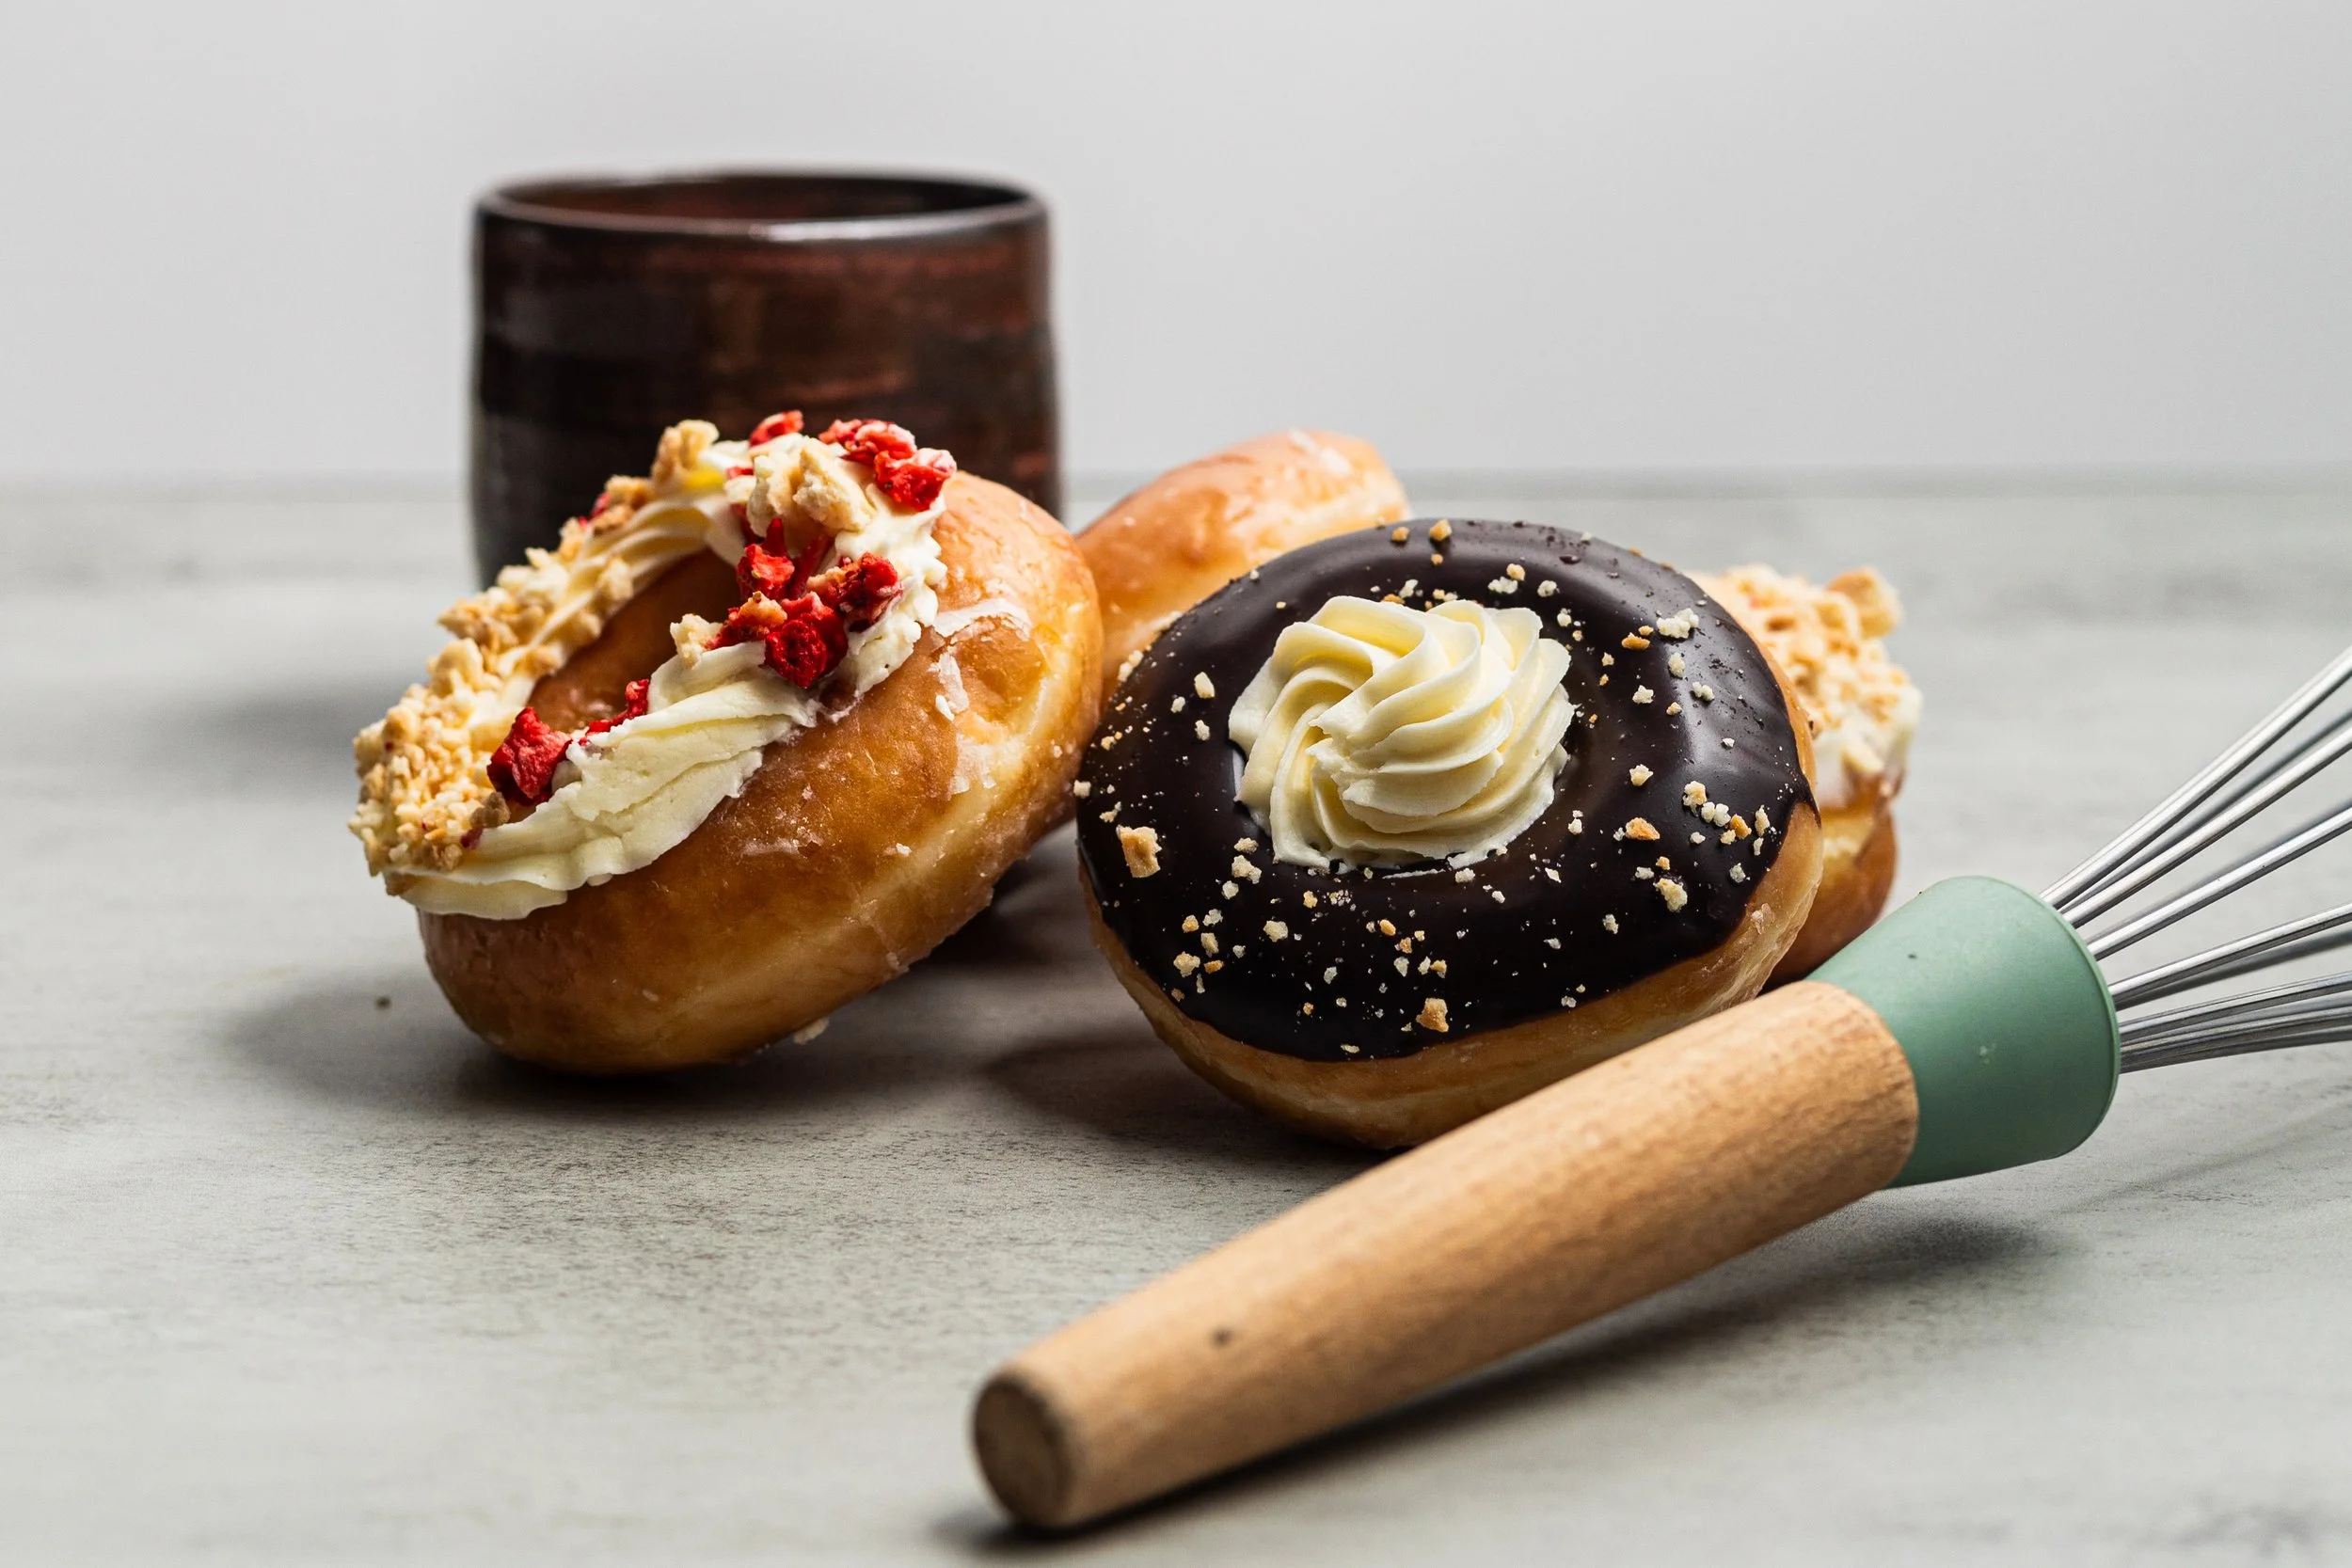
Garnishes: Use garnishes like lemons, limes, or olives to add a pop of color and texture to the image.
Glassware: Use glassware that complements the color and style of the drink.
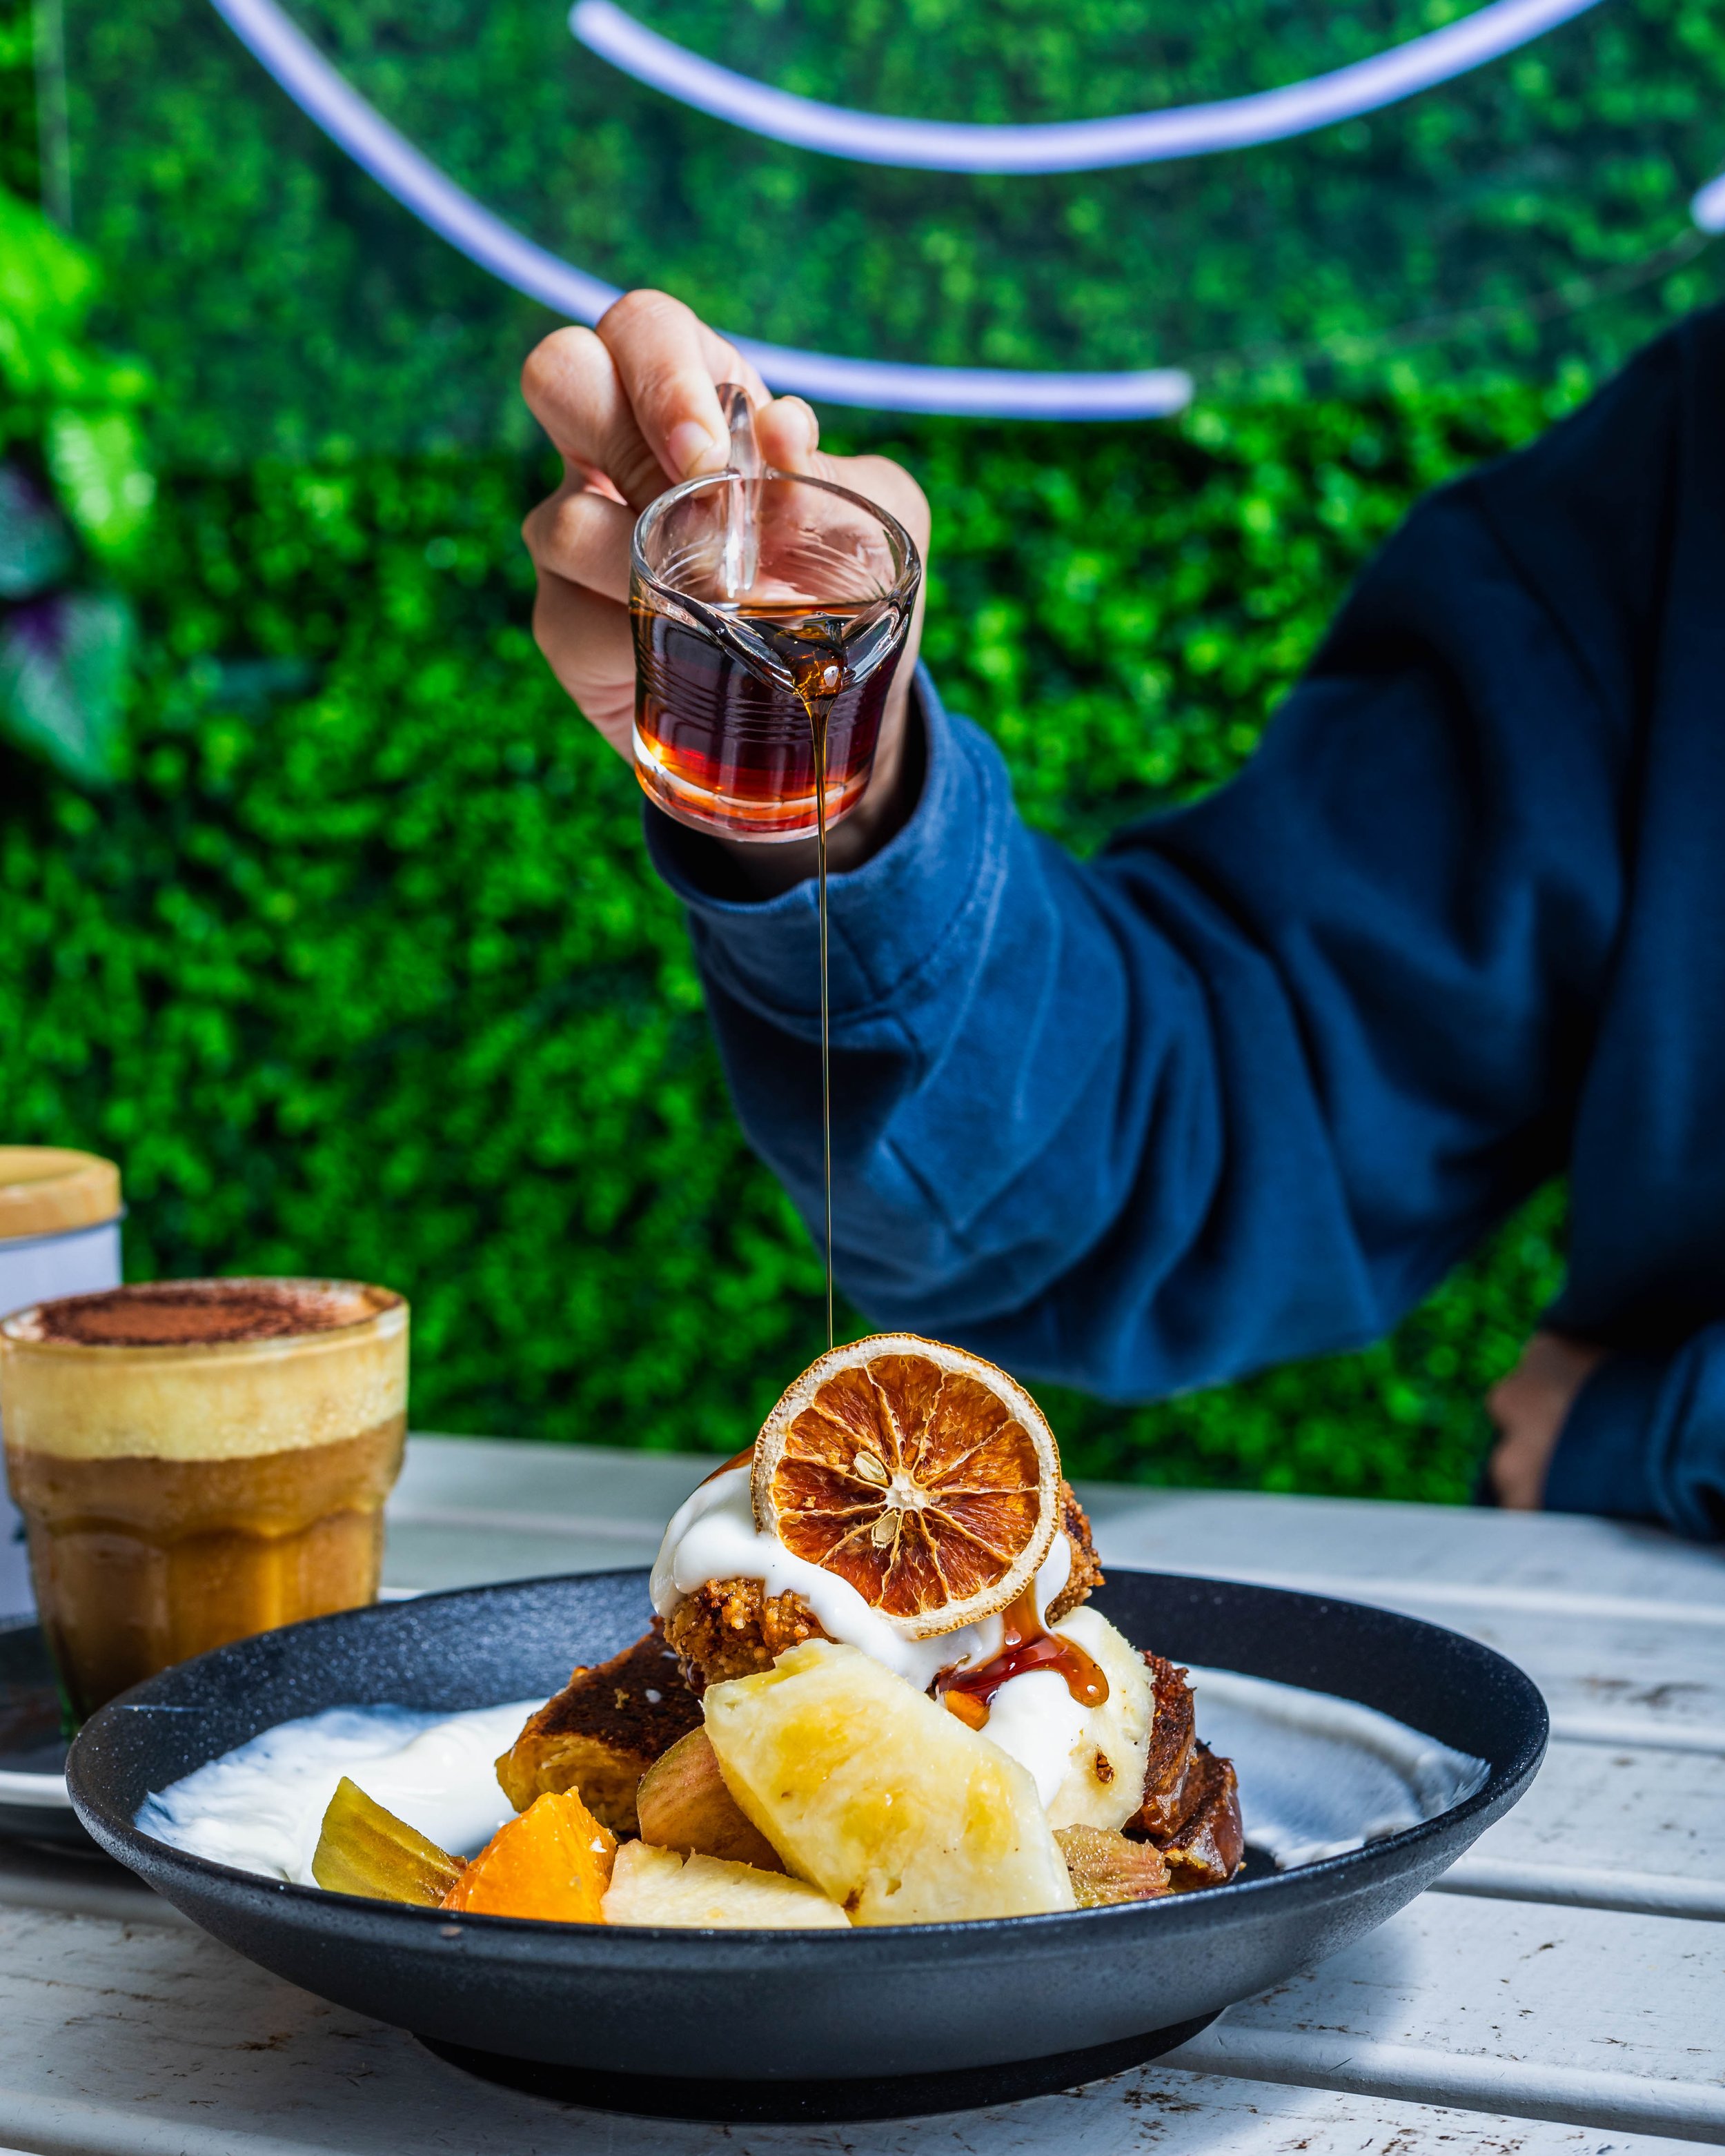
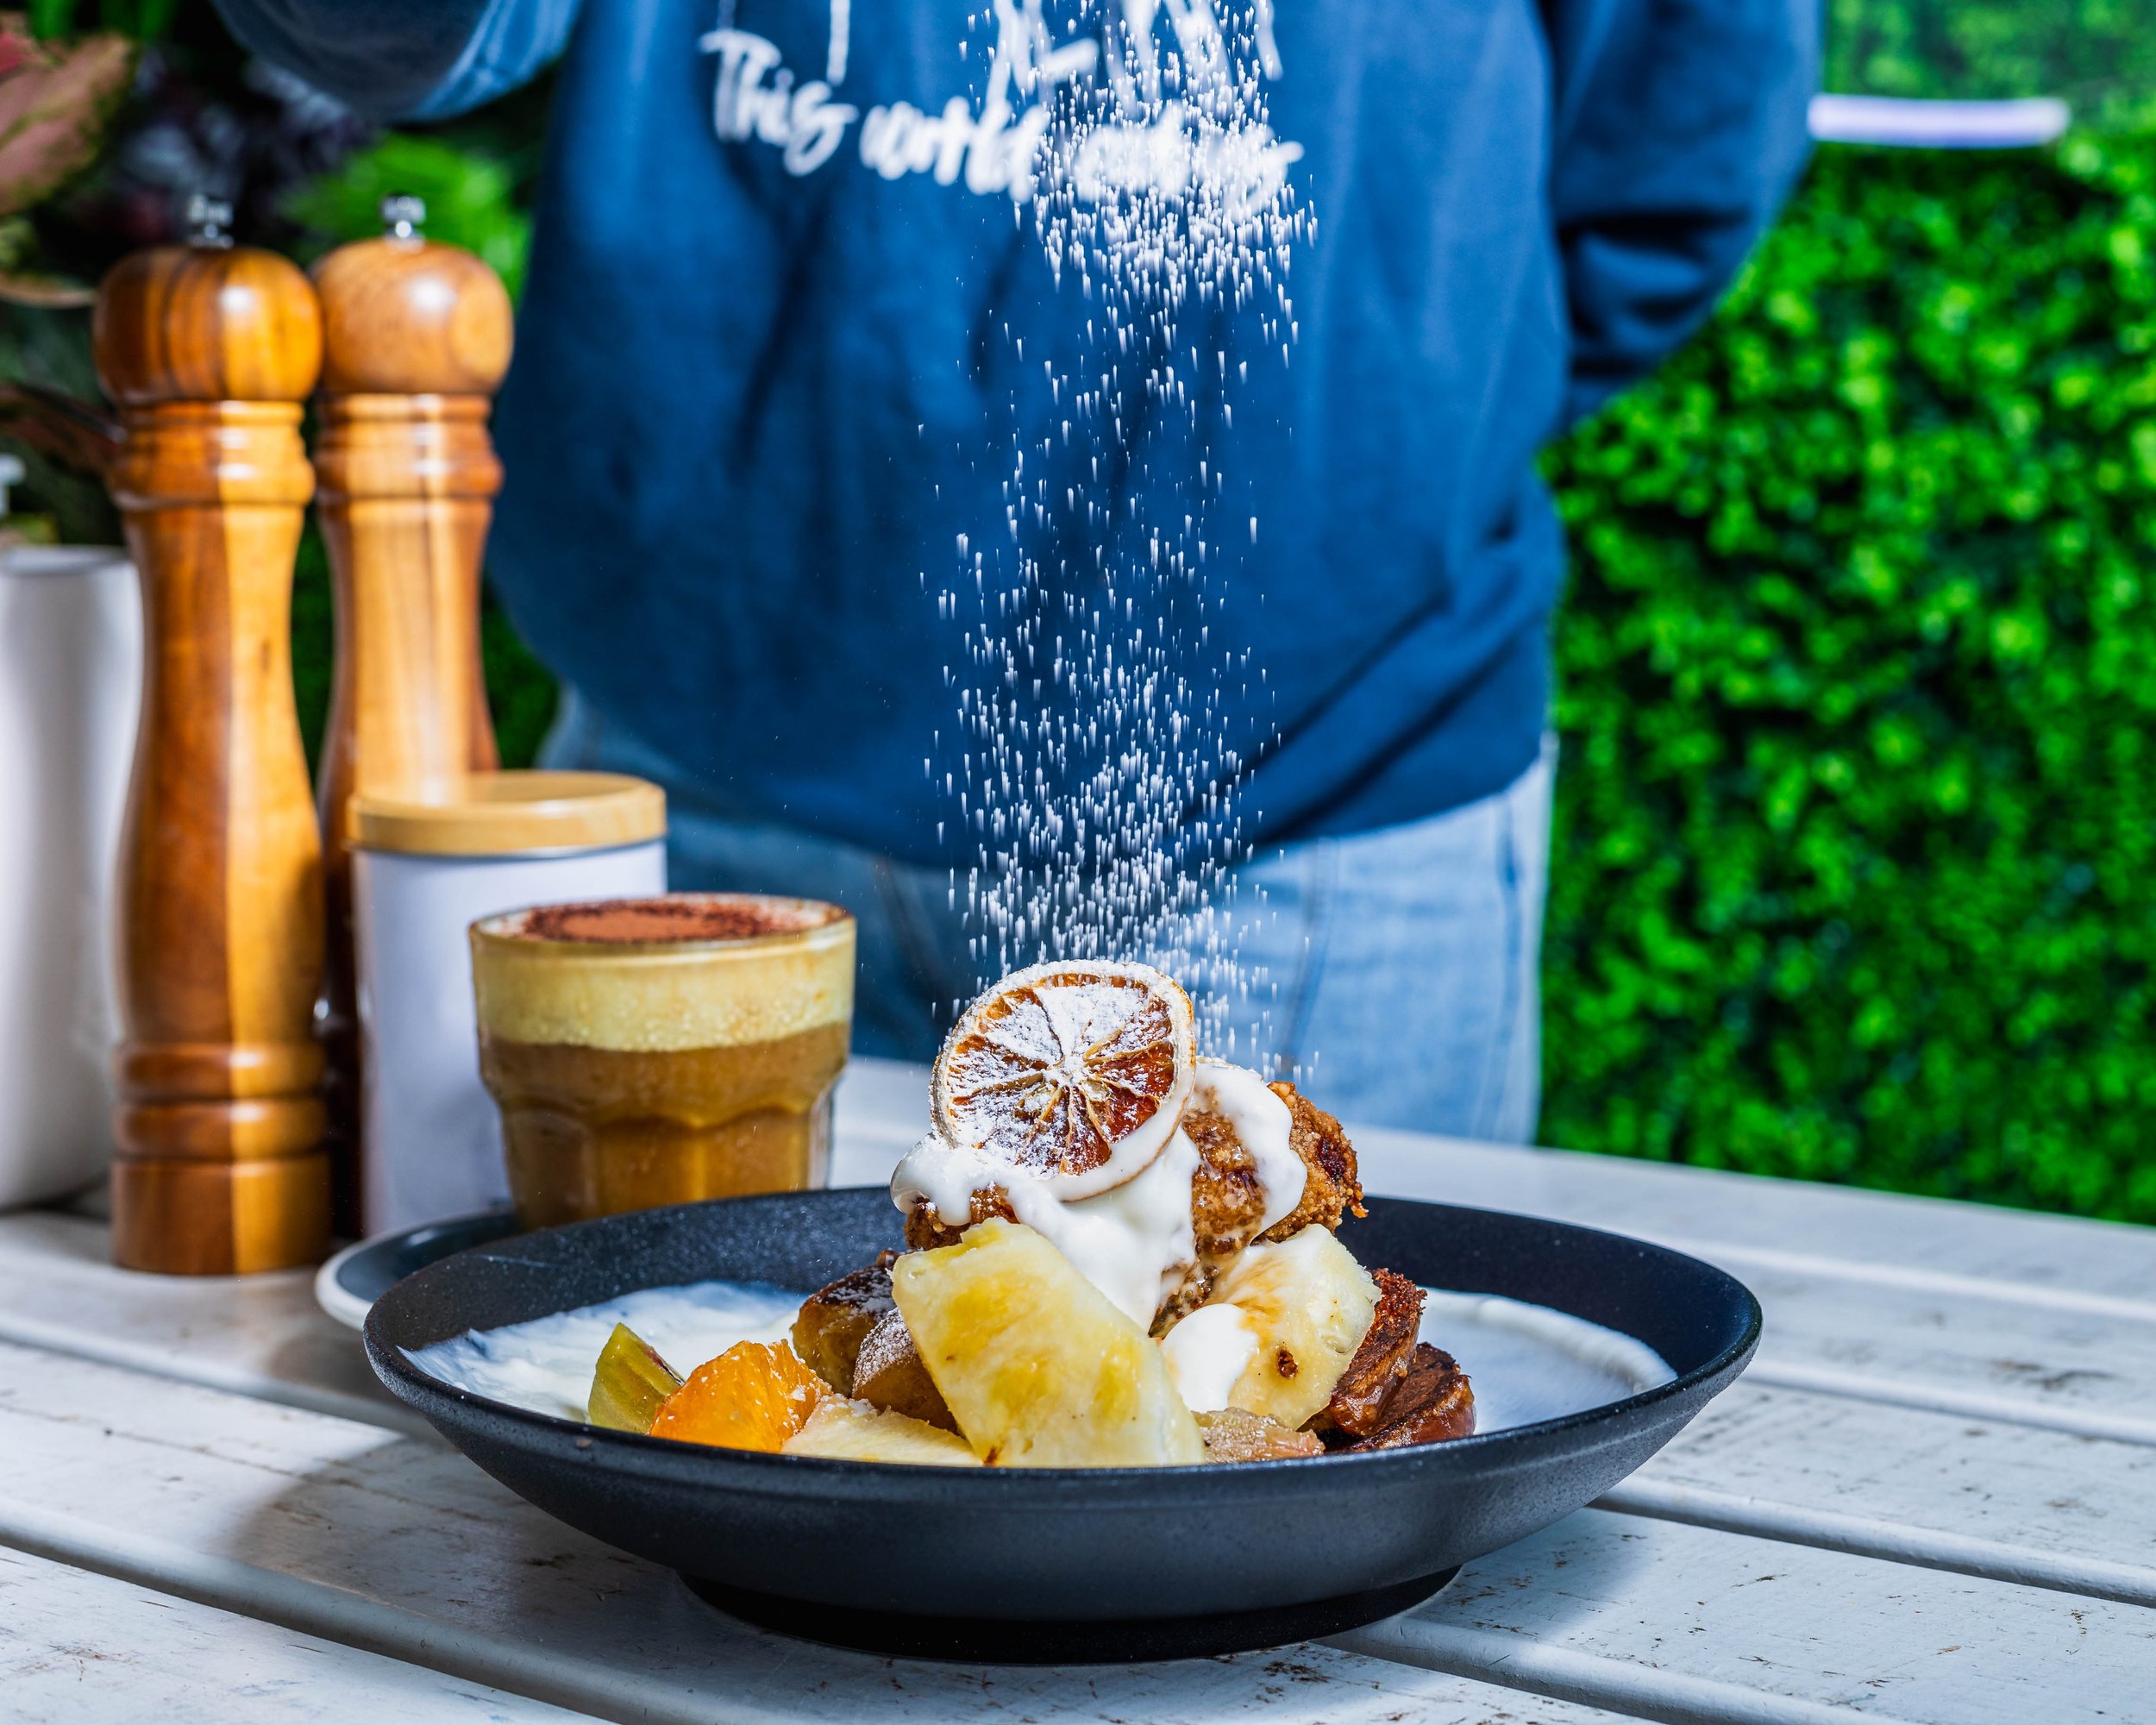
Props: Use props like ice cubes, straws, or umbrellas to add a fun and playful touch to the image.
Tips and Tricks for Taking Good Photos of Drinks
>>> Book the best Drink Photographer in Auckland.
Here are some additional tips and tricks to help you take good photos of drinks:
Use a tripod: A tripod will help you stabilize the camera and ensure that the image is sharp.
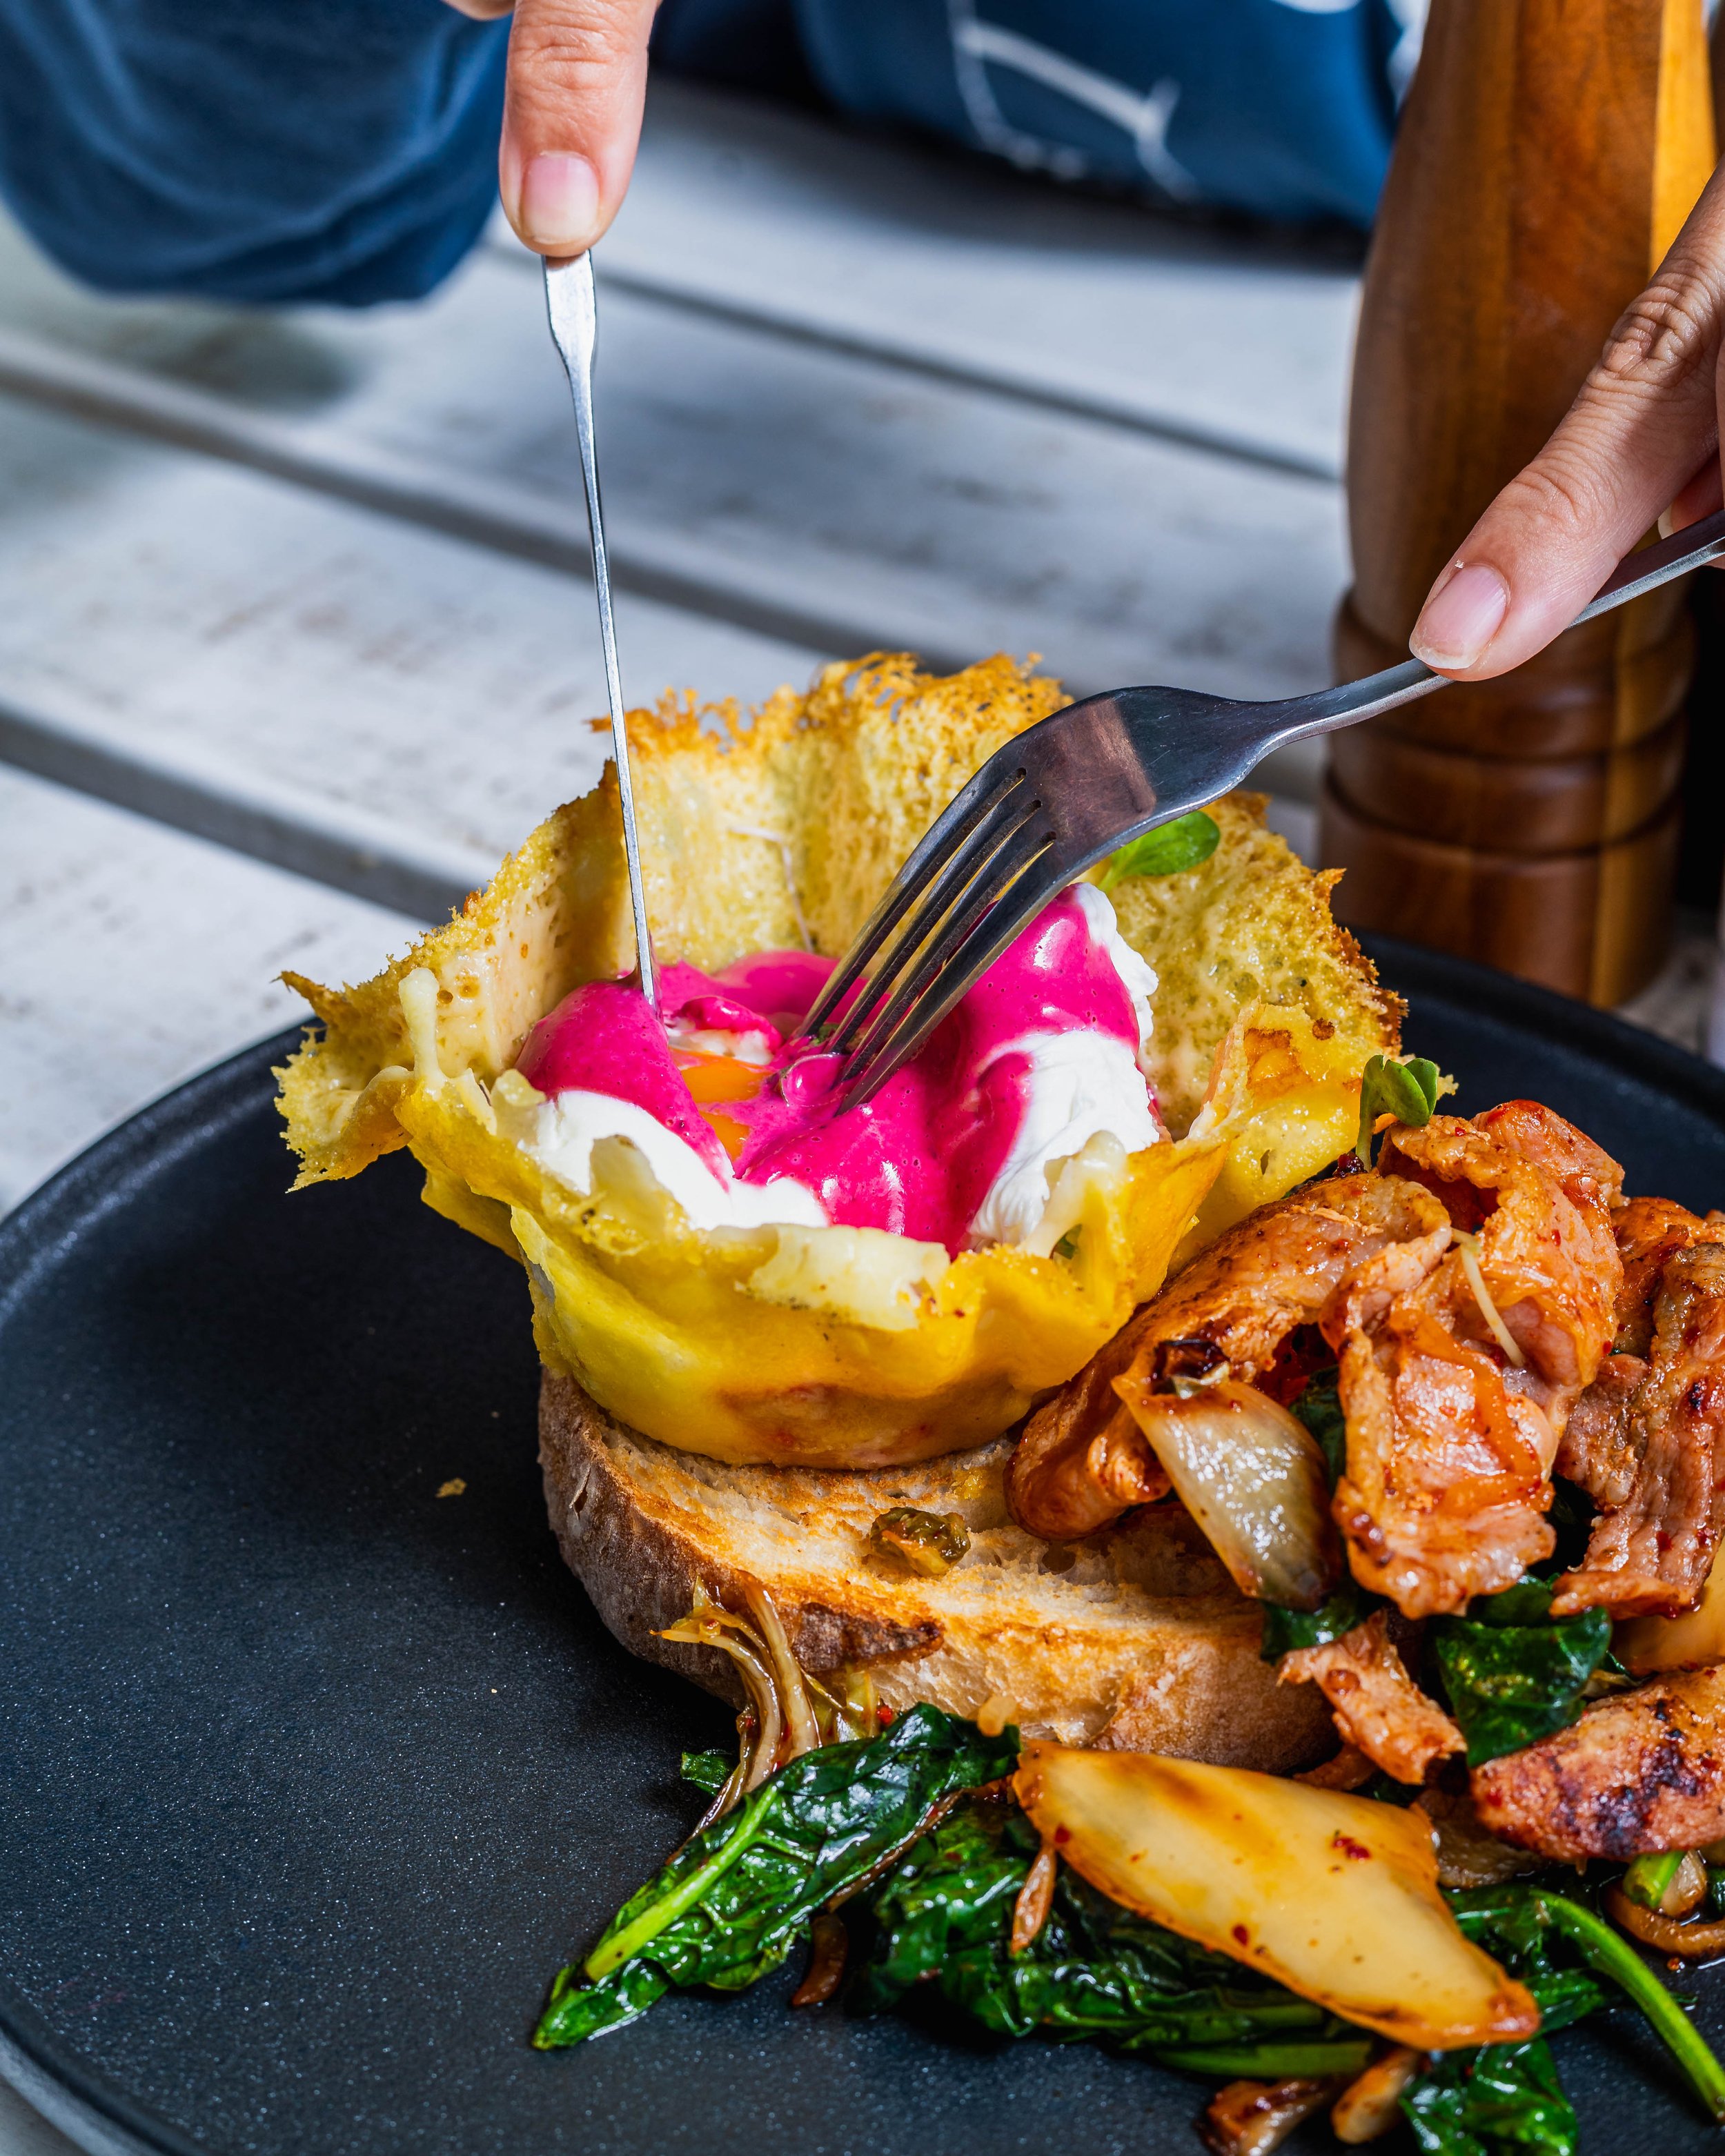
Experiment with angles: Don't be afraid to experiment with different angles and perspectives to add some visual interest to the image.
Pay attention to composition: Pay attention to the composition of the image and make sure that the drink is the main focus.
How to Take Good Photos of Drinks
By following these tips and tricks, you'll be well on your way to taking good photos of drinks. Remember to experiment with different camera settings, lighting techniques, and styling ideas to find what works best for you. And don't be afraid to try new things and take risks – it's all part of the creative process.

How to Take Good Photos of Drinks
Part 2: Advanced Techniques for Drink Photography
In Part 1, we covered the basics of drink photography, including camera settings, lighting techniques, and styling ideas. But if you're looking to take your drink photography to the next level, you'll want to learn some advanced techniques.
Advanced Camera Settings for Drink Photography
When it comes to advanced camera settings, there are a few things to keep in mind. First, you'll want to experiment with different aperture settings to create a shallow depth of field. This will help to blur the background and make the drink stand out.
Here are some advanced camera settings to try:
Aperture: Use a low aperture setting (f/1.4 or lower) to create a shallow depth of field.
Shutter speed: Use a slow shutter speed (1/30th of a second or slower) to create a sense of motion.
ISO: Use a high ISO setting (6400 or higher) to capture images in low light.
Advanced Lighting Techniques for Drink Photography
Lighting is another area where you can experiment with advanced techniques. Here are a few ideas to try:
Diffused lighting: Use a diffuser to soften the light and create a more subtle effect.
Backlighting: Use backlighting to create a sense of depth and dimension.
Sidelighting: Use sidelighting to create a sense of texture and interest.
Advanced Styling Ideas for Drink Photography
Styling is all about creating a visually appealing image that makes the drink look appealing. Here are some advanced styling ideas to try:
Garnishes: Use garnishes like edible flowers, herbs, or spices to add a pop of color and texture.
Glassware: Use glassware that complements the color and style of the drink.
Props: Use props like ice cubes, straws, or umbrellas to add a fun and playful touch.
Tips and Tricks for Advanced Drink Photography
>>> Book the best Drink Photographer in Auckland.
Here are some additional tips and tricks to help you take advanced drink photography:
Experiment with angles: Don't be afraid to experiment with different angles and perspectives to add some visual interest to the image.
Pay attention to composition: Pay attention to the composition of the image and make sure that the drink is the main focus.
Use a reflector: Use a reflector to bounce light onto the drink and create a more even effect.
How to Take Good Photos of Drinks
By following these advanced techniques, you'll be able to take your drink photography to the next level. Remember to experiment with different camera settings, lighting techniques, and styling ideas to find what works best for you. And don't be afraid to try new things and take risks – it's all part of the creative process.

Common Questions About Drink Photography
What is the best camera for drink photography?
What is the best lighting for drink photography?
How do I style a drink for photography?
Getting Started with Advanced Drink Photography
>>> Book the best Drink Photographer in Auckland.
If you're interested in trying advanced drink photography, the first step is to practice and experiment with different techniques. Here are a few tips to get you started:
Practice, practice, practice: The more you practice, the better you'll become at drink photography.
Experiment with different techniques: Don't be afraid to try new things and experiment with different techniques.
Take risks: Don't be afraid to take risks and try new things – it's all part of the creative process.